Calendar

November 2024
M T W T F S S
 123
45678910
11121314151617
18192021222324
252627282930  

Featured at:

craftsterBest of Craftster 2008

As seen on CraftGossip.com

Fan of:

the-long-thread-button

Monsters and more

I think I’m getting the hang of this knitting thing! Here are my latest projects…

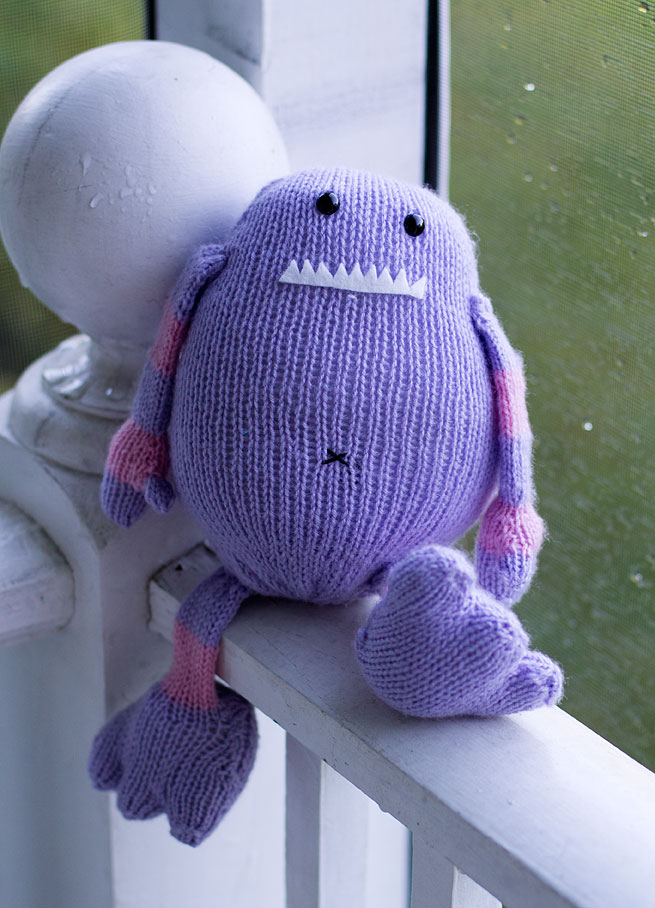
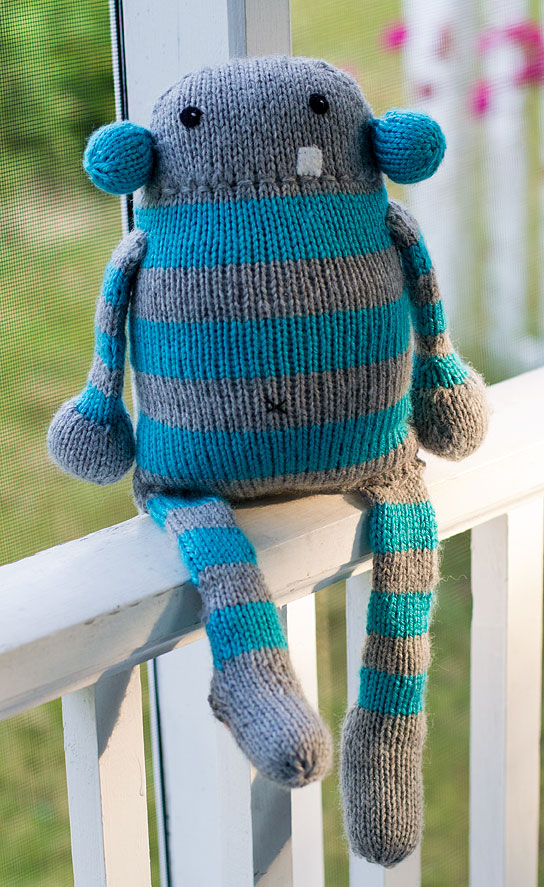
For Mother’s Day, my husband got me several knitting books, including Rebecca Danger’s “Big Book of Knitted Monsters.” I can’t say that it ever occured to me to knit monsters, but several of them are awfully cute. My first attempt is this guy, who I almost think looks more robot-ish than monster-ish.

This was my first project using the “magic loop” technique, knitting stripes, turning a heel and doing a 3-needle bind off. The magic loop was easier than I thought it would be. Switching colors for the stripes on the arms and legs was annoying, and the heels look very, very, messy (I ended up just sort of sewing over them with yarn after it was stuffed just to make sure everything was secure). And one foot is quite a bit longer than the other. But I’m going to give it to a friend who’s expecting a baby soon, and I hope she will overlook those imperfections!

I also made this little monster for my niece who is turning 7 next week. The yarn I bought ended up being much lighter-weight than advertised, so I probably should’ve used a smaller needle to get a tighter fabric. I wasn’t happy with how much the stuffing shows through. Again, this one required a bit of post-stuffing surgery, and those TOES were tricky. But the feet are my favorite part. The pattern didn’t call for stripes, but even though I dislike knitting them, I love how they look so I did stripes on the arms and legs.

Parker has requested one of the largest monsters in the books, but it doesn’t look as tricky to knit (no thumbs or toes!), so that will be next.

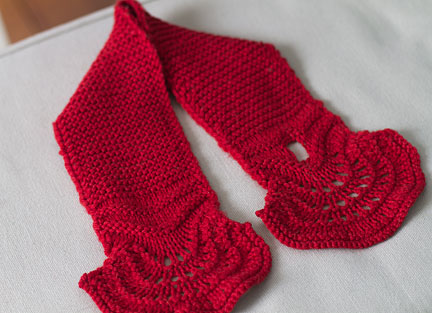
I also made another lace scarflet, like my first project, but this one is red wool.

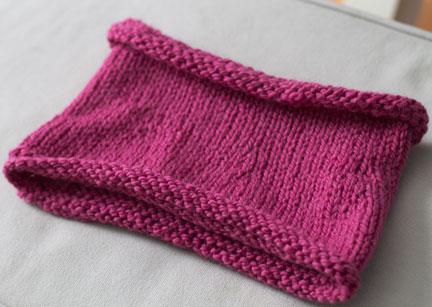
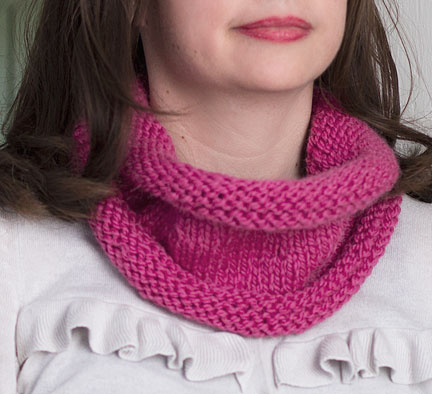
And I made this pink cowl, which turned out bigger than I expected. And brighter.
 

Scratch for Summer Fun

My niece and nephew’s birthdays are just a few weeks apart, and for the past several years, I’ve given them some small gifts as well as a family membership to our local planetarium. This year, I decided to change things a bit and give them gift certificates to some fun summer activities, including an amusement park, a water park and a place that has miniature golf/go-carts/climbing walls etc.

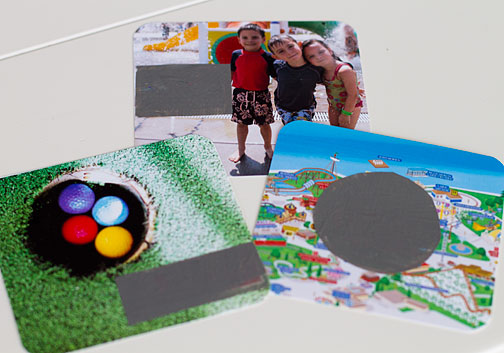
To make opening the gift a bit more festive (no one likes to open gift cards), I made a few little scratch tickets, sort of like the Valentine’s Day cards I made earlier this year. I was in a rush, so I didn’t take the time to cut the shapes out of contact paper using my Silhouette… I just painted a sheet of contact paper with the paint-and-dishsoap mixture and cut out the “stickers” free-hand with scissors. When I made the previous versions, the only metallic craft paint I had was a type made for painting on glass. I don’t know if that made the difference, but those cards ended up being really hard to scratch off. For these, I only used gray acrylic craft paint and dish soap, and only did two coats. It was MUCH easier to scratch off.

For the amusement park card, I printed a map of the park from the park’s web site. The other two web sites didn’t have any graphics that were big enough to be good print quality, so for the water park, I used a picture of Parker and his cousins at the park, and for the mini-golf place, I used a Flickr photo taken by Jenni From the Block, making sure to use a photo that was OK to download. I used Photoshop to add text with the location names, which were then hidden under the scratch-off stickers.

I gave my sister the actual gift certificates, but the kids definitely enjoyed their scratch ticket gifts!


Upcycled Quilted Pillows


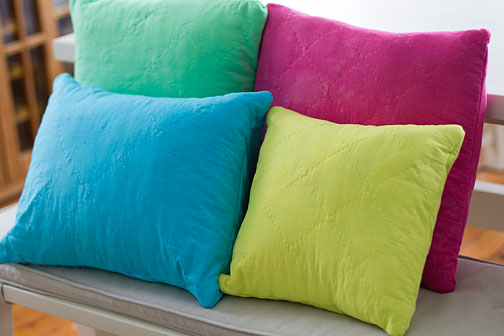
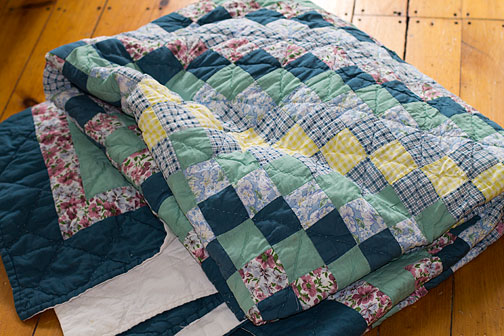
I wanted to make some brightly colored throw pillows for the sofa and loveseat at our camp, so I tried cutting up and dyeing an old quilt (not like a valuable, antique quilt. Just a store-bought quilt we used to have in our guest room 10 years ago). The front of the quilt looked like this:

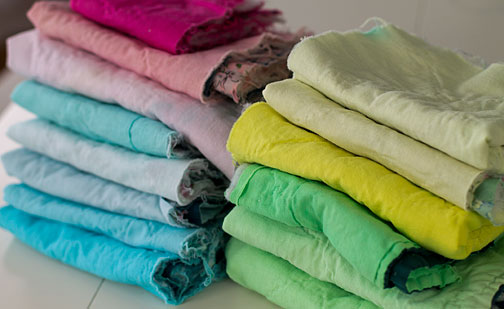
But the back was just plain white. (I thought maybe I’d like how the patterned side looked when over-dyed, but the dark blue turned a funny color and it just didn’t look good. But I bet on a quilt that was all light colors to start with, that would look really pretty). I used the dye from Dharma Trading that I bought  along time ago when I tried dyeing linen napkins. Similar to that experience, I had mixed results. But I think my problem was I was trying to cut corners and get more out of the dye than I really good. So for the pillow covers, I mixed up some red (actually more like pink), yellow, green and blue dye (in large, plastic buckets that used to hold cat litter. We have three cats. We go through a lot of litter). The pieces I put in first and followed all the instructions to the letter did indeed turn out nice and bright. But then I thought I could take those out of the dye and keep using it for other bits and pieces, but that didn’t seem to work as well, I think because the original instructions call for adding various fixers and stuff at different points. So while many of those pieces looked great at first, once they had been rinsed, washed and dried, they had faded considerably.

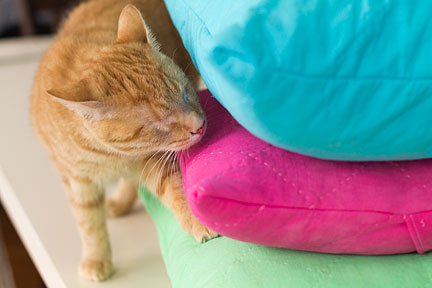
But I still have a nice stack of pastel pieces… no idea what I will use them for, but I’ll think of something. In the meantime, I think I need an orange pillow as well…Speaking of orange, here’s my kitty, Tangerine, checking out my work:


Teacher Gifts


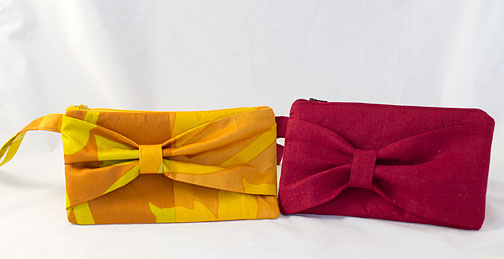
I’ve been wanting to try the bow clutch tutorial at Elm Street Life for a while now, so I decided they’d make great gifts for my son’s two teachers. I followed the tutorial exactly for the red version, even using the same kind of fabric (linen). I wasn’t quite happy with how I ended up with visible stitching on the lining near the zipper however (though that is really my fault for using red thread and a gray lining, and not thinking about the thread color). So for the yellow version (which uses some of the great Merimekko fabric I got last year), I used the zipper instructions from this tutorial at Flossie Teacakes instead.

While I do think that method results in a neater final product, I found it very tricky to figure out where to sew when the zipper was enclosed in the “sandwich” between the lining and outer fabric. I wish there was an easier way!

We tucked a book store gift card into each clutch, and Parker made cards for his teachers. He gave the gifts to his teachers this morning (the last day of school!), and brought home two thank you notes! So it appears they were a hit!


Covered Containers


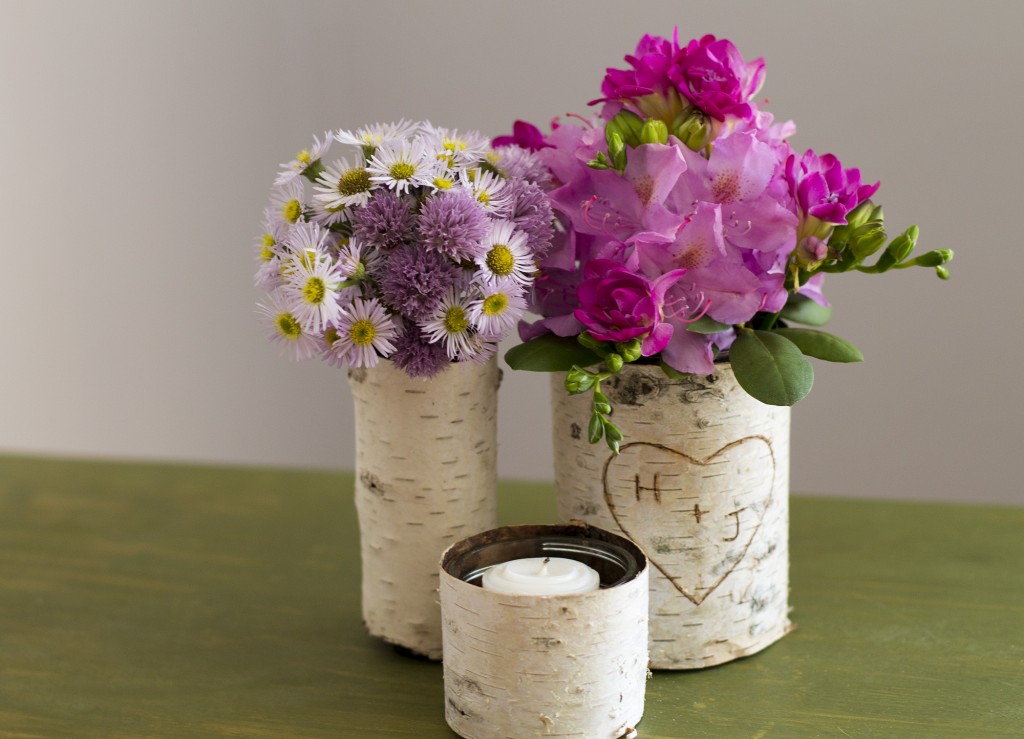
For my latest craft story for AP, I came up with three ways to turn recycled jars or bottles into vases, candle holders and other containers, perfect for a little something extra to include with teacher’s gifts, wedding presents or Father’s Day gifts. Our new summer cabin is surrounded by pine and birch trees, and I’ve been collecting some of the birch bark from fallen limbs. This story was the final push I needed to do something with some of those bits and pieces!

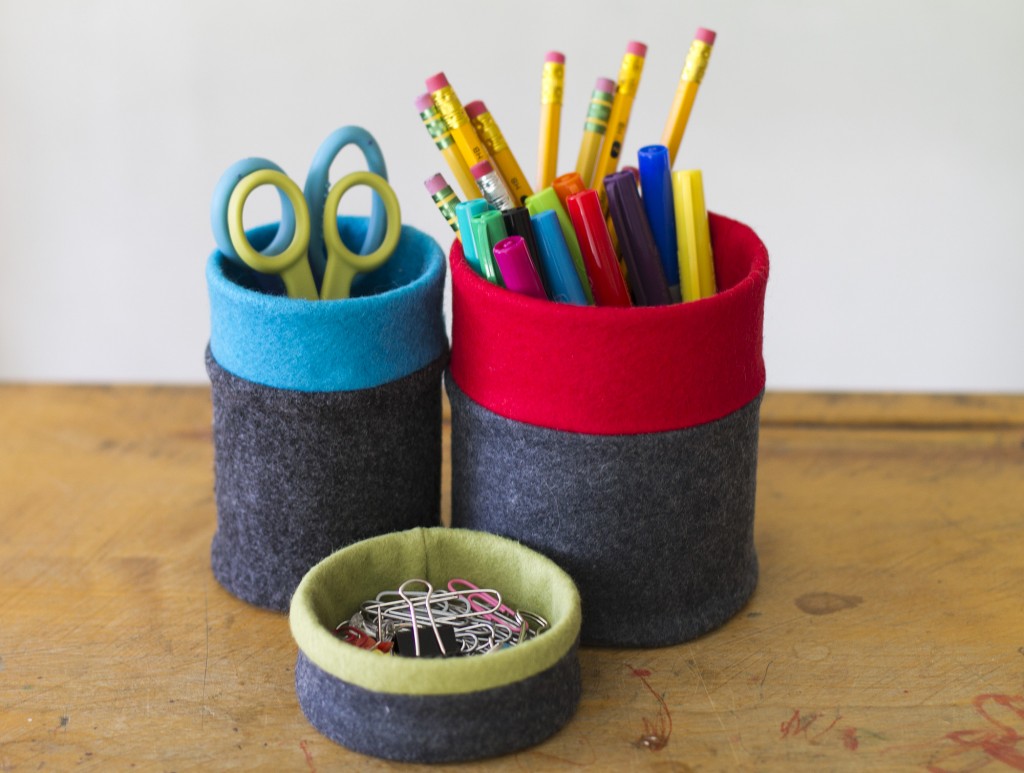
The felt covers look tricky, but they are super easy since I did not cover the bottom of the cans. So the covers are basically long tubes that fold down into the can to make a lining. (You can read detailed instructions in my article here)


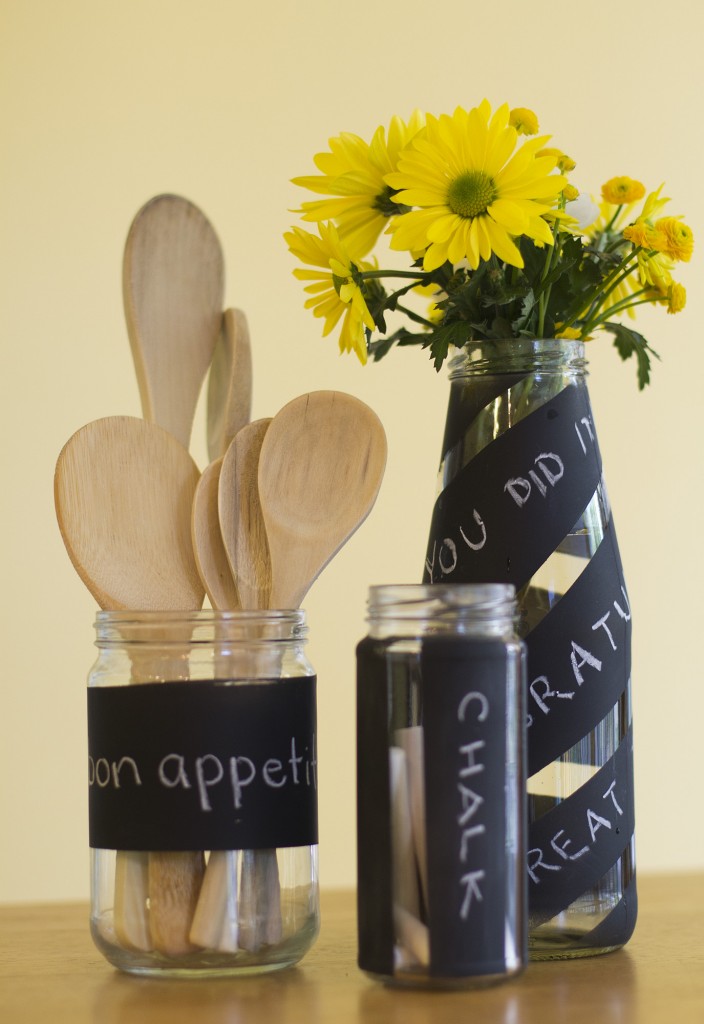
And finally, I used chalkboard spray paint to decorate these glass bottles and jars.

Giveaway winners

Thank you to everyone who took the time to enter my giveway and for all the nice compliments on my hats. In case you didn’t see the updated post, I added a link to the free pattern if you want to make your own. You can find it here:

Here are the winners, I will send you an e-mail to get your addresses:

#1 (small hat): Jacqueline, who wrote: “The smallest size would probably be still to big for my 8 month old son, but he will grow into it.”

#2 (medium hat): Michelle J., who wrote:  “I have girls who would love the red one!”

#3: (large hat): Jessica, who wrote: “Beautiful hats – so lovely and colourful. Would love to win the blue one, my little boy would love it!”

Giveaway!

I can’t believe I completely forgot about Sew, Mama, Sew!’s Giveaway Day!

Since I’m posting this a few days late, I’ll leave it open until next Wednesday at 9 a.m., and I’m offering three items instead of one!

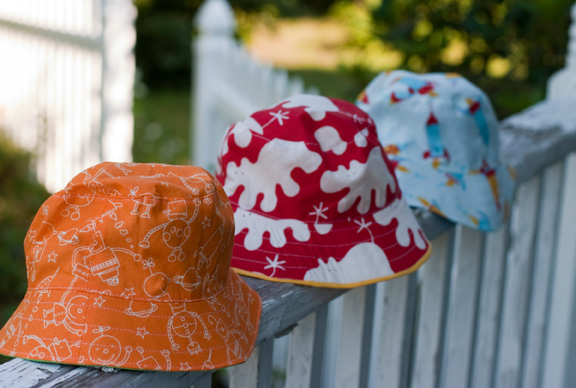
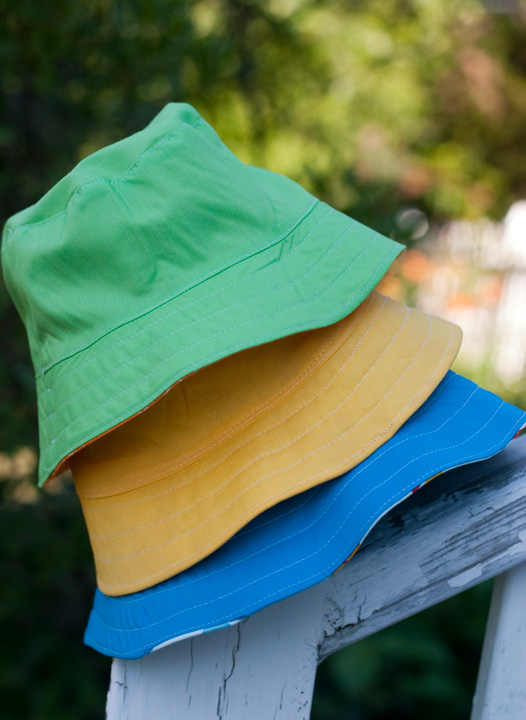
These are the adorable hats I made from the book “Oliver + S: Little Things to Sew.” Each one reverses to a solid color (the orange hat reverses to green, the red print reverses to yellow and the blue/spaceship print reverses to solid blue).

The orange hat is the smallest, the red is medium and the blue is large. The blue one fit my niece, who is a petite 6-year-old, so I’d say the others are infant/toddler size.

Even if you don’t win, you can still get this pattern free right HERE.

To win, just leave a comment saying which size you would like.

Check out all the other great giveaways here:

Camp Quilt #2

First, I have to announce the winner of my Flea Market Finds giveway. I had Parker pick a number out of a hat, and it was #1! So Lauren, I’ll send you an e-mail to get your address.


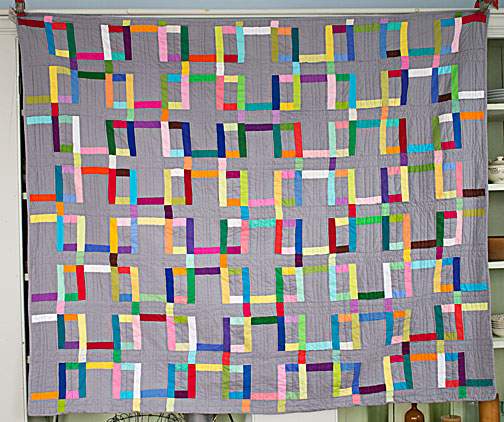
I spent a lot of this weekend finishing up another quilt for our camp, this one for our bed. Though it is smaller than I thought it would be, so maybe I’ll end up just folding it at the end of the bed. The pattern is “Metro Link” by Paisley Pear Quilts. I didn’t follow the directions exactly because I wanted to use the charm packs (pre-cut 5″ squares) of solid colors I had bought a while ago so I figured out a way to cut those in 1.5″ strips, sewed them onto long strips of the gray background fabric and then cut them apart to the specified sizes. And I had a lot of 2.5″ “jelly roll” strips leftover from my first camp quilt. My original plan was to use up patterned scraps, but my husband wanted solids instead. I think I should’ve gone with my instincts!

I really tried not to pay attention to which color was going where, other than to avoid putting two of the same colors right next to each other. I copied the straight-line quilting design from Alex at teaginny designs, though hers is MUCH nicer than mine. I had a ton of puckers on the top of the quilt and after awhile I was just sick of it. And then my sewing machine was acting up and the needle kept just FALLING off. (I think my walking foot was loosening the screw that holds the needle in). But as usual, once it was washed and dried, I liked it a bit more 🙂

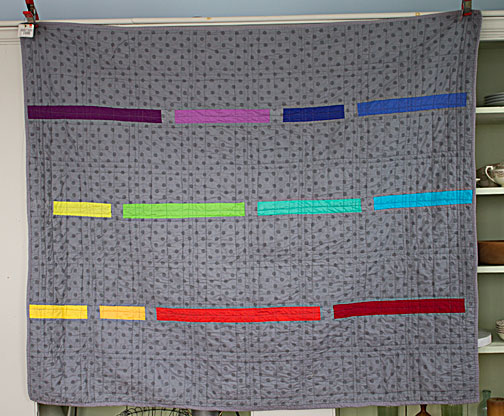
Here’s the back: I didn’t have quite enough of the polka dot fabric so I used some of the leftover solid color strips.

It was funny, I have been spending a lot of time practicing my knitting … but when I switched to sewing the binding on this quilt, it felt SO EASY. My hands definitely are not yet used to knitting…


Flea Market Finds Giveaway

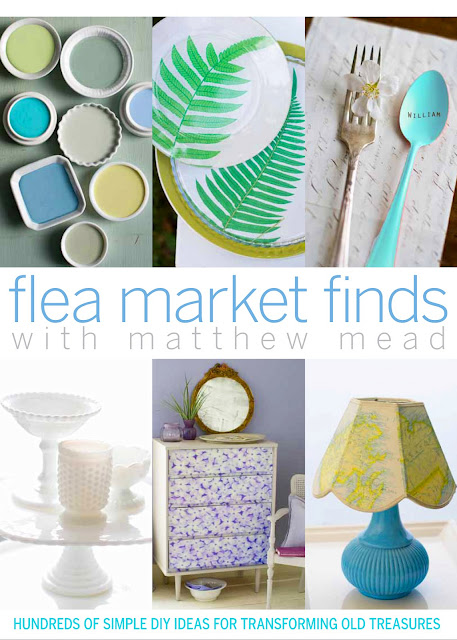
The talented Matthew Mead, who does the photography for my husband’s cookbooks and AP work, has graciously given me an extra copy of his latest work: Flea Market Finds to give away. As with his other books and magazine work, it is gorgeous. I particularly loved the feature on using the colors from maps as inspiration for paint and decorating.


I actually have not been to many flea markets, but we do like to go to yard sales. (Here’s a story my husband and I wrote years ago about the World’s Largest Yard Sale, We had a challenge to spend $100 each but failed miserably. ) Closer to home, we used to go to weekly auctions, and our best deal probably was our $5 dining room table.)

If you’d like to a chance to win, just leave a comment below. It can be anything you want, but if you have a good yard sale/flea market story, I’d love to hear it. I’ll pick a winner Monday morning.


Lovey Dovey Bear

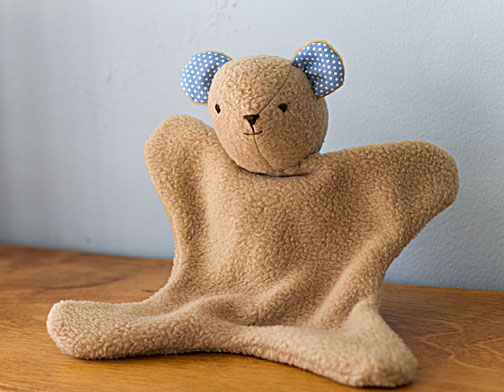
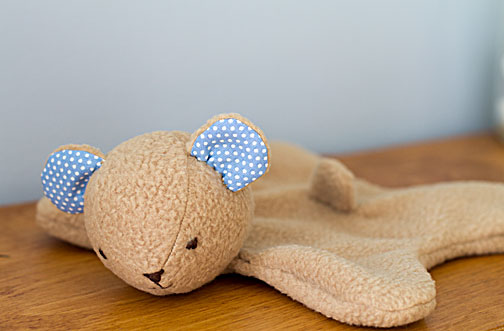
I know I said I was going to make swaddled baby dolls for all the babies my friends are having in the next year, but I could not resist this cute Lovey Dovey pattern by Abby Glassenberg at While She Naps.  Also, since I am now learning how to knit, I have visions of making tiny knit hats for the swaddled dolls, but I didn’t have time (or the skills!) to do that for the baby who arrived earlier this month.

This little bear lovey is heading all the way to New Zealand, for the new baby boy born to the pen pal I have been writing to since I was 14! Sadly neither of us is great at writing letters these days, but we are in touch a bit on Facebook … and we’ll meet again, I’m sure. (We have met twice, once when she was visiting the US and we met in New York, and once when we both happened to be in London at the same time. Someday I’ll get to NZ!)

This was a super easy pattern, using scraps of fleece and fabric I had leftover from other patterns. I’m not crazy about the way the fleece already looks a bit worn out… but I don’t think a newborn will mind!