This little book is my entry into the Scrap Busters contest at Sew, Mama, Sew! Today’s the contest deadline, but I’m trying not to look at it as waiting until the last minute but rather focusing on, “I have finished a Christmas gift in October!” The recipient will be my cousin’s baby, who probably will mostly be interested in chewing on it for a while, but I figure he’ll like the bright colors even if he’s not actually “learning” them at this age.
Instructions:
1) Use a computer and printer to print the names of the colors and the book’s title onto iron-on transfer paper. I used red, orange, yellow, green, blue, purple, pink, brown, black and white. I used Century Gothic as my font, at about 50 pt, but use whatever you find pleasing. Just make sure the letters will fit in a 3″ square. Make sure you choose “PRINT AS MIRROR IMAGE” or whatever setting your printer has to print in reverse, so that when you iron the the words onto the fabric they won’t be backwards.
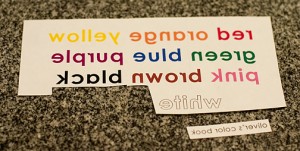
2) Cut ten 3.5″ inch squares out of white fabric
3) Following directions on iron-on transfer paper, transfer the names of the colors to the squares. Transfer the book title to a small strip of white fabric measuring about 1″ by 3″
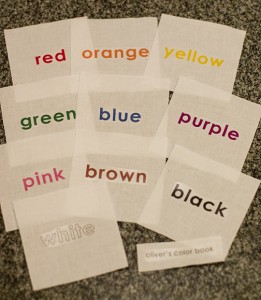
4) For each page, cut three 3.5″ squares out of scrap fabric, using different patterns and textures to add variety. So you will have three different red squares, three orange squares, etc.
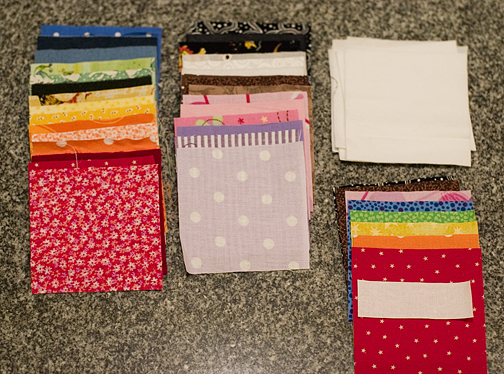
5) Cut eight more 3.5″ inch squares out of different colors for the front and back covers. I used red, yellow, green and blue for the front cover and orange, pink, brown and black for the back cover.
6) Each page of the book will consist of four squares: one white square with the name of the color and three squares in that color. To end up with a book in which the words always appear in the top outer corners of the pages, lay out your pieces so that the red, yellow, blue, pink and black words are in the upper lefthand corner of your 4-square arrangement. For the facing pages, lay out your pieces so the orange, green, brown and white words are in the upper righthand corners.
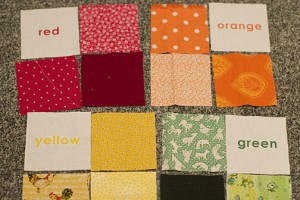
7) Sew the top two squares of each page together, and the bottom two squares of each page together. I like to lay out the four squares, then flip the pieces on the right on top of the pieces on the left, with right sides together, and then sew a 1/4″ inch seam along the right-hand edge. If you do all your flipping the same way consistently, you can stack all the pieces, carry them over to your sewing machine, and chain piece them by just taking the top two pieces, sewing the seam, grabbing the next two and doing the same thing without cutting the thread in between until you’re done.
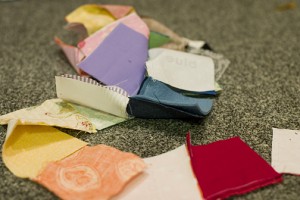
8 ) If you’ve chain pieced your squares, cut in between the sewn pieces. You should now have 24 pieces consisting of two squares sewn together. (20 will make up the book pages, 4 are the covers)
9) Press each two-square piece, alternating the direction in which you press the seams so it will be easier to sew the top and bottom of each page together. For example, if you press the seam to the right, away from the word “red” on that strip, press the seam to the left on the other red strip.
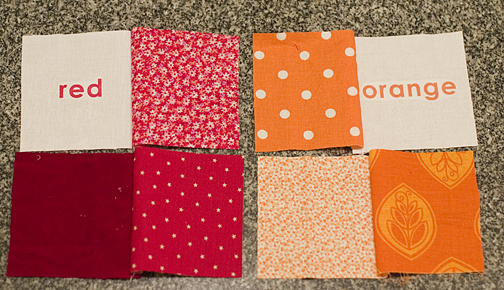
10) Sew the strips together in pairs to create four-square pages. (orange with orange, yellow with yellow, etc). Sew the title onto the front cover. I used a zig zag stitch around the edges.
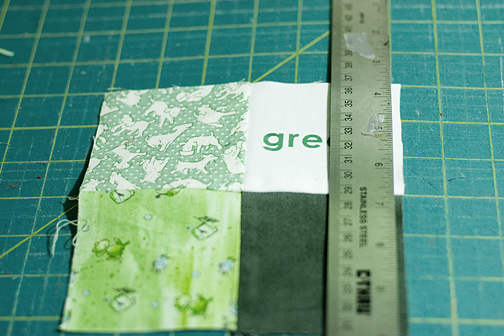
11) If you’ve maintained a perfect seam allowance, you can skip this step. But I had some tension trouble with my machine back on step 7, had to re-sew all the pieces and ended up with some pretty wonky blocks. Ideally, you should have 12 6.5″ squares (including the covers). I ended up trimming mine to 6 inches. Make sure you trim evenly. I find it’s easiest to lay the block on my cutting mat, with the vertical center seam lined up with one of the grid lines. Then I measure three inches from that center line on each side and trim off the excess. Turn the block 90 degrees and do the same thing.
12) Lay out your blocks in order. You’ll be sewing the following blocks together: front cover/red, orange/yellow, green/blue, purple/pink, brown/black, white/back cover. Place the two blocks together, right sides together and sew together on three sides. Leave the side opposite the lettering squares open. This will become the spine of the book.
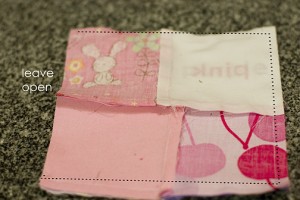
13) Turn the squares right-side-out and press. Stack them in the correct order, with the cover on the top, and sew along the left-hand edge, close to to the raw edges.
14) Cut a 6″ by 2.75″ strip of fabric for the binding. I used orange but use whatever you like. Fold over 1/4 inch at either short end and press, then fold the strip in half lengthwise, wrong sides together, and press. You’ll end up with a folded strip of binding with the top and bottom edges tucked in.
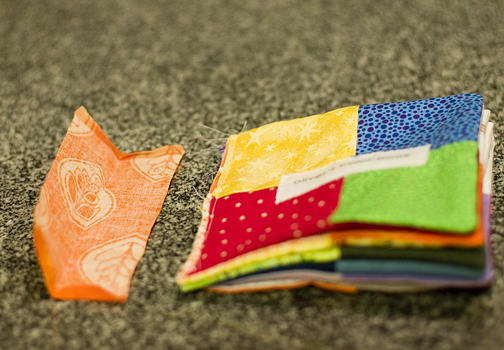
15) Lay the binding along the left-hand edge of the book, raw edges to raw edges.
16) Sew 1/4 inch away from the raw edges. Fold the binding around to the back of the book and sew by hand.
17) If you’re like me, fret about how the pages aren’t even and then convince yourself that a 10-month-old baby won’t care.
