|
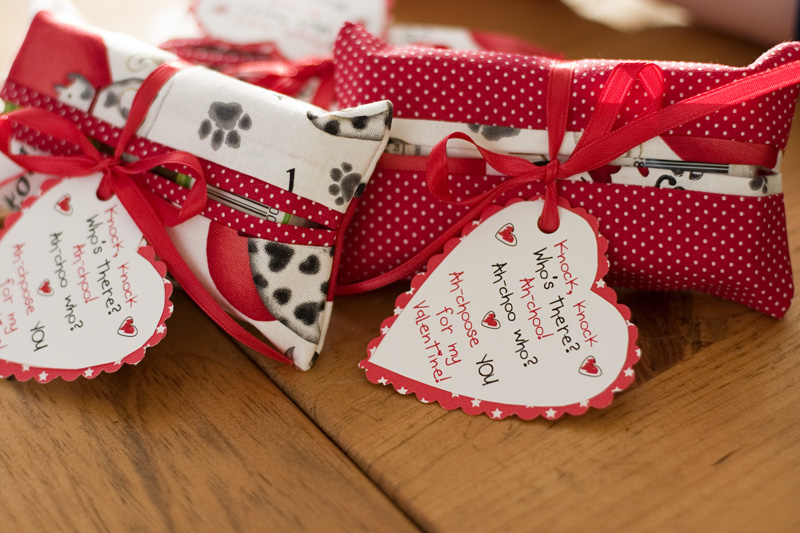
I have no idea what we’ll do this year yet, but last year I made 20 tissue cozies for my son’s preschool classmates. I’m sure the kids would’ve preferred candy but figured the parents would appreciate the tissues during cold and flu season.
Depending on how far you want to carry the theme, attach a card with the following message:
“Knock, knock.”
“Who’s there?”
“Ah-choo!”
“Ah-choo who?”
“Ah-choose YOU for my Valentine!”
Grown-ups may gag at the punny sentiment, but at least a tissue will be close at hand.
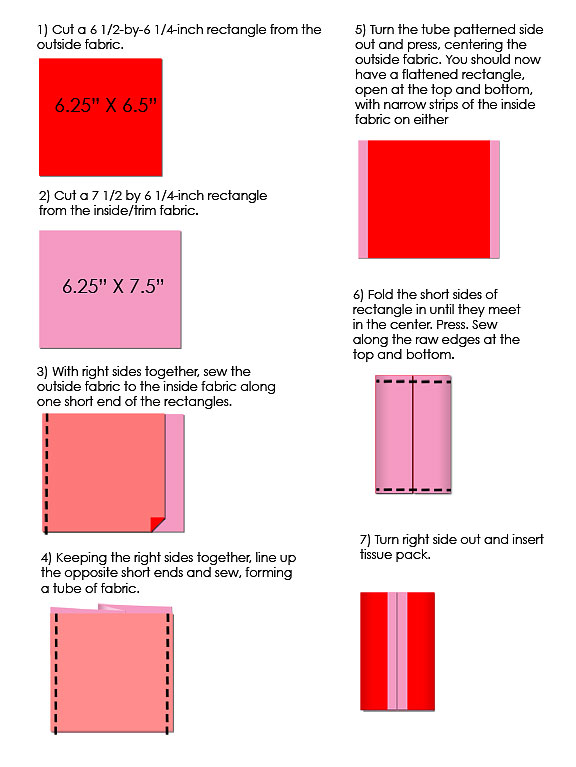
You can click here to read the how-to article I wrote for AP. This really is a very easy project, but the written instructions make it sound more confusing than it is, so here’s my attempt at illustration via Photoshop.
I’m hoping to find an idea for this year here:
I just spent three days with my best friend who lives much, much too far away. In addition to the good company and good food, I also got a chance to see her family and inspect whether they REALLY liked the Christmas gifts I sent them. Though I’m sure it’s possible they only took them out for display purposes before I arrived, they did seem to genuinely like everything I sent.
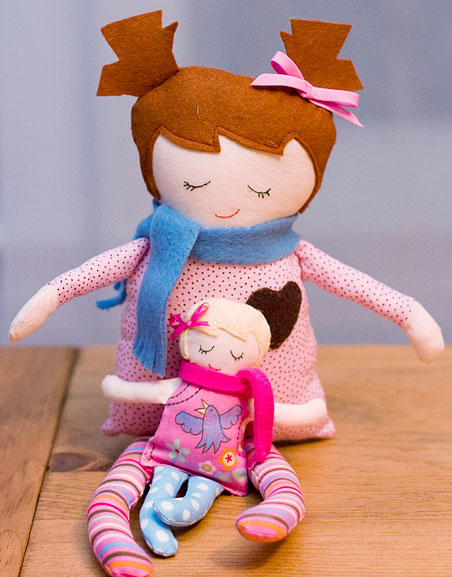
Here’s the Mommy & baby Black Apple dolls I made for my friend’s adorable daughter, featuring pigtails heavily inspired/directly copied from Larissa at mmmcrafts. If I was smart, I would’ve made the baby doll using the full size pattern and then enlarged the pattern to make the Mommy doll, but I didn’t decide to make the baby until after I made the Mommy. It was pretty tricky to make such a small version, and I ended up leaving the entire bottom edge of the body open to stuff it. (but here’s one smart thing: if you’re adding pigtails, leave the opening in the head where one of the pigtails will be, so when you turn the doll right-side-out, you can cover up your messy hand-stitching with a bow)
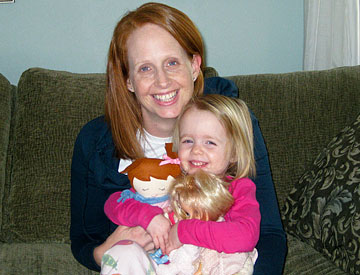
And here’s the recipient with an armful of babies:
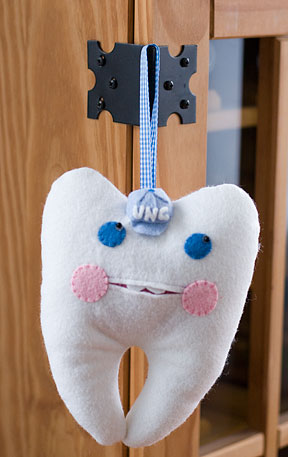
I made my friend’s 6-year-old son a personalized space-themed pillowcase using my tutorial, and tooth pillow using Larissa’s darling pattern. It’s the same pattern I used to make my son’s tooth pillow, but this time I also made a little hat.
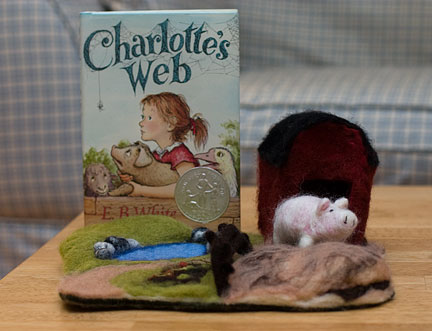
Another successful gift! I made this needle-felted farm back in October (see more pictures and a mini-tutorial HERE) but didn’t add the finishing touch — the pig — until last month, just in time to give it to my 4-year-old niece for Christmas. And I found the Charlotte’s Web book I had bought for her on sale maybe two years ago and promptly lost in a laundry room drawer. I had grand plans to make some of the other critters but ran out of time….
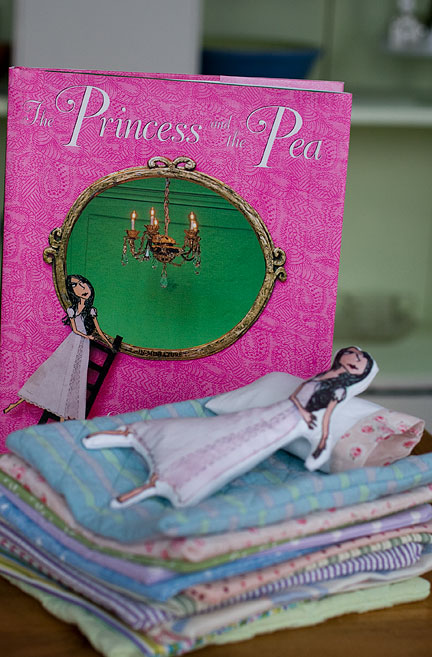
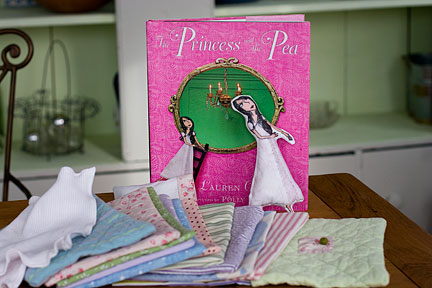
Tomorrow I’m giving the last of my Christmas gifts to my cousin’s four little daughters and their baby brother. The baby is getting the color book I made back in October. The girls are getting cupcake and ice cream charms I made last month and this Princess and the Pea book and play set I finished this morning. (the advantages of not seeing them until after Christmas!) I’ve been wanting to make a set like this since seeing Amanda Soule’s version.
The book is by Lauren Child. To make the doll, I scanned the picture from the front cover, removed the background using Photoshop and printed it on iron-on transfer paper. I used fabric I already had for the mattresses and used thin batting in between the layers. I think if I were to make this again I’d use thicker batting but overall I was pleased with the result. Two of the mattresses are made from pre-quilted fabric I had leftover from another project but for the others I didn’t bother doing any quilting. The blanket is cut from an old thermal blanket that was my son’s when he was a baby (and I will admit, even though he is now five and I am not having any more babies, it was a little sad to cut into it. Even though I still have several more.) Hemming the raw edges had the unintentional but pretty effect of creating a slightly scalloped border.
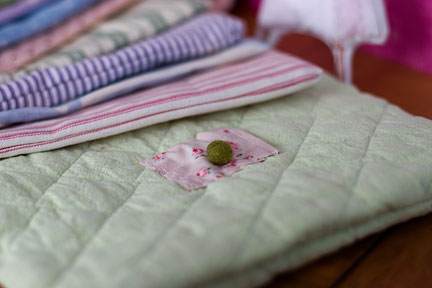
The pea is wet-felted. I can’t remember where I saw the idea to make a little pocket in one mattress for the pea, but it is a great one. The little pillow case is a tiny simplied version of my pillowcase tutorial found on my tutorials page.
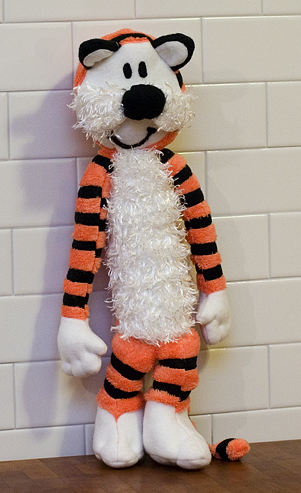
My 5-year-old son has a thing for cats. For years, his favorite stuffed animals have been two cats named (accurately if not imaginatively) Fat Kitty and Skinny Kitty. He has an assortment of Garfields from my husband’s childhood, and of course the Huckle I made him for his birthday. He also likes to “read” Calvin and Hobbes, so I decided to make him a Hobbes stuffed animal for Christmas.
Looking back, it only took me three evenings to make, but it seems like much longer! The orange plush was very annoying to work with (and is more hunter blaze orange than pumpkin orange). I ended up using the same Simplicity baby doll pattern I used for Huckle. I altered it by scanning the pattern, then laying it on top of an enlarged picture of Hobbes in Photoshop. That worked fine until I realized that in doing so, I made the neck opening too small to be able to sew the head on as directed. So I had to sew the head on by hand after it was stuffed. Luckily, the wretched orange plush hides all the stitches. I sewed strips of black fleece to the orange before assembling the pieces, and then found it impossible to line them up when sewing the arms and legs together. And I’m sure there will be orange and white fuzz floating around my house well into 2010.
I’ve decided that I worked too hard on this to let Santa take credit. But I’m curious… how do you fellow crafters handle gifts that you make for your own children for Christmas? Do you let Santa take credit or do you give them as gifts from yourself?
Happy Holidays to all of you… especially those who helped me with encouraging comments and advice months ago when I first started this blog.
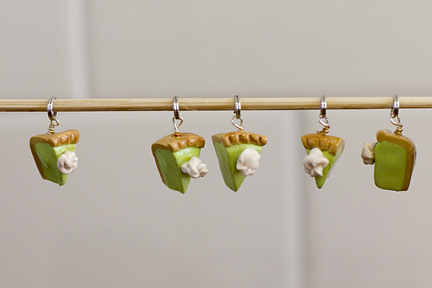
These are my first attempts at making polymer clay charms as gifts for all the little girls I know. There are soooo many cute projects in The Polymer Clay Cookbook, but I’m running out of time before Christmas to make more. I definitely want to try the bacon and eggs plate and some of the other savory dishes. I found them easier than expected to make. They require just tiny amounts of clay, and once you have the clay out it’s easy to make four or five at a time. The hardest part actually was wrapping the wire to make the little jewelry attachments.
In addition to the charms, I’m making some without the jewelry wire for my son, who I think will enjoy playing with them with all the little animal figurines he likes to set up.
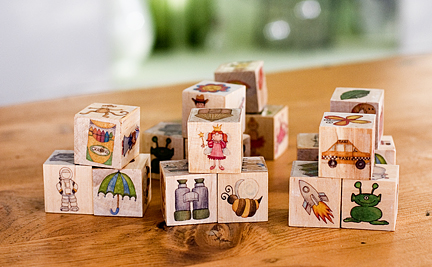
Aren’t these little story dice adorable? I used to think so, but making them turned out to be such a frustrating process that I’m no longer sure! I was inspired by this wonderful set at The Small Object and this tutorial at Matsutake on transfering images to wood using glue and Mod Podge. But I take full credit for coming up with the CRAZY idea that I could make a set for each of my son’s (TWENTY-TWO) pre-school classmates. In the end, I made eight sets, enough for his closest friends and a few other friends and relatives.
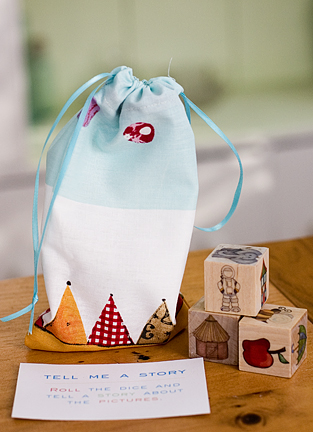
The images I used are digital scrapbooking elements by Kate Hadfield. I already had a few sets, and I love the painted style. (And at the time, I justified the cost by figuring that if I divided it among 22 kids, it was a bargain! Ugh). I tried the Mod Podge technique but it didn’t work. Maybe I didn’t use enough glue or Mod Podge. Then I tried a rub-on technique using transparency sheets. No luck. Finally, I used this packing tape transfer technique I read about at How About Orange, and finally, that worked. (Note: this technique works with laser printed images and photocopies, but not inkjet prints)
With all that out of the way, this really is an easy project, but it is not a quick one. I’m happy but not thrilled with the final result. Some images didn’t transfer as well as others, or the final coat of acrylic spray turned a bit cloudy for some mysterious reason.
MATERIALS:
wooden cubes (mine are 1.25 inches)
a variety of 1-inch images (digital scrapbooking elements, clipart or hand-drawn)
laser printer
clear packing tape
scissors
small bowl of warm water
Mod-Podge
paint brush
clear matte spray
INSTRUCTIONS:
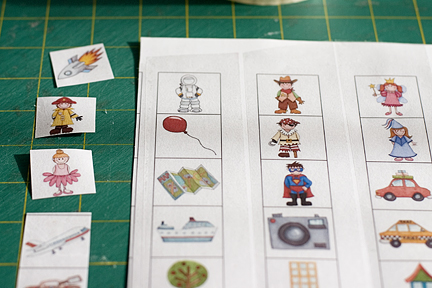
1) Print images using a laser printer. I used Photoshop to format mine in columns because they will be covered later with strips of packing tape.
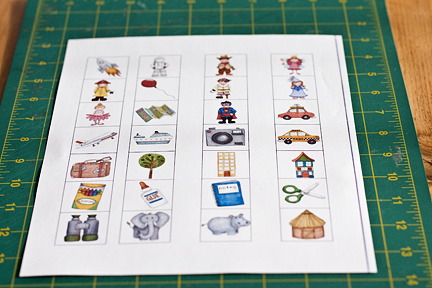
2) Cover images with packing tape.
3) Cut out images. (Alternatively, you can leave the sheet of paper whole and cut the images apart later. It’s easier to cut them now, but the next step — rubbing off the paper — is easier using the full sheet)
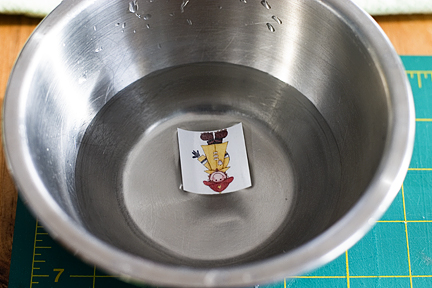
4) Dip the tape-covered image in warm water to moisten the paper backing. I found that if I let them soak for more than a minute or so, the image didn’t transfer well. So just dunk it enough to get it wet.
5) Using your fingertips, NOT fingernails, rub the paper until it starts to come off. Continue wetting the paper and rubbing it until it is removed.
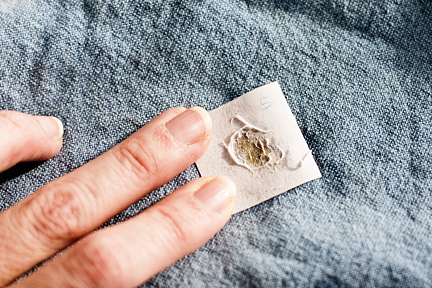
6) The images will still have a bit of adhesive stuck to them, so lay them sticky-side up to dry. I noticed that pieces that often appeared totally clear turned out to have bits of paper still stuck to them that didn’t show up until they dried. You can go back and rub them off again or just tell yourself that a 5-year-old is not going to notice or care.
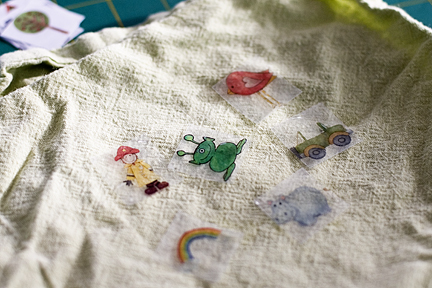
7) Apply a thin layer of Mod Podge to both the block and the image and adhere the image to the block. Repeat for remaining sides of the block. Allow blocks to dry, then seal with matte acrylic spray.
My husband is hosting seven of our son’s friends tomorrow for a cookie-baking party. I’m giving the four boys sets of the story dice. The girls are getting polymer clay charms (pictures coming soon!). Those were much easier, and very cute, but I feel a little bad giving the boys the more “educational” toys and the girls jewelry. I hate to contribute to gender stereotyping…
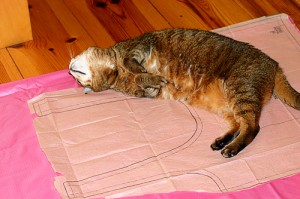
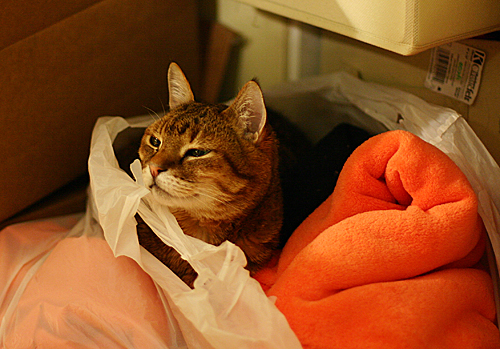
I apologize for the lack of posting lately… too many projects to finish before Christmas! Making matters worse is the habit of one member of my family to insert herself in the middle of projects…
Here she is in the bag of supplies that somehow will be transformed into a Hobbes stuffed animal… How can I disturb her?
“Mommy, Memere bought me a Shrek advent calendar!”
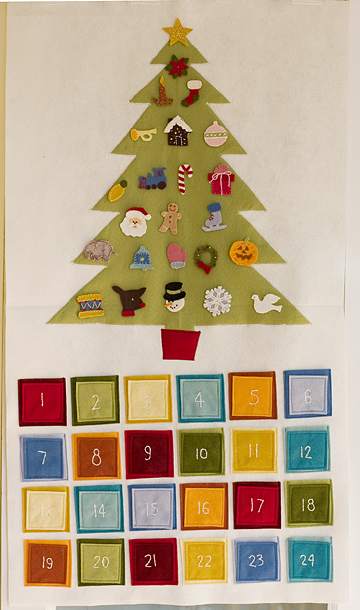
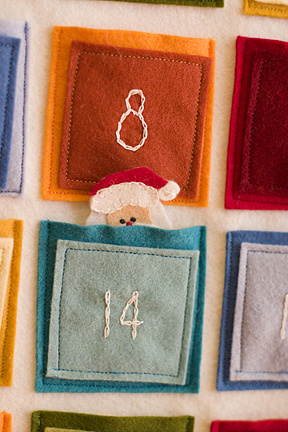
Not the words you want to hear when you’ve spent the last month lovingly recreating the handmade Advent calendar from your own childhood for your (ungrateful) five-year-old son. At first, he informed me that I could give my version to one of his friends, but once he saw it, he redeemed himself by being appropriately impressed. And I’m quite impressed that I managed to finish it with a week to spare.
I was inspired by the embroidered felt Advent calendar at The Purl Bee, though I am not good at embroidery at all, and though all my squares looked nice and crisp when I cut them out, they are all wonky now that they’re sewed on.
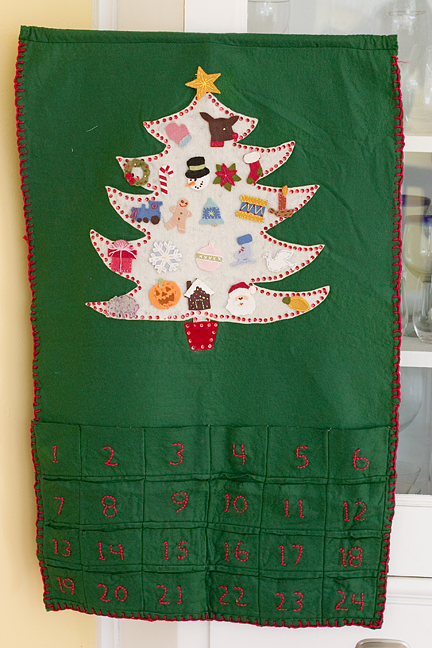
Here’s the calendar my mom made for me and my twin sister when were about four. She saw a similar one at a neighbor’s house and made her own, adding the pockets so each day’s ornament would be a surprise. Most of the ornaments were lost or mangled, so I made 24 new ornaments, replaced the yarn stitching around the edges, glued on some new sequins to replace a few that had fallen off, and gave the new-and-improved calendar to my sister for my niece and nephew.
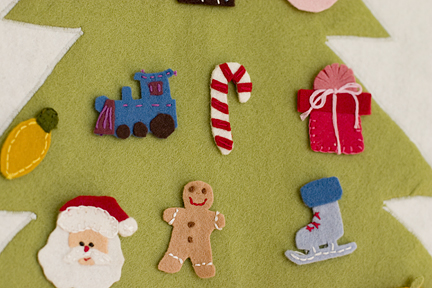
Here’s a close-up of some of the ornaments. I used wool-blend felt for everything, and almost all the shapes are from Microsoft clip art. I used bits of “Fabric Fusion” iron-on Velcro on the back, just the prickly side, which seems to work OK to stick the ornaments to the tree. I tried to include most of the same shapes from the original, hence the jack o’lantern and elephant, which strike me as a bit unusual Christmas ornaments.
Let the holidays begin!
The list of things I want to make for friends and family for Christmas is quickly becoming overwhelming, so I decided to add to the pressure by making not one, but three advent calendars. If I can get them all done by Dec. 1, I figure I will have proven that I can get everything else done before Christmas!
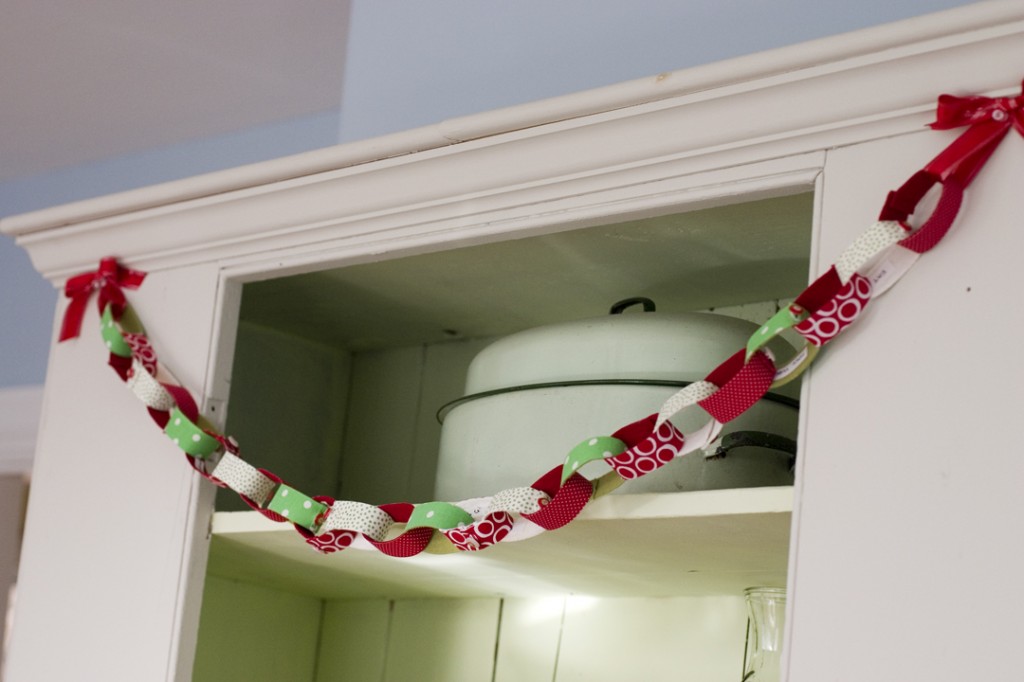
The first two are still in the works: I’m repairing the calendar my mom made for me and my sister when we were little as a gift for my niece and nephew, and I’m making a new version for my son. The third was an assignment for The Associated Press and was much less involved: a fabric “calendar” that mimics the look of paper chains but is durable enough to last for years.
AP Photo/Holly Ramer
Inside each link is a slip of paper listing a holiday-themed activity.
AP Photo/Holly Ramer
Here’s my list of activities, but you can find plenty more just by Googling “advent calendar activities.” I tried to include a lot of things we already had planned: paint ornaments, go the planetarium party, go to see “A Christmas Carol,” go downtown for “Midnight Merriment,” buy the Christmas tree, decorate the tree, drop off gifts for charity, write to Santa, make a gift, drink cocoa, put up outside lights, host work holiday party, build a fire in the woodstove, make paper snowflakes, make a popcorn garland, visit Santa, make cookies, attend school party, drive around to see Christmas lights, go sledding, wrap presents, go out for ice cream, watch a holiday movie, visit relatives for Christmas Eve!
You can read my how-to article and see a step-by-step audio slideshow by clicking below:
AP Advent Calendar article/tutorial
AP Advent Calendar slideshow
Also, thanks to Amanda at ohamanda.com for agreeing to be interviewed. She’s compiled a great list of creative calendars here and here.
|
|