Calendar

November 2024
M T W T F S S
 123
45678910
11121314151617
18192021222324
252627282930  

Featured at:

craftsterBest of Craftster 2008

As seen on CraftGossip.com

Fan of:

the-long-thread-button

Double Birthday

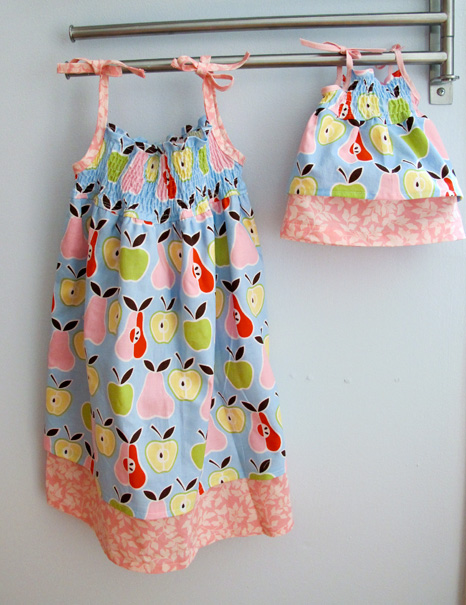
My adorable niece and nephew celebrated their 5th and 6th birthdays last weekend with an outdoor party, water balloons and two cakes: chocolate with Sleeping Beauty on top for the birthday girl and vanilla with Buzz Light Year on top for the birthday boy. I made my niece two sundresses, one for her and one for her American Girl doll, using this tutorial at From an Igloo. It really is an easy dress but for some reason I was having one of those nights when everything goes wrong. First, I sewed the longer skirt piece on top of the shorter piece instead of under it, gathered it and sewed it to the bodice before realizing my mistake. (The only thing I hadn’t done was trim the seam and topstitched it). Then I forgot to take the elastic thread out when I sewed the first shoulder tie on. I also had a bit of trouble getting the elastic thread to work correctly for the shirred bodice. I ended up winding the bobbin using my machine rather than by hand like all the tutorials say and it seemed to work. (though my lines are horrible wonky and uneven.)

For the doll dress I just scaled everything down. I had a dress pattern for American Girl dolls I downloaded from the Internet somewhere and used that roughly to measure how wide to make the bodice and how long to make the skirt. The skirt isn’t as full as the full-size version because I was running out of fabric.

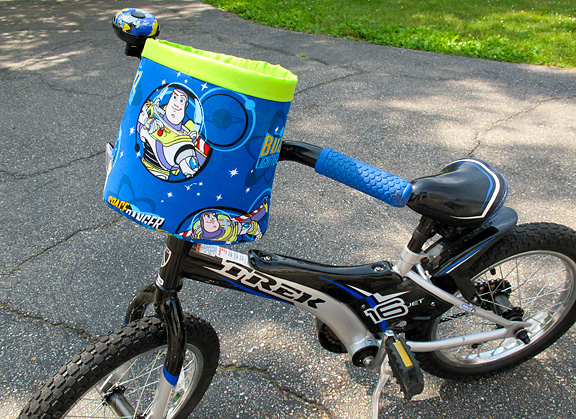
I bought my nephew a few pounds of mixed LEGO pieces off eBay (and ran them through my dishwasher secured in a lingerie bag to sanitize them) and made him a little basket for his bicycle. I used this tutorial at Noodleheads. (I stuck it on my son’s bike for this picture.) When I was making the binding strip to go around the top edge I made one folded side narrower because I was worried I wouldn’t catch the other side when sewing it on, but I went too far and my stitches on the inside are not even close to the edge so it looks pretty messy.
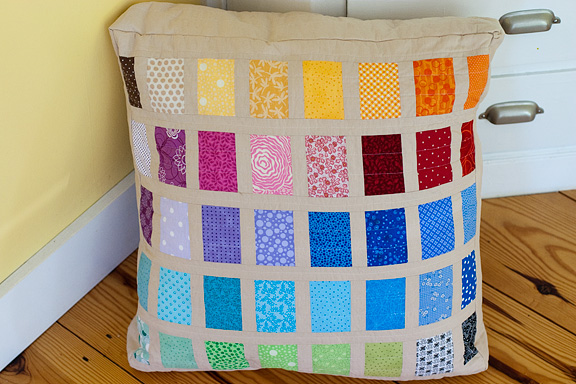
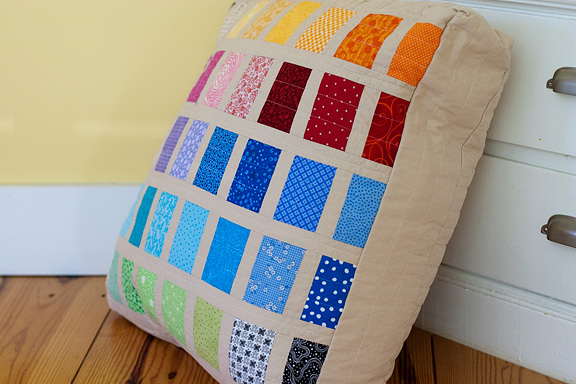
Paintbox Pillow

I STILL haven’t finished the Paintbox Quilt I started months ago, but in the meantime, I used half of the little pieces I cut out for the back of the quilt (I’m going to do something more plain on the quilt instead) to make this floor pillow for the reading corner in my son’s classroom. His last day of kindergarten is tomorrow, I can’t believe it! But, he’ll be staying at the same school for first grade, so he will get to enjoy the pillow with his classmates.

I started with a large, square pillow from Target, and sewed across the corners to make it more box-shaped, using a technique I found in Martha Stewart’s Encyclopedia of Sewing and Fabric Crafts. (Similar to how you would make a flat-bottomed purse or tote, if you’ve ever done that).

The back of the pillow is just the same beige sashing fabric, quilted in straight(ish) lines about an inch apart. The cover is removable, thanks to a zipper along one edge. (not pictured because it’s not my best work!)
I used a cotton/poly blend batting so the cover didn’t crinkle up as much as I would’ve liked, but overall, I love how the colors look together.

I still have some vague idea that I will make individual gifts for the teachers, as well, but we’ll see. Technically, his last day of school is tomorrow, but “commencement” isn’t until Saturday. And then he’s going back for four weeks of summer school/camp. So it depends on what deadline I chose to observe!

Freezer Paper Stencils

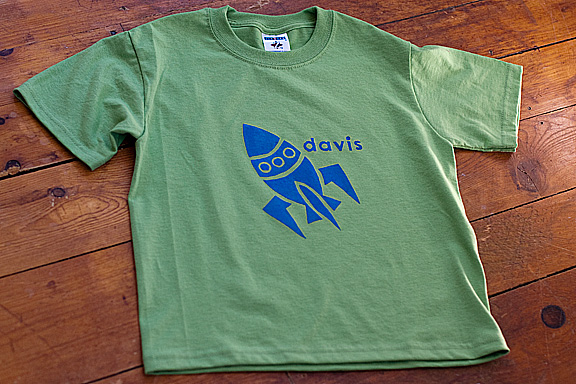
This was my first attempt at freezer paper stenciling and I’m quite happy with it. I made this shirt for one of my son’s friends who was turning 5. (The party was at a science museum and when we saw someone walking in with a huge silver balloon shaped like an “S,” both my husband and I thought it must be for another party because the birthday boy’s name was Davis. So we were quite perplexed to find out it was indeed for the party we were attending. I was trying to think what else could start with “S.” Superman? It took an embarrassingly long time for it to dawn on us that, duh, it was a FIVE not an “S.”)
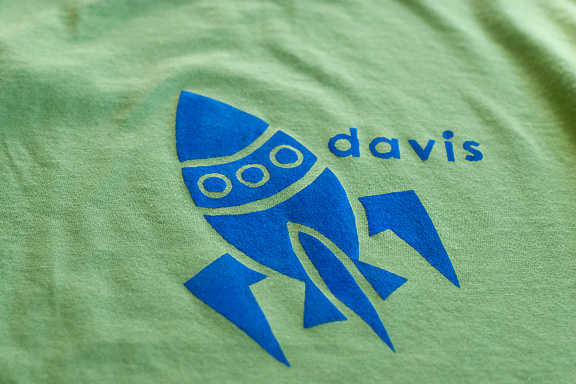
I used an image from Microsoft clipart for the rocket. I printed the image and the lettering directly on the freezer paper by cutting the freezer paper to 8.5 X 11 inches and ironing it to a piece of plain copy paper. That way, I was able to run it through my ink jet printer. I then removed the copy paper, cut out the image and the letters using an X-acto knife and ironed the stencil onto the t-shirt.
I accidentally bought “velvet” fabric paint, which gives the design a slightly fuzzy appearance when you hold a steamy iron over the finished shirt once everything is dry.

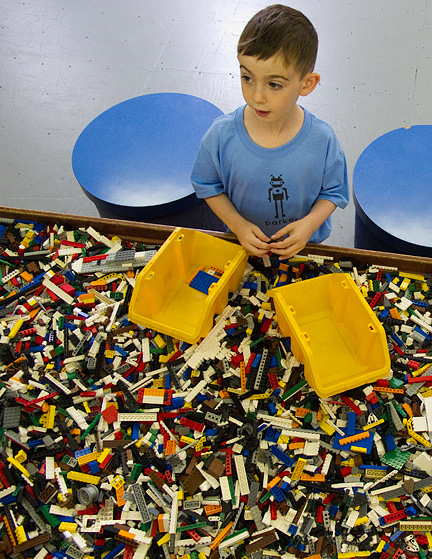
I also made a robot version for Parker, using the robot font I used to make his matching game. Every time I look at it I notice how off-center the design is, but he doesn’t care.

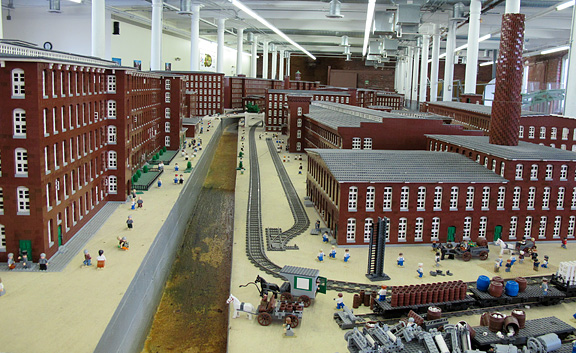
The science center also has an enormous LEGO model of the historic millyard where the center is located. Pretty amazing.

Secret Agent Kit

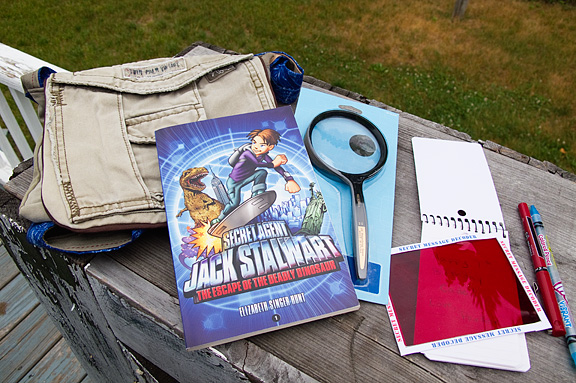
I put together this gift for my friend’s 7-year-old, who is very into spies and secret agent stuff. The bag is made from an old pair of my husband’s cargo shorts using this tutorial at Noodlehead, though I had to modify the size and shape a bit because I only had shorts to work with instead of pants. I also didn’t have any bias binding on hand, so I used brown piping along the flap edges, which looks just as good I think. I was a bit worried that it ended up looking more like a purse than a secret agent/adventure bag, but I’m told the birthday boy likes it!

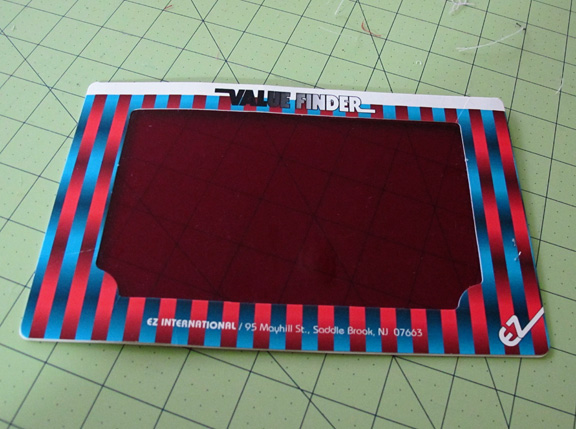
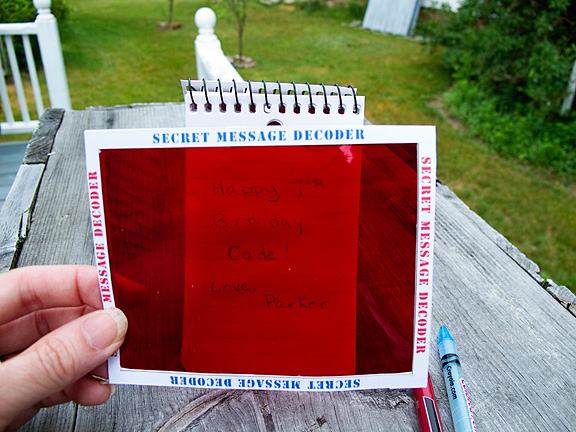
The coolest thing in the kit is the “secret message decoder.” I’ve had this idea in the back of my head ever since seeing these secret message Valentine’s Day cookies, and when I was recently re-organizing a bunch of craft and sewing supplies, I came across this:

I don’t remember where I got it, I think it was included in a box of fabric/quilting supplies I got at a yard sale long ago. I do know that I’ve never used it for its intended purpose, which I’m guessing has something to do with evaluating the light/dark values of fabric. So I removed the cardboard frame and made a new one (cutting the red film in half so I could make another one for my own little secret agent).

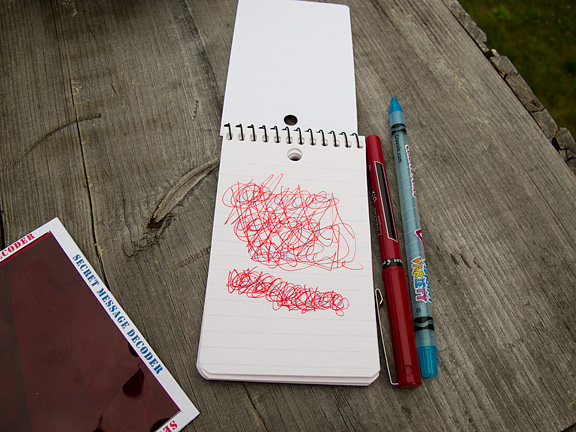
You can write something in light blue ink or pencil, then scribble all over it with red ink. When you put the red plastic over it, the message is revealed!


Napkins to dye for

“Dyeing is eventful in a grand sort of way.” — Martha Stewart’s Encyclopedia of Sewing and Fabric Crafts

This quote made me laugh. What a Martha thing to say. Sure, DYING can be grand and eventful (think Romeo and Juliet). DYEING on the other hand, is more of a tricky, trial-and-error experience, particularly when using the fiber-reactive dyes called for in several of the projects in this book.

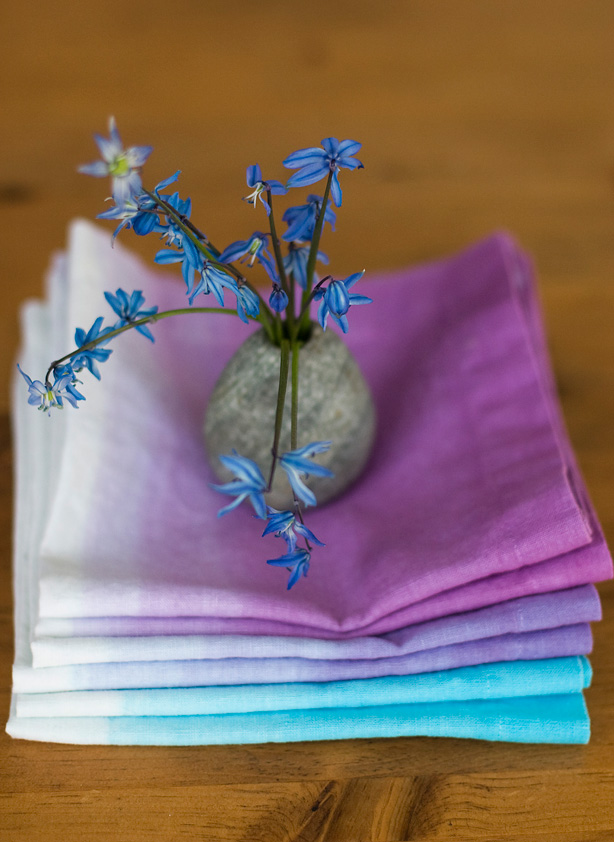
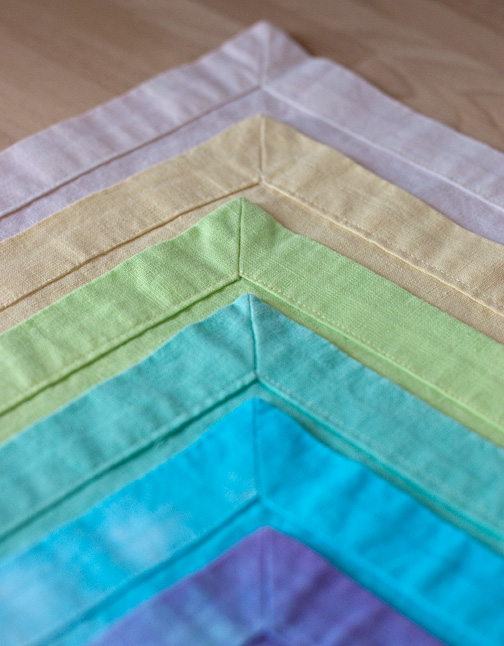
But, I have to say it was kind of fun to experiment, as I did for a craft story I recently wrote for AP. I made linen napkins then attempted to dye them with Martha’s ombre technique.

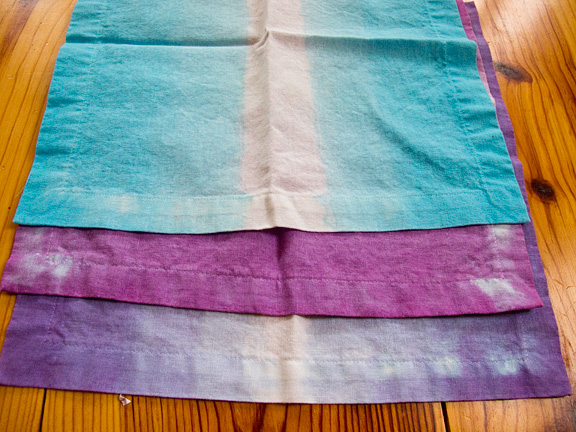
They look OK all folded neatly and stacked, but here you can see the trouble I had. I think the blotches are where I had the heads of my pins, so the dye was blocked.

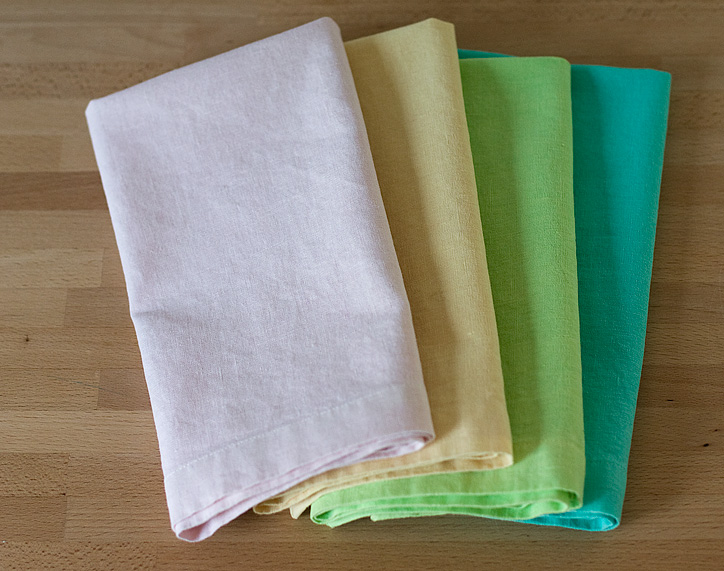
My next attempt was dyeing more napkins, this time just solid colors. These turned out vastly lighter in color after washing than they were when I removed them from the dye. The pale yellow was actually a medium-orange, and the pale pink was a much deeper pink. Weeks later, I realized that I forgot to add the salt to the water at the very start of the dyeing process. They’re still pretty, though.

I do plan to make more napkins. There is very little sewing involved, but lots and lots (like 20 different creases) of pressing. Luckily we recently got a new iron and it’s so much better than our old one that I actually enjoy it. One thing I’ve noticed with Martha projects and recipes is that she likes to combine multiple steps into one step, so at a glance, this looks like five quick steps. Then you read it, and there’s really 10 steps.

That said, these napkins were oddly satisfying to make. The mitered corners are just so professional looking.

You can read my AP article and the tutorial for making the napkins here.

New-and-improved Story Dice

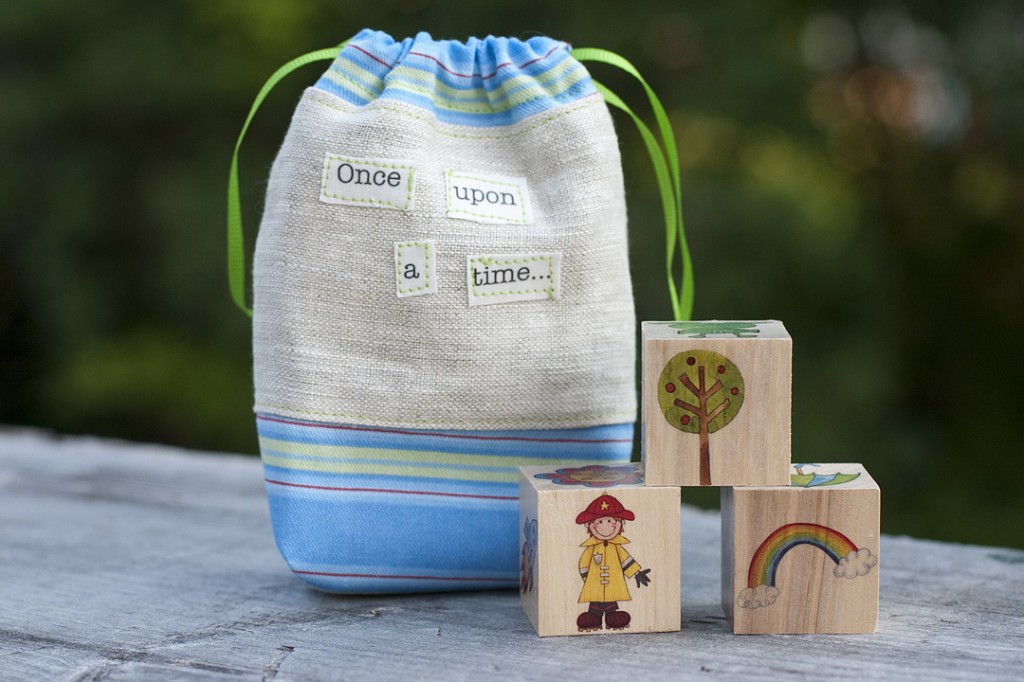
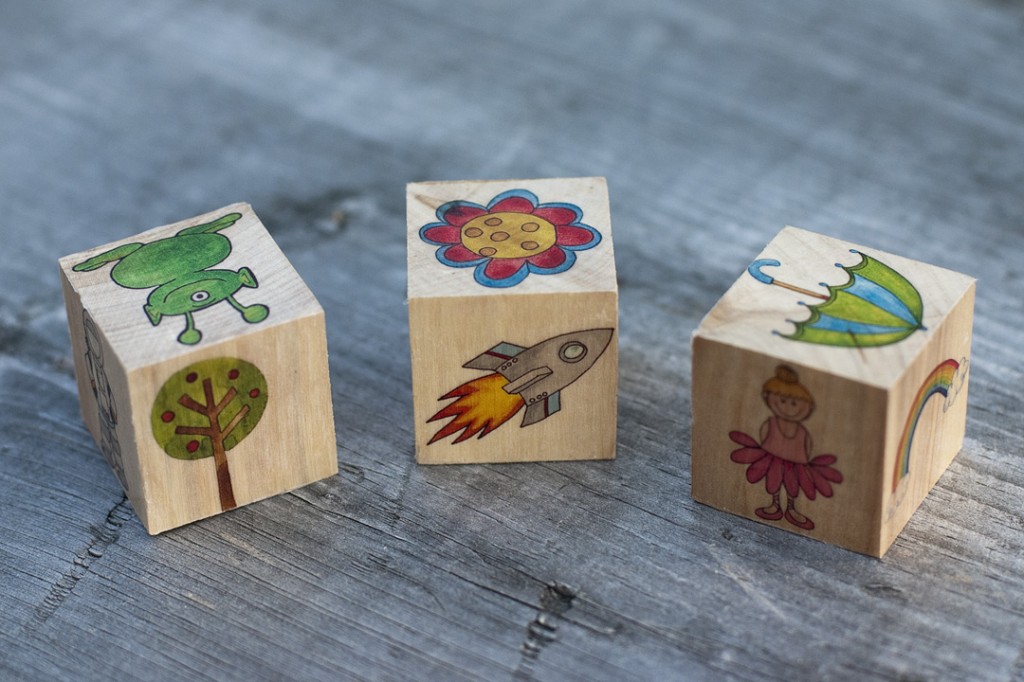
Back in December, I posted a tutorial for the story dice I made as gifts for some of my son’s friends. The basic idea is that you roll the dice and use whatever picture is facing up to tell a story.  I really liked how they turned out, but the packing tape transfer technique was quite labor-intensive, and required a color laser printer. I’ve been tinkering with other methods to transfer images so the wood shows through as if the pictures are printed or painted directly on the blocks.

What I finally came up with is MUCH easier and faster: temporary tattoo paper!

You can read my how-to article for AP here: AP Story Dice article

And watch a step-by-step audio slideshow here: AP Story Dice slideshow

The only drawback is cost. I bought the paper at Michael’s, and it was $9.99 for one sheet. ($6 using a coupon). But I was able to squeeze 48 images on one sheet, enough for eight blocks so that isn’t toooo bad.

Once again, I used images by digital scrapbooking designer Kate Hadfield.


Princess & the Pea, the sequel

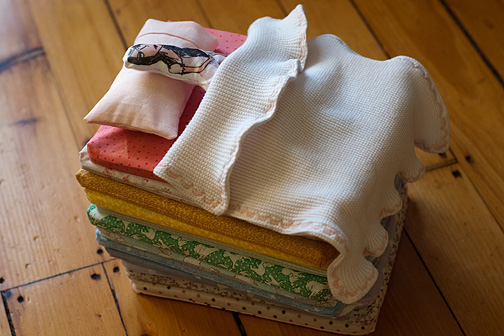
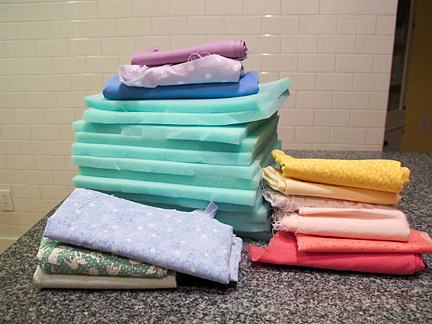
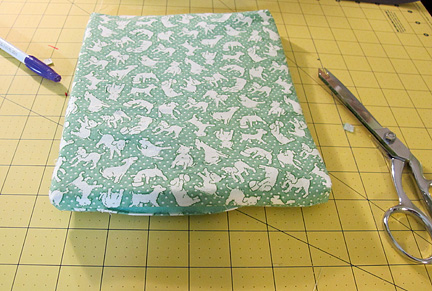
I was asked to make another “Princess and the Pea” play set like the two I made as Christmas gifts, but this time, I wanted the mattresses to look more like, well, mattresses, rather than quilts. So I used a sheet of foam instead of batting and made the corners of each mattress cover boxy. If you’ve ever made a purse or tote bag with a squared-off bottom, you already know how to do this technique. But here’s a little tutorial in case you want to try it:

1) You need 1 yard of 1/2″ thick foam. It’s a bit pricey, but I used a coupon at Jo-ann Fabric and I think it cost about $6 for the sheet.

From the sheet of foam, cut 12 rectangles, each 7 X 9 inches. (You’ll have a strip of foam left over). You also need 12 different fabrics. I originally planned to mix solids and prints, but ended up switching to all prints.

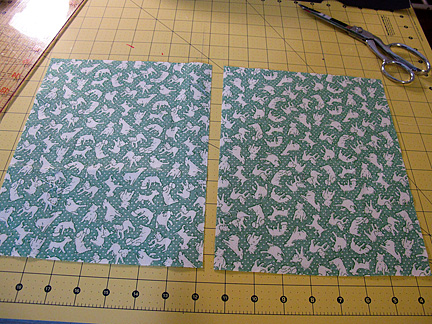
2) Cut 2 rectangles from each fabric, 8 X 10 inches each.

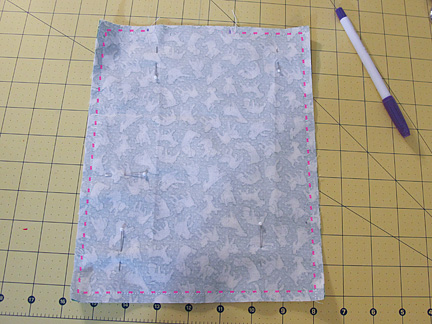
3) Using a 1/4″ seam allowance, sew around the rectangles, leaving a 3″ opening at one short end.

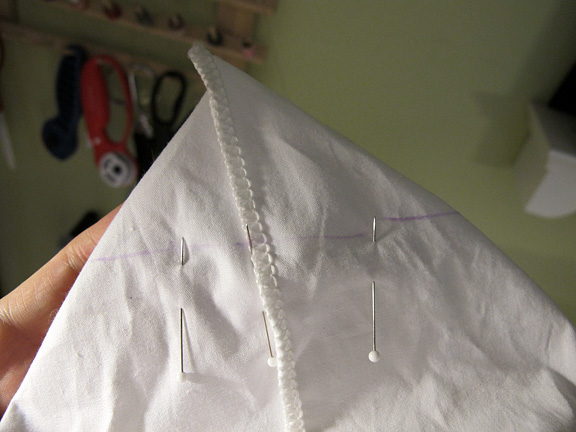
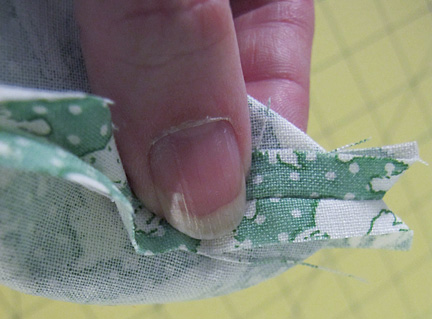
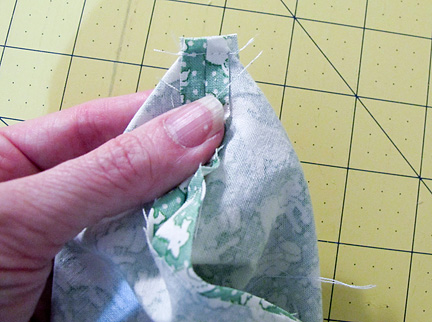
4) This is the tricky part to explain. Pinch the corner of the rectangle so the two seams are on top of each other. I find it easiest to finger-press the seams open.

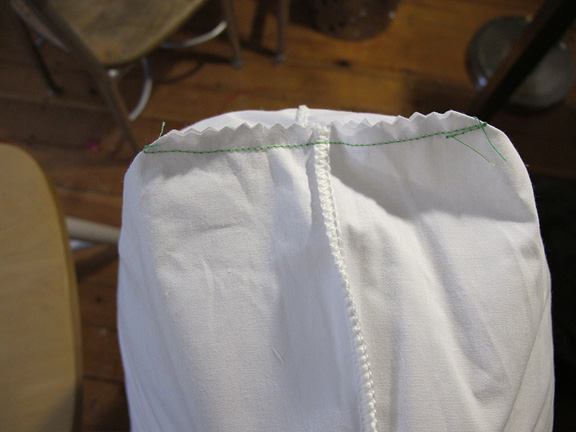
Sew across this triangle, perpendicular to the seam,  1/4″down  from the point of the “V” shape made by the seam allowances.

5) Repeat for each corner, trimming off the extra fabric

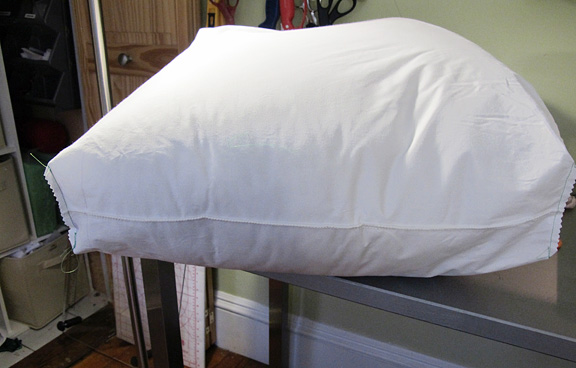
6) Turn the mattress cover right-side out and insert the foam. I rolled the foam lengthwise into a tube shape then pushed it into the cover.

It takes a bit of fiddling, but it was easier than I expected.

7) Sew the opening closed using a ladder stitch or whip stitch.

As I did with the original version, I scanned the cover of the “Princess and the Pea” book by Lauren Child, edited it in Photoshop to remove the background and printed it on iron-on transfer paper. I transferred the image to white fabric, and made a simple flat doll. The pea was a wet-felted ball, and a sewed a little pocket onto the bottom of one of the mattress covers so it wouldn’t get lost. I used my pillowcase tutorial HERE to make the little pillowcase, and the blanket was cut from one of my son’s old baby blankets, hemmed with one of the fancy stitches on my sewing machine.

Check out more great projects here:

Giveaway Winners

Once again, I’m amazed by how many Lowly Worm fans there are out there! Thank you so much for all your kind, and often amusing comments! I hope some of you will come back and read more, even if you didn’t win. I hope to do more giveaways in the future.

Lowly Worm will go to sharon, who commented at 11:49 a.m. Wednesday:
oh my gosh i love lowly SO much but i also love felt – i want them both but i think i would have to pick lowly he is so perfect!!!

The felt scraps go to duff, who commented at 11:14 p.m. Wednesday suggesting this for my 4th of July project:
“I just saw a giveaway for a utensil roll-up. Just like the crayon roll up except it has three slots for the utensils (maybe add one for a napkin?). what a great way to have “real” utensils on hand for 4th of July barbecues!”

Limited-edition Lowly!

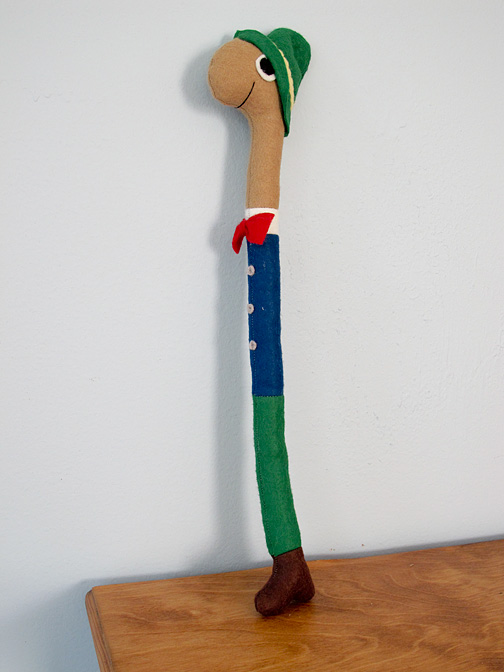
Here is my offering for Giveaway Day at Sew, Mama, Sew! I had no idea when I posted pictures from my son’s Busytown birthday party last fall that there were so many Lowly Worm fans out there! This version is a bit of an upgrade from the Lowlies I churned out 10 at a time for the party. Those were made with inexpensive acrylic felt. The new version is made with a wool-blend, and I’ve streamlined the design a bit to make his coat part of the body instead of a seperate piece.

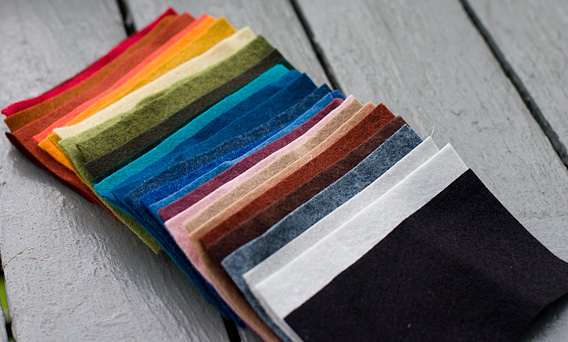
For those of you who AREN’T Lowly fans, I’m offering an assortment wool felt scraps.

There are 28 pieces, all different colors, and all cut to 3X5″. These would be great for small applique projects, or the little ornaments I made for my son’s advent calendar.

Here’s a different options to win:

1) Simply leave a comment specifying which item you want: Lowly or the felt scraps. (make sure it includes a way to contact you) (If you already commented when I was just offering Lowly (before 11 a.m. Monday) and you win, you’ll get both. Otherwise, I’ll pick two winners)

For extra chances, do any of the following (in seperate comments if you do more than one):

2) Leave a comment telling me you follow my blog. (either longtime readers or brand new!)

3) Leave a comment describing some kind of 4th of July craft or sewing project idea, either something you’ve made, seen elsewhere or would like to see.  I write a craft column for The Associated Press and need to come up with something that will run in June, usually I look ahead to the next holiday/season.

4) Check out my talented husband’s blog: jmhirsch.com. He is the national food editor for The Associated Press, and has a cookbook coming out in the fall. If you’d like, leave him a comment, but it’s not necessary. Just tell me you took a peek and will consider going back!

I’ll close comments at 8 p.m. EST Thursday and announce the winner Friday morning. I am willing to ship internationally. Good luck!

Giveaway Day

I’m looking forward to participating in my first Giveaway Day at Sew, Mama, Sew! In December, I won some beautiful fabric from Jenny at Cut. Sew. Iron. Repeat (which I have yet to use! I need to find the right project.) I think I’m going to give away something related to what has been by far my most popular post.

Here’s a hint: You’d have to hunt high and LOW to find another one of these items. Check back on Monday!