Calendar

November 2024
M T W T F S S
 123
45678910
11121314151617
18192021222324
252627282930  

Featured at:

craftsterBest of Craftster 2008

As seen on CraftGossip.com

Fan of:

the-long-thread-button

Travel Game Folios

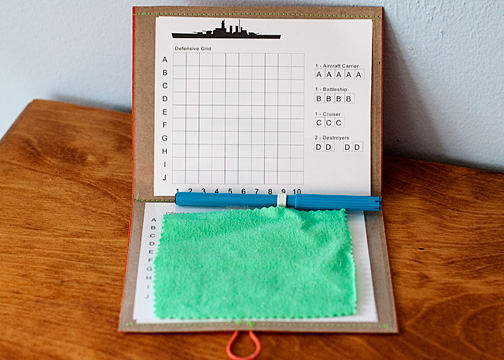
I have not packed anything for myself yet for my trip, yet I keep trying to squeeze in a few more craft and sewing projects! Here are some little travel game folders I made for my son and the friend who will be traveling with us.

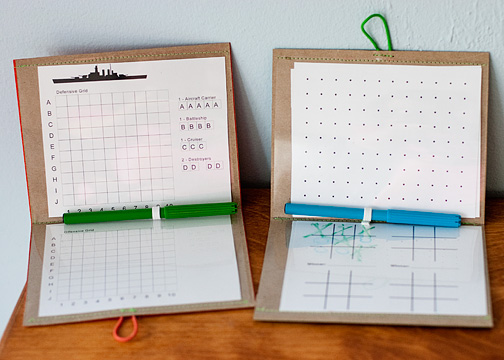
I got the idea from THIS tutorial at Creating My Way to Success, and had originally planned to follow her instructions to make a fabric folder with paper Battleship game sheets. But I knew I didn’t have time to do that, so I improvised with cardboard, and added a plastic sheet so the game board can be re-usable.

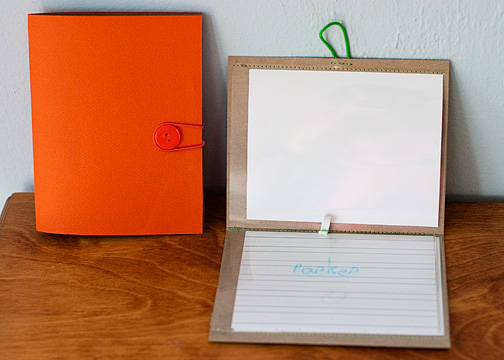
I made both of these out of one recyled cereal box. I started with a piece of cardboard from the box roughly 10.5″ X 6.5″ (I say roughly, because even when I use my paper trimmer, I can never cut cardboard or cardstock straight. It’s always crooked, and even when I measure the midpoint to fold it in half, still crooked). I cut a piece of transparency film slightly smaller (No idea why I bought this film. Probably for some failed project. I’m thinking you could also use a plastic file-folder or clear document sleeve?) and sewed it to the carboard in three places: right along the fold, and along both the top and bottom. That creates two pockets that are open on both sides for the game pages to slide in and out.
I didn’t add them until later, but that would have been the best time to add the little loop of elastic in the fold to hold the marker, and the elastic on the outside for the closure.
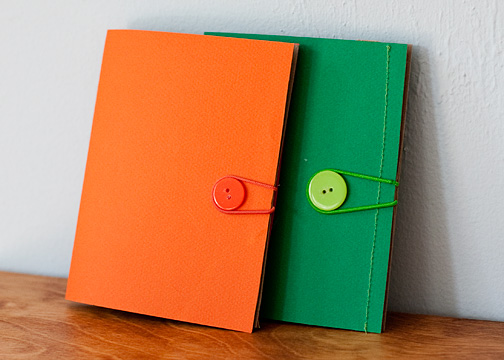
I covered the fronts (which had the cereal box graphics on them) with some adhesive cardstock I think I have had for about 10 years. I used to be like that when I did paper scrapbooking _ always hestitating to use the “good stuff” and then never using it. For the green version, I did the sewing after adhering the cardstock, but I like the orange version better. The buttons are glued on.

In addition to Battleship, I downloaded and re-sized pages for tic-tac-toe, two dot games and lined paper for writing. For some, I printed them back-to-back, but left some blank, in case the kids just want to draw/doodle. (Just google “pencil and paper travel games” and you’ll find some).

Here are some links to the sites where I found the printable games:
Pencil & Paper Games from the editors of FamilyEducation
Battleship printable from MomsMinivan.com
Pencil and Paper Games from Today’s Parent

We tried these out with just regular markers, and they wiped off fine using a paper towel or a scrap of flannel, though they smudge pretty easily. Would dry-erase markers be better?

I quickly tried to teach my son how to play Battleship this morning and he was still a bit confused about following the grid to find the right box, so we’ll see how that goes…
Passport Dress

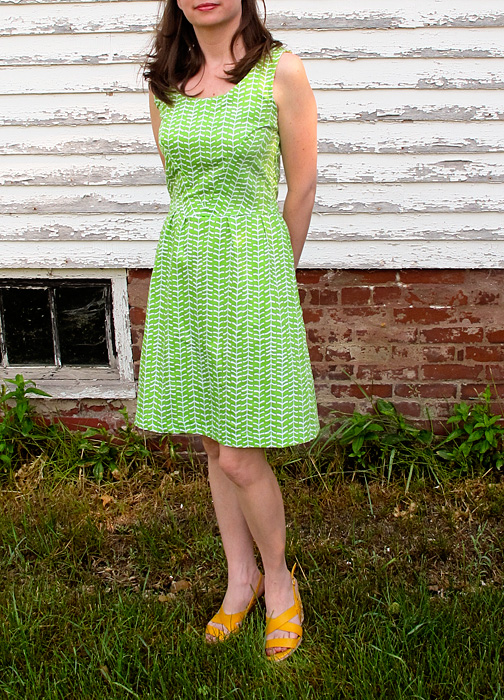
Just in time for our big vacation to France (!!!), I made this Passport Dress from Sew Lisette (Simplicity 2209). I really like this line of patterns by Liesl Gibson, the designer of the Oliver + S children’s patterns. In fact, I bought 3 of the 4 patterns when Jo-Ann’s had the Simplicity pattern sale for 5 for $5. The Lisette line of fabric was also on sale for 50 percent off, so I stocked up and plan to make the jacket that goes with this dress out of a green twill, a skirt, top and another dress. We’ll see how well that goes!

This dress was surprisingly easy to make, though my measurements are a bit challenging in that I have a small top and hips, and larger waist in comparison. So I made the waist a little bigger. And I had to chop at least three inches off the length of the skirt. The top is still a little loose, so I will have to wear my super-padded bra and stand up straight! (I’m also noticing a weird crease in the top of the picture, but that isn’t there now).
My husband actually noticed and complimented the diagonal darts at the waist (hard to see with this print), and said the dress made me look taller (I think that’s the high heels!). It’s not Paris chic but it will do!

More Silhouette Shirts

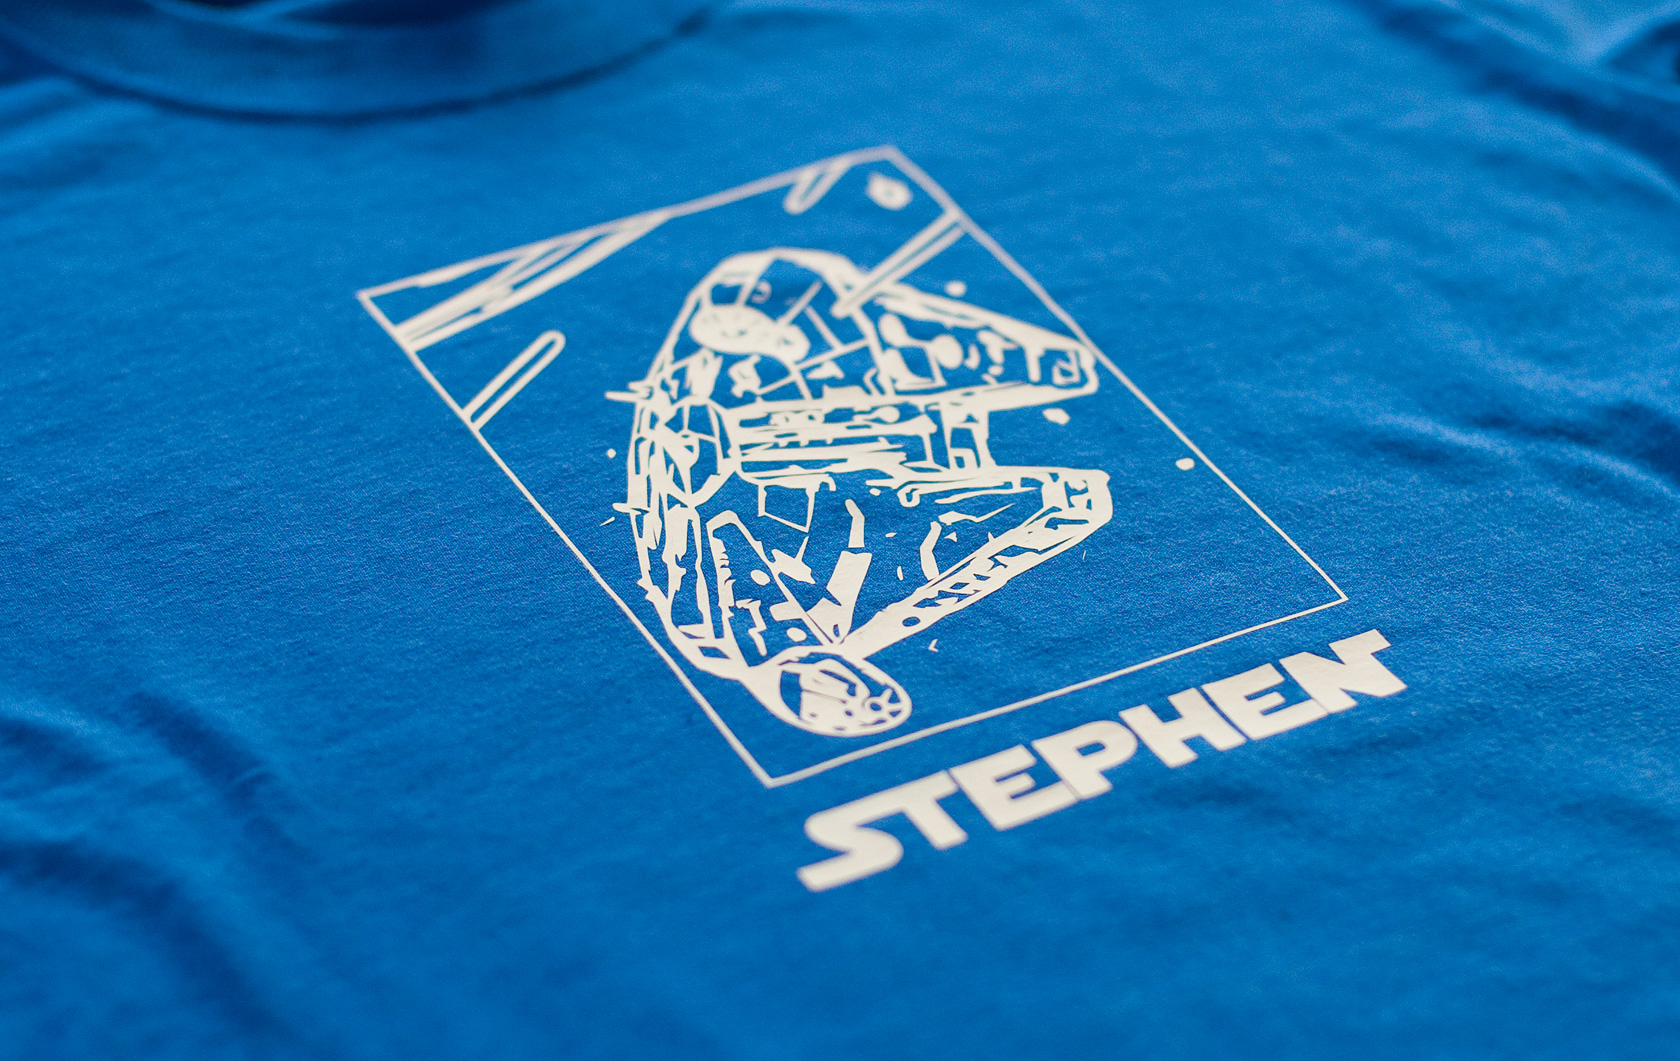
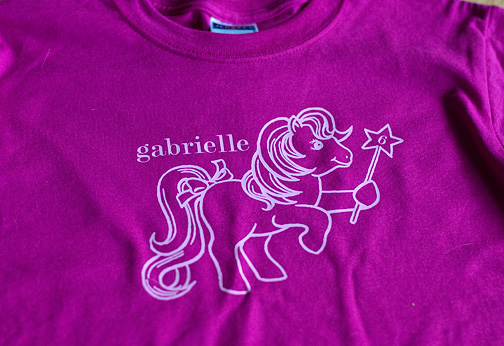
More shirts made with my Silhouette machine, this time using the smooth heat-transfer material instead of the flocked. Again, I used coloring book pages for the designs, though I tweaked them a bit in Photoshop to get rid of some of the details and make the outlines thicker.
I nearly gave up on the Millennium Falcon — SO many tiny pieces of vinyl to peel away. I accidentally pulled off a large piece with a bunch of little pieces and was complaining to my husband, who told me to get a grip: the six-year-old who gets this shirt is not going to notice. He’s probably right.

This shirt is for my niece who turns six next month and is in a My Little Pony phase right now. Personally, I think they’re a little creepy looking, but MUCH easier to cut out than the Star Wars ship!

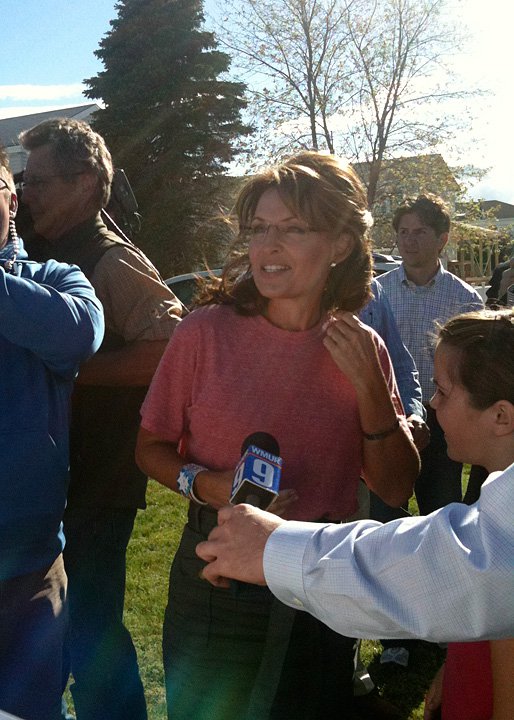
I realize I haven’t been posting much lately. My job is getting hectic with all the presidential candidates, and possible candidates, coming through. Yesterday, for example, I spent several hours waiting outside a hotel for this:

Giveaway Winners!

Thank you so much for all the kind words. It was especially nice to read them this week when I was in Chicago for work, learning how to shoot video for AP and pretty much feeling like a failure! (Example: the time I approached someone at a bus stop, got her to put on a microphone, did my whole interview and FORGOT TO PRESS RECORD. And then pressed it to “stop” but actually STARTED recording … and came back with 20 minutes of video of me putting the camera in the bag and carrying it around. NICE.)
Anyway, the winner of both the whale pillow and the hairpins is Jessica, who wrote:
“I just love the whale! he would look great in my son’s bedroom. Thanks for the giveaway!”

And…. I’ve decided to give away another set of hairpins since those were so easy to make. I will make a custom set of 4 pins for Stephanie, who wrote: “Oh the whale is adorable, and I LOVE the little bobby pins…hair accessories are my weakness.” Stephanie, let me know what colors you’d like for your set. Obviously, I won’t be shipping them by today, but it should be soon!

Giveaway Day!

(THANKS FOR ENTERING! This giveaway is now closed)

 I hope I’m not the only participant in the Sew,Mama,Sew! Giveway Day who frets about her item not being “good enough.” I was all set to just give away the whale pillow I made for the “Summer with Matthew Mead” magazine, but then I had second thoughts. So at 10 p.m. Saturday night, when I should have been packing for my week-long business trip, I was making a little something to add to my offering.

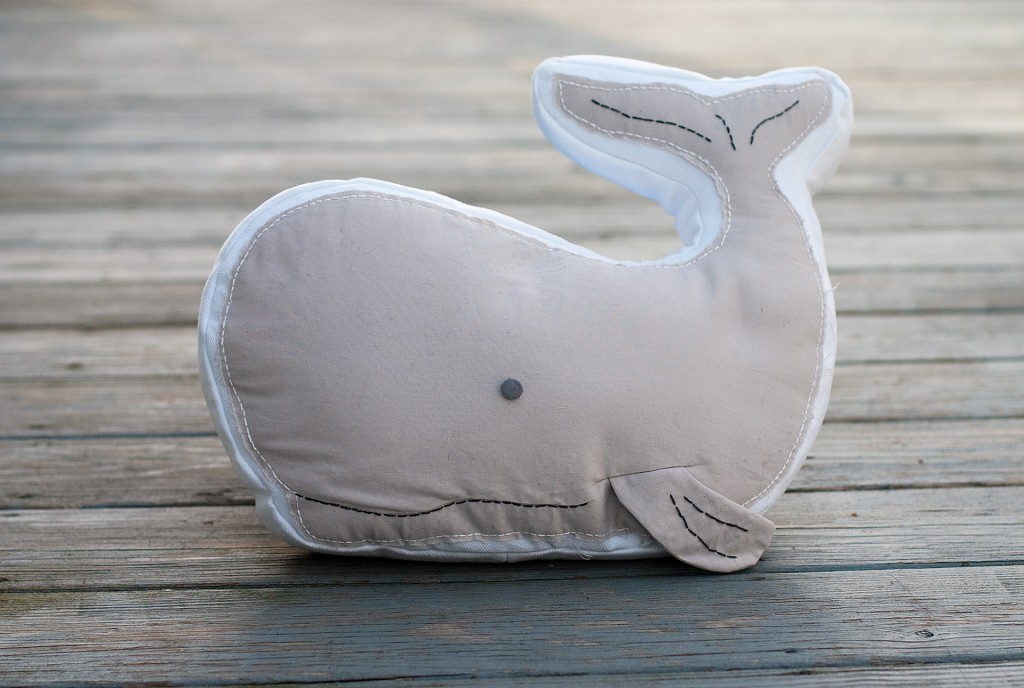
So, the winner of my giveway will get not only this whale:


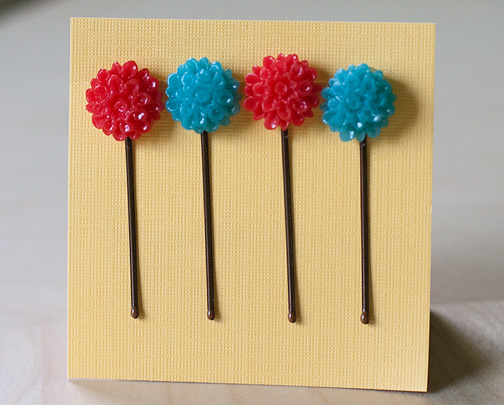
I’m also giving away two sets of these hair pins. These are made of polymer clay. I recently bought a few silicone molds from Mold Muse, and they are so easy to use. I have a lot of small bits of clay left over from making all the little clay food charms, so these are perfect. You just squish the clay into the molds and then pop them out. I experimented a bit and found that I liked the look that resulted from using mostly translucent clay with a bit of color. These are glued to bobby pins, and I used a satin glaze on them. I also bought a mold to make buttons so I’m looking forward to trying that out.


Just leave me a comment for a chance to win, making sure there is a way for me to contact you. For an extra chance, leave another comment saying you follow/subscribe to my blog. Since I’ll be gone all week, I won’t pick a winner until Saturday. Good luck!


Clone Trooper T-Shirt

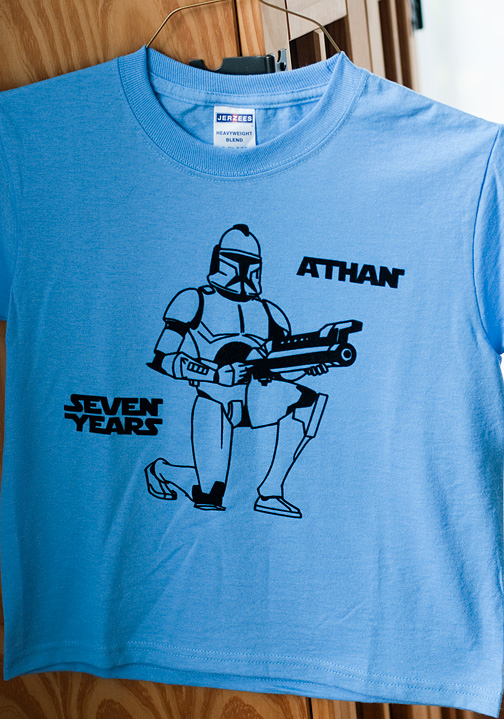
Here’s a birthday gift for one of my son’s new buddies and fellow Star Wars fanatic. I scanned a page from one of my son’s coloring books and used Photoshop to get rid of the background and color in some areas, and then used my Silhouette machine to cut the shape out of flocked heat-transfer material.  Twice, actually, since the first time, the piece of transfer material shifted when it was 90 percent done cutting and then got stuck in the machine. That obviously was a bit frustrating. And it did take some time to peel off all the parts that weren’t part of the design. But the end result is pretty impressive (though I’m not crazy about giving a child a shirt featuring a large weapon. I tried to steer my son toward Ewoks or R2D2, but he insisted I make a Clone Trooper shirt). I also added the birthday boy’s name and “Seven Years” instead of “Star Wars,” and we picked up a Star Wars book to go with it.


Come back Monday for my Sew, Mama, Sew! Giveaway!


I can now add “style contributor” to my resume

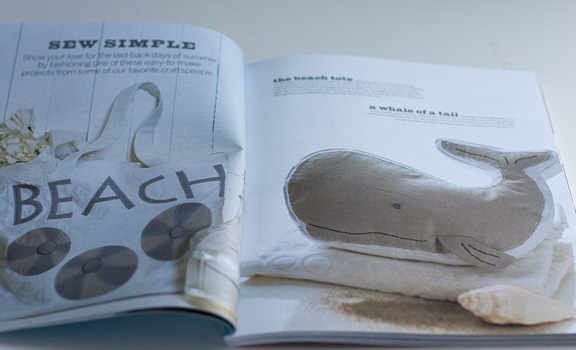
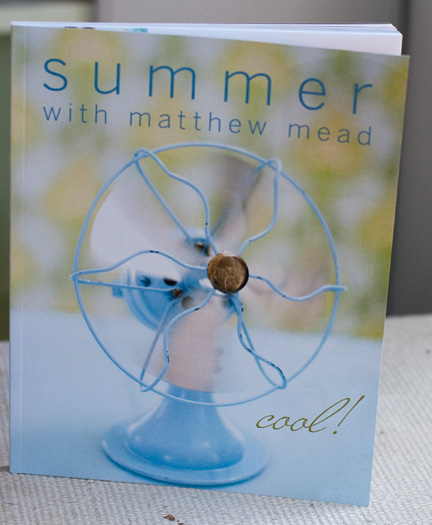
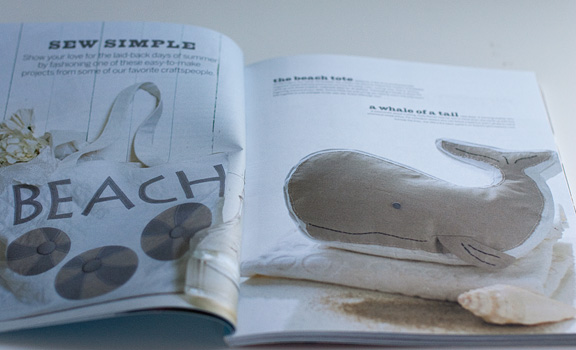
I finally have my copy (and one to share) of the Summer with Matthew Mead magazine featuring my whale pillow project! The magazine is gorgeous.


Click here to see my previous post with the pattern and instructions.

Star Wars vs. Tar Heels

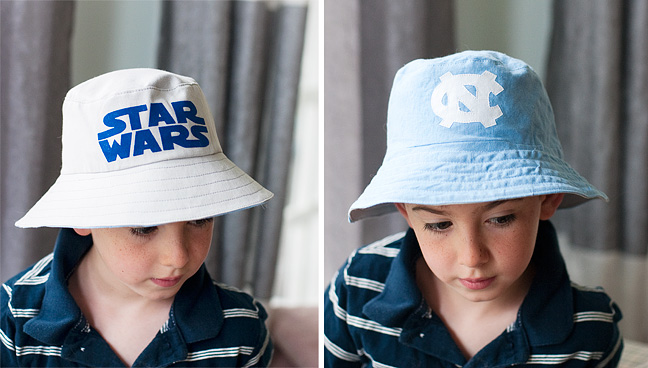
My son has just started being a bit picky about his clothes and other things in terms of not wanting to appear “babyish.” The space ship motif on his water bottle, for example, was recently deemed “for little kids.” So I tried to keep that in mind in making him the  reversible bucket hat from “Oliver + S: Little Things to Sew”.

His latest obsession is Star Wars Legos, so that was an obvious choice. But I decided if I was going to put in the time to make the hat, the other side could reflect my interests, as well, so I added the logo for my alma mater, the University of North Carolina at Chapel Hill. I’m sure 90 percent of the time he’ll choose the Star Wars side, but he also likes UNC, so maybe I can persuade him to flip it over occasionally.

I used a heavier weight twill (leftover from my whale pillow) for the Star Wars side, and really liked how it made the hat a bit more sturdy. The UNC side features a lighter weight cotton, possibly a linen blend. That caused some puckering and wrinkles but I’m OK with that, it looks more casual/beachy. As I mentioned the first time I made one of these hats, I had some trouble with the final topstitching step, so this time, I basically made two separate hats and then sewed them together, right-sides together, around the brim, leaving a few inches open for turning. Once I turned it right-side out, I did the top stitching on the brim. So there is no topstitching around the band to hold the outer band/top to the lining, but I think it’s OK. If it seems to be shifting around too much, I’ll do a few small tacking stitches to hold them together.

I used the Silhouette machine and blue flocked vinyl for the Star Wars logo. LOVE how that came out. I didn’t have any white heat transfer vinyl so I made the UNC logo out of white fabric. I tried cutting it with the Silhouette but I don’t have any of their fusible webbing. I tried ironing the fabric to freezer paper and then sticking that to the Silhouette mat but it did not cut cleanly at all. So I just cut it by hand (using Steam-a-Seam) and sewed it on.

Mother’s Day idea: Map Family Trees

Mom…… if you’re reading this….. STOP! (everyone else, scroll down…)

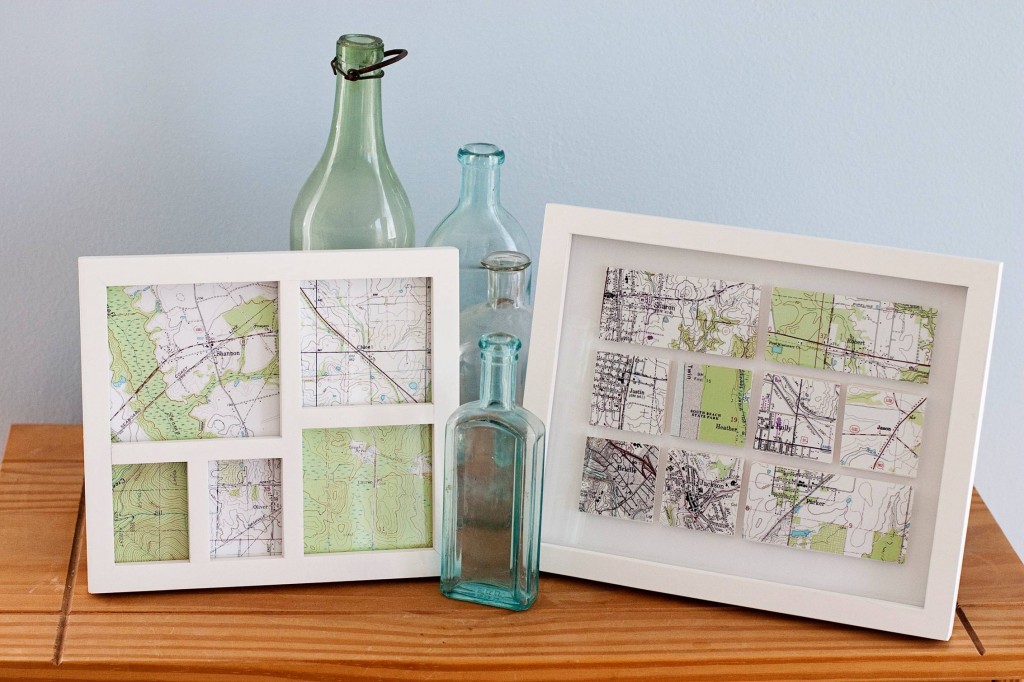
Here’s my latest AP craft story for Mother’s Day:  how to make a family tree using maps that feature your relative’s first names. I made a few of these last year for wedding and Christmas gifts and all the recipients seemed to like them. I just love the look of maps. And you can download beautiful, detailed maps free from the U.S. Geological Survey website.

Click here for the full AP story and tutorial.

The version on the left features the names of my cousin’s five kids. The version on the right is for my mom, and has my parents’ names  in the top row, my sister and I and our spouses, and then our kids in the bottom row. You’d be surprised at how easy it is to find towns, lakes, etc., that  match different names. The only one I couldn’t find for my family was “Gabrielle” but I found a town called “Brielle,” which we use as a nickname anyway.

(UPDATE: One of my commenters makes a good point: some names will be tough to find. As I mention in the AP story, you could always frame a map for Mother Lake, Minn., or Mother Vineyard, N.C. instead for Mother’s Day. Or, this makes a good wedding gift if you group together sentimental locations like Love, Miss., Happy, Ark., or Matrimony Point, Maine.)

Winner!

I’m a little late picking a winner for the Summer with Matthew Mead magazine … but here you go: Congratulations Christine!

I will send you an e-mail to get your address. I don’t actually have the magazine yet, but should by next week.