I wish I had a magic spell to extend the holidays — I still have several gifts to make! Luckily, one is for a crafty friend who also was rushing to finish MY gift, so we decided to give each other a few more days! And I know that I will be happy to get a new gift a week after Christmas, so hopefully the other recipients of my late-arriving gifts will feel the same.
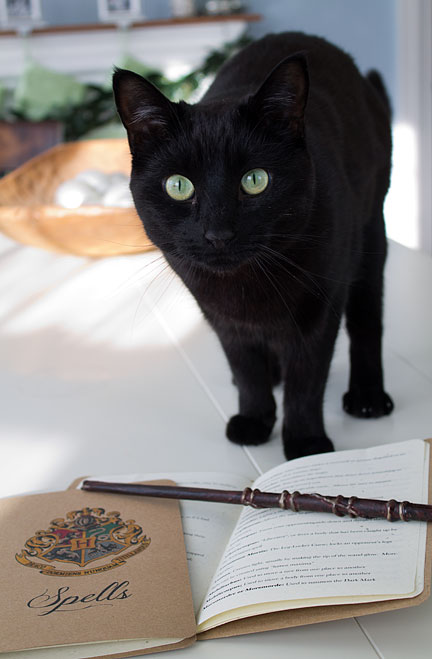
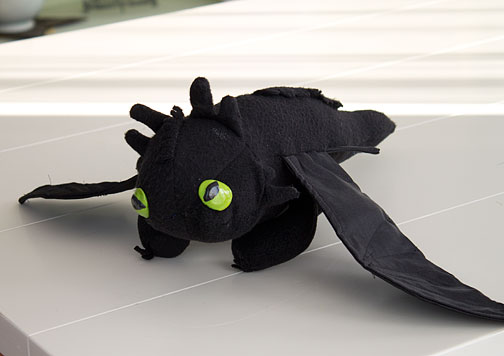
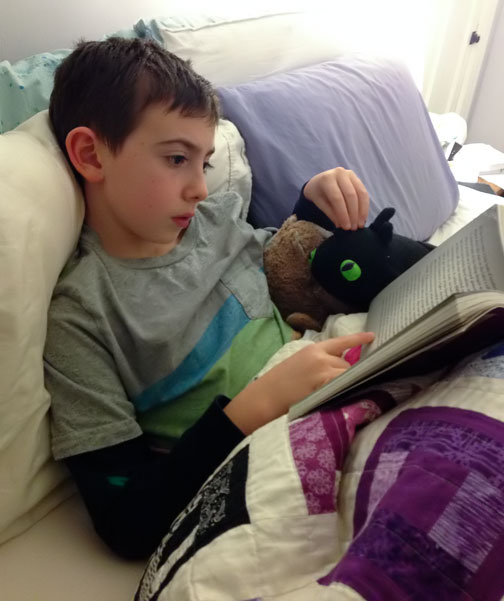
Among the gifts I DID finish were some Harry Potter-themed goodies for my son, my nephew and my niece. I gave my niece and nephew the first few books in the series last Christmas and the rest this year. To go along with the books, I made them each a wand and a spell book, along with a Potions Kit so they can mix up their own experiments. The magic black cat is Herbie, he wasn’t part of the gifts, but he’s a good model 🙂

The wands are pretty amazing given that they consist of just one sheet of regular copy paper, some hot glue and some paint! I followed the awesome Instructables tutorial by dadcando.com, and it was so easy, I made five at once. I then used black poster board to make boxes, and lined them with bits of satin and velvet wrapped around some quilt batting for padding. The stickers are print-and-cut designs from the Silhouette online store that I printed on white label paper and cut with my Silhouette machine.
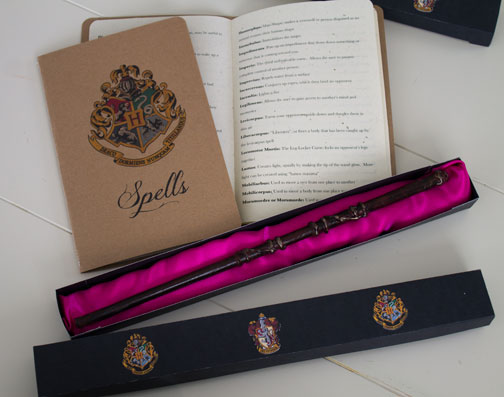
I also made spell books inspired by the free download at A Lemon Squeezy Home. Her cute version is formatted for a 4X6 photo album, but I didn’t have any albums so I followed the link in her post to the list of spells, copied and pasted them into Photoshop and formatted them to make booklets that could use 8.5 X 11 paper folded in half. I used the Hogwarts crest image from the Silhouette store again on the cover, but just printed right on the cardstock instead of onto a sticker.
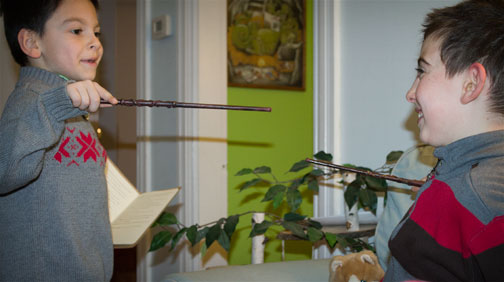
The kids had a blast on Christmas Eve running around performing their “spells” !
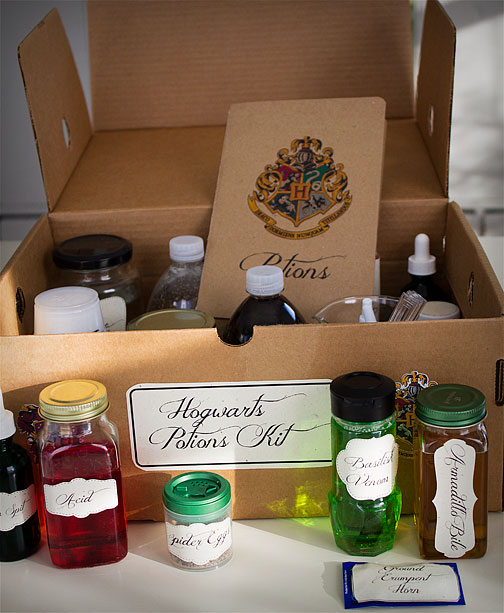
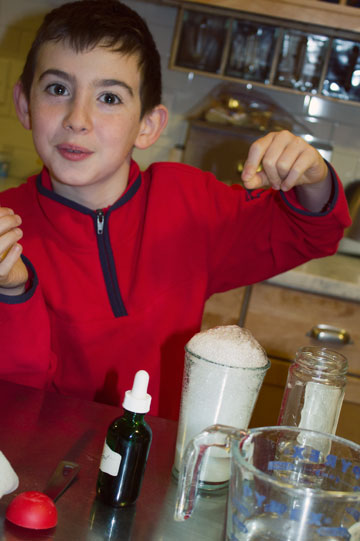
I am so thankful for the potions kit ideas I found at Mrs. Nespy’s World. She threw a fabulous Harry Potter party and came up with all sorts of neat potions. I used almost all her ideas to put together these kits, which were admittedly time-consuming, but pretty inexpensive in the end.
I spent about a month or two saving empty jars and other containers to use for the potion ingredients, and then bought enough of the ingredients (stuff like baking soda, vinegar, food coloring) to make two kits. The most time-consuming part probably was making the labels, but that could be done more quickly had I not made different shapes, etc. The blog mentioned above even had a free download for all the potions, but I re-typed them because I wasn’t sure if my little niece would be able to read the decorative font she used, and I combined some of the student handbook potions with the “master” potions.
I happened to have two sturdy boxes from Lands End (snow boots!) that worked perfectly to hold all the ingredients. I used more stickers to cover up the Lands End labels and to decorate the box, and tucked some bubble wrap among the glass bottles to protect them a bit.
I was waiting to give Parker his kit on Christmas day, but I knew he’d love it because when he saw his cousins’ he kept saying “We should do this!” We’ve done a few of the potions so far, and I think he enjoyed them 🙂


