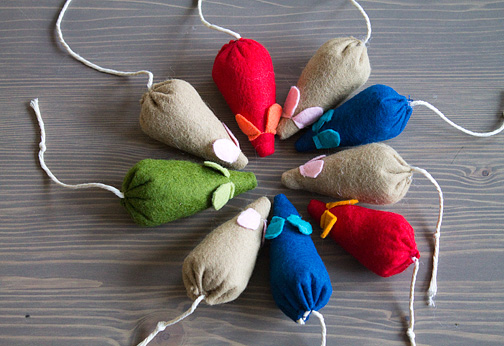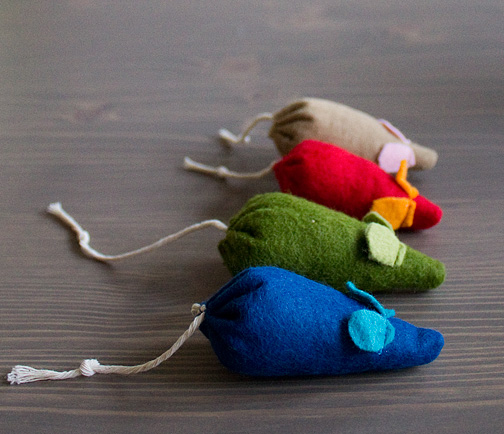
I just realized I never shared these catnip mice I made before Christmas! My son is crazy about cats and wanted to make Christmas presents for the cats at our local animal shelter. So he helped me make these little guys.
I was surprised to see just how many tutorials there are online on making catnip mice, but in the end, I came up with my own method. I wanted a design that Parker could help sew, so I rejected versions that involved multiple pattern pieces and sewing curves.
These mice are super easy.
1) Cut a circle out of felt. I believe ours was about 8″. I used my rotary circle cutter but it would be just as easy to trace a salad plate or something.
2) Cut the circle in half in both directions, so you end up with 4 wedge shaped pieces.
3) Cut out small, ear-shaped pieces and place them on one of the wedge pieces, about an inch and a half away from the point. Sew them on by sewing a straight line that crosses over both pieces. (you could do this by hand, by I wanted to be quick, and the machine stitching is sturdy and less likely to come undone when kitties are chewing on them)
4) Fold the wedge piece in half, with the ears on the inside, and sew along the straight edges.
5) Turn the body right side out, and stuff. We used half catnip and half fiber fill.
6) Using strong thread, sewing a running stitch by hand around the opening, insert a bit of cotton twine for a tail, and pull tight to close up the opening. I made a bunch of extra stitches to make sure this part wouldn’t come undone.
Parker helped with the cutting, machine stitching and stuffing. And the mice were a big hit at the shelter (and with our kitties at home).

Leave a Reply