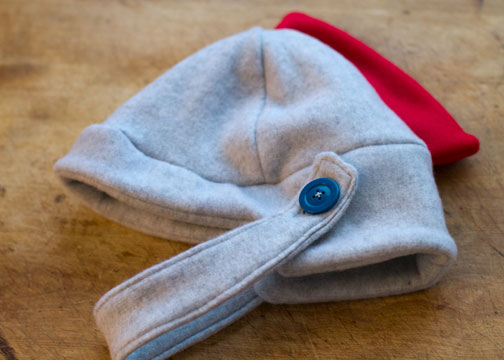
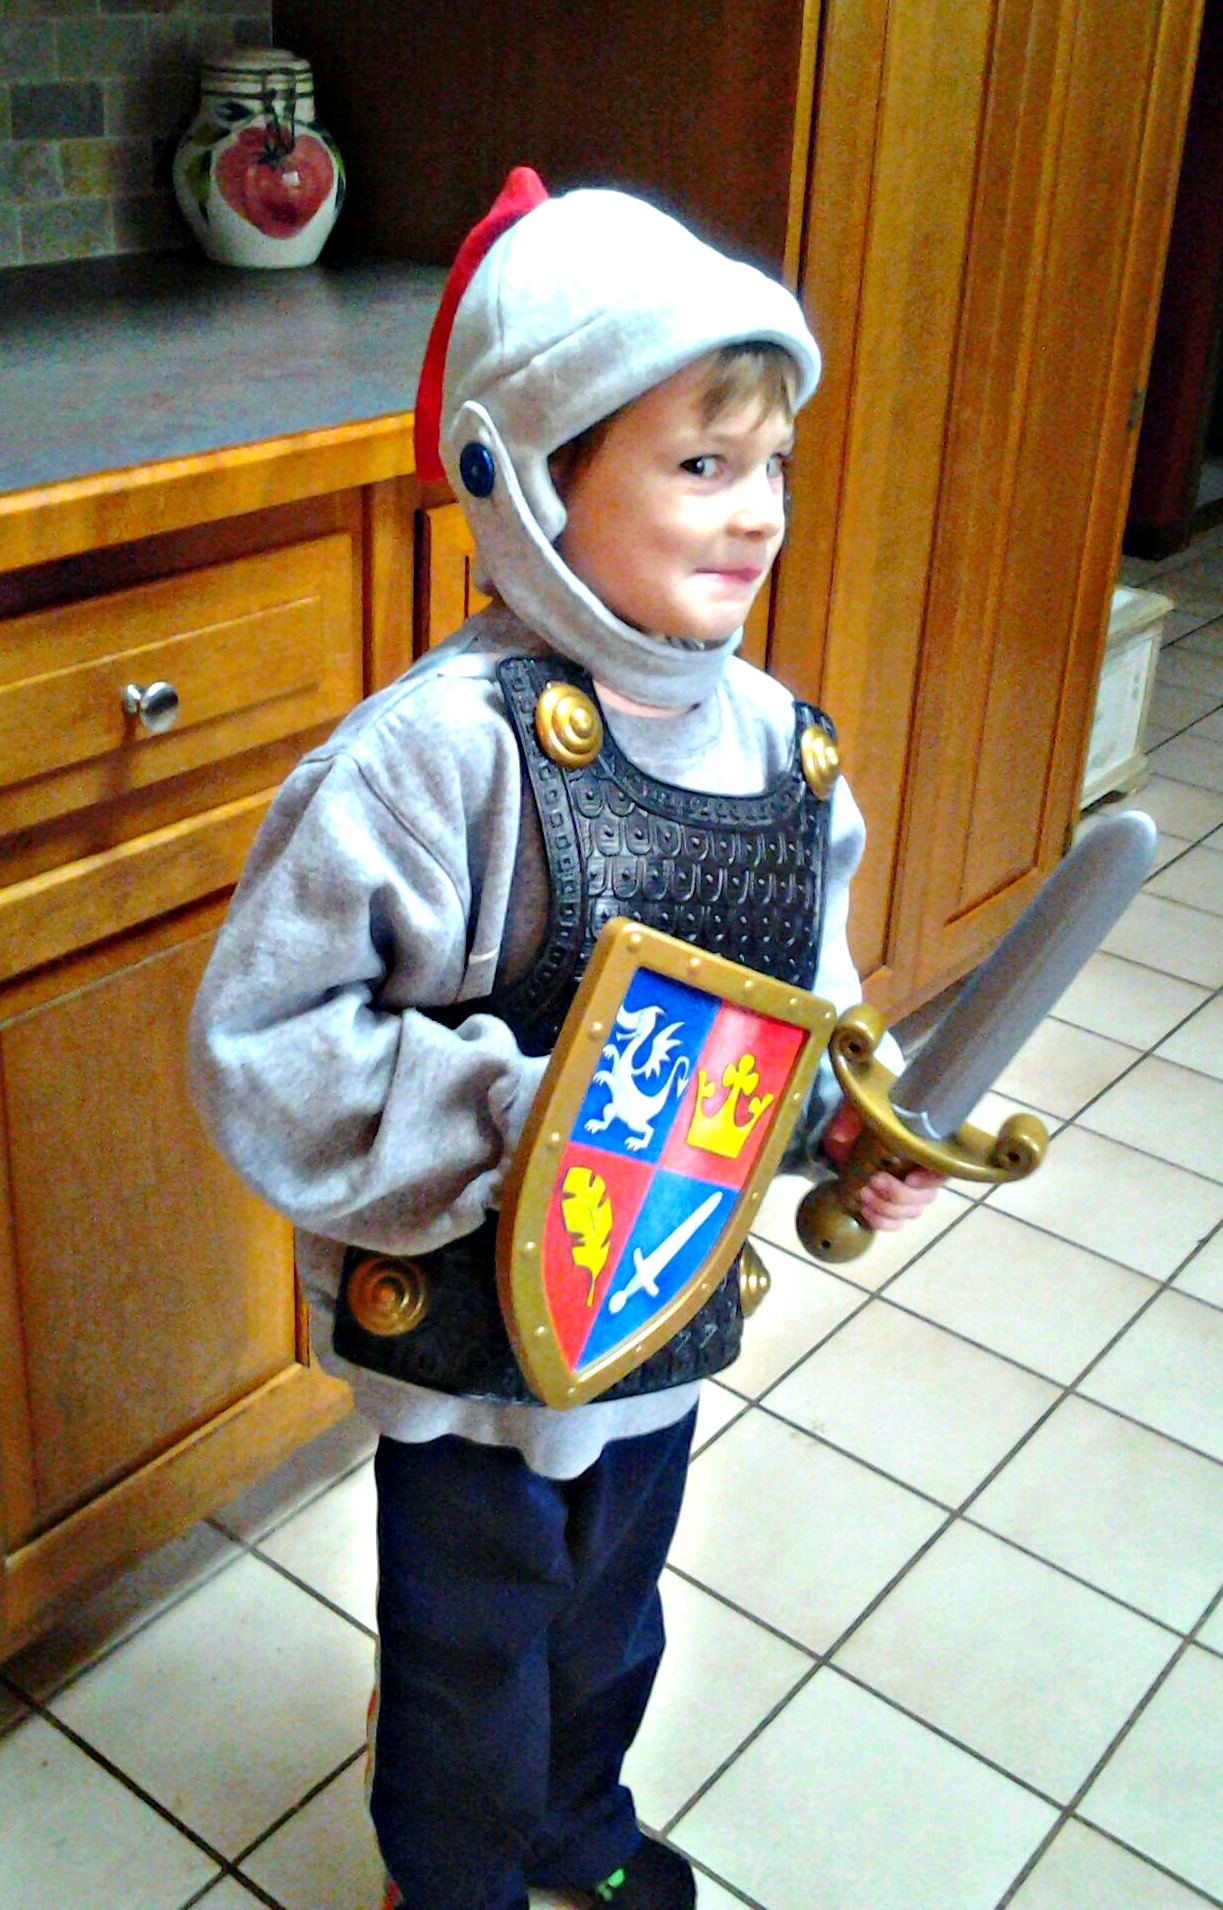
The problem with being all smug about making Christmas gifts in part to avoid crowded stores/malls is that you can then find yourself in a panic at 10:30 p.m. Christmas Eve still racing to finish say … a stuffed Perry the Platypus …. and then almost dissolving into tears when you accidentally cut a hole for an arm in the back of the head.
Sigh.
My decision to make a stuffed platypus for Parker was made rather late … and even though Perry should not be hard (he’s basically a rectangular box with legs), I’m not very good at engineering arms and legs from scratch. I thought I had figured it out, but I had already sewn part of the body together when I tried to cut a hole for the legs. And ended up cutting along the back/head instead of the belly. Oops. So, in a move that was very unlike me, I walked away.
It did make me a little sad not to have something homemade and special for Parker under the tree, though I did make him a Minecraft shirt which he seemed to like. And honestly, we splurged big time on the Legos this year, and he was thrilled. So I will finish Perry soon, and maybe make him a Valentine’s Day gift.
So, that’s a long intro into my New Year’s crafting resolution, which is FINISH FIRST. (as in, finish old projects first, before starting new projects)
Last year, my crafting resolution was USE IT OR LOSE IT, and I think I did pretty well using up fabric and other supplies rather than shopping for new. And I uncovered and re-organized so many long forgotten supplies when I moved my craft room into a new space this fall. But before I dive into those, I’m determined to finish up all the lingering projects. And to keep track and hold myself accountable, I pulled them all out and photographed them so I can post them here.
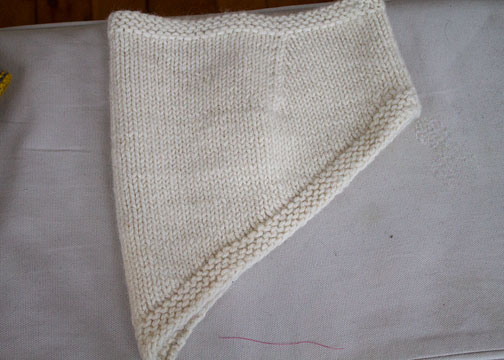
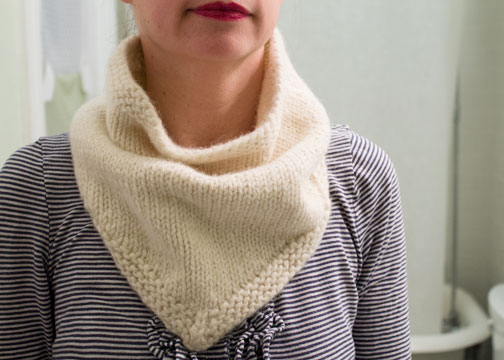
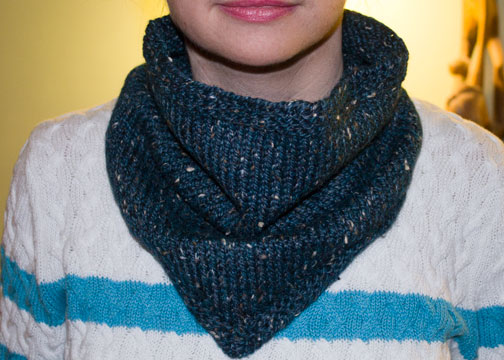
First, a few knitting projects.
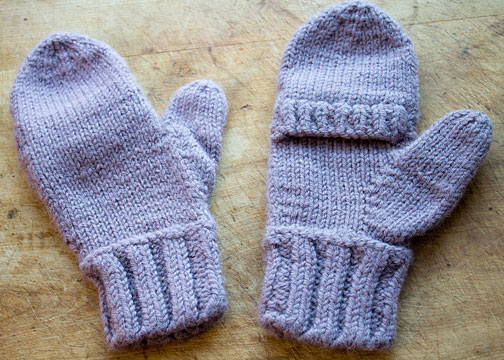
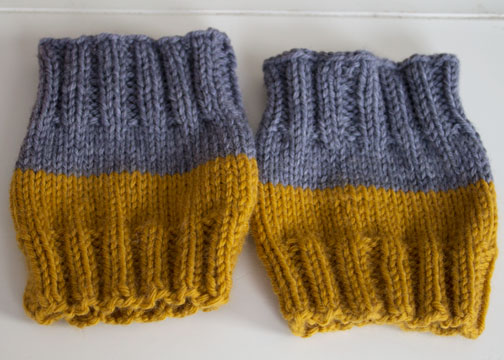
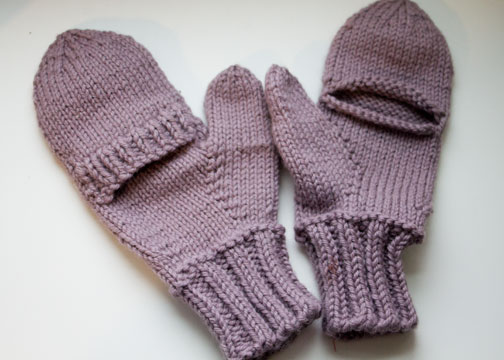
These mittens are a combination of several patterns. I wanted something dense and warm, but with a way to use my fingers if needed. (Part of my AP job involves shooting video, often of snowstorms this time of year, and I need my fingers to operate the camera!) I started these back in March and ran out of yarn when I was 90 percent done. I just need to add the ribbing along the finger opening on one mitten.
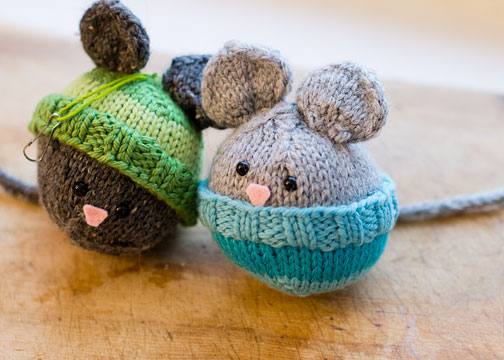
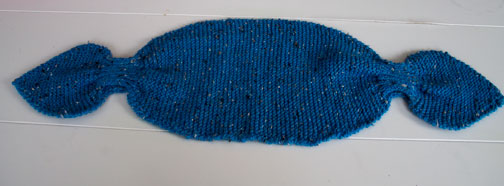
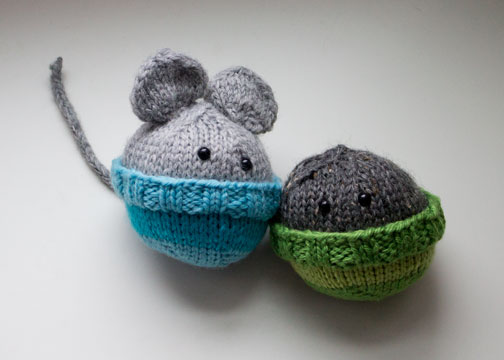
I did manage to finish one of these adorable Snowball Buddies, but I gave it away to my son’s friend before taking a picture. But I have two more to finish. Still deciding whether the earless one should be a cat or another mouse.
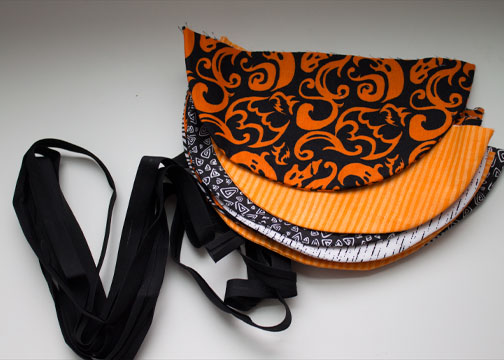
In other holiday decor, I’m embarassed to admit that I think this next unfinished project dates back to 2009! At least, that’s when I wrote a tutorial for making a simple half-circle bunting for Thanksgiving. I think I made a Halloween version for my sister, who has an annual pumpkin-carving party, and had a bunch of circles left over. And I had some vague plan to make a few different versions for other holidays and give them all to a friend for Christmas, or maybe her birthday. But maybe I’ll just finish this one and keep it for myself.
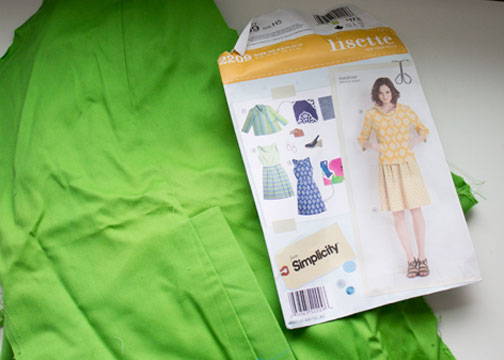
One of my other long-lingering projects is the Passport Jacket from the Sew Lisette pattern collection. I made the dress way back in June 2011, and part of the jacket, then ran out of fabric for the sleeves. I bought more fabric, and then it sat in a box for more than two years! Time to get it done!
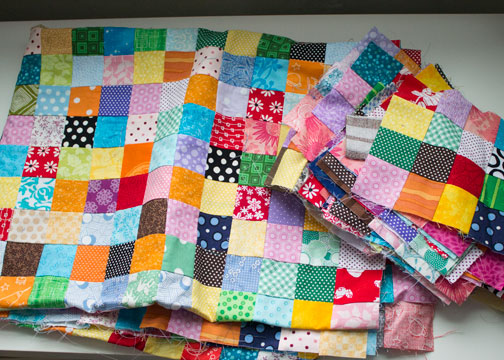
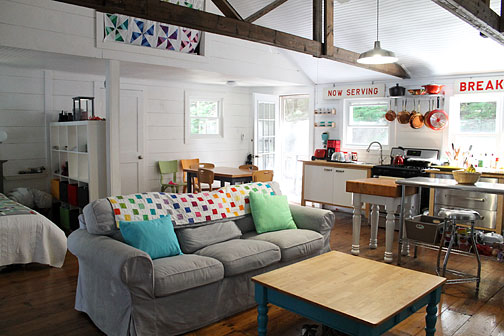
One of my major “use it or lose it” projects was a postage stamp quilt that took care of a big chunk of my random scraps of fabric. I’ve made all the squares, and have sewn most of them together, but still have to add the last row, I think, and then do the backing and quilting.
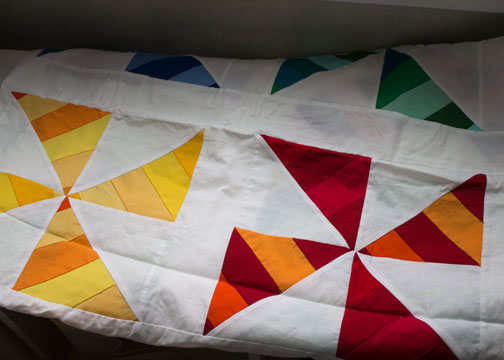
I also want to turn this curtain into a quilt. I originally made this to cover up the opening to a storage/loft space at our summer cabin, but we’ve since opened up that space and turned it into a sleeping loft for Parker. You can see a bit of it in the picture below, behind the rafters. I’m not sure if I have any more solid fabric to make more pinwheels, or if I’ll just figure out a way to add borders to make it a quilt.
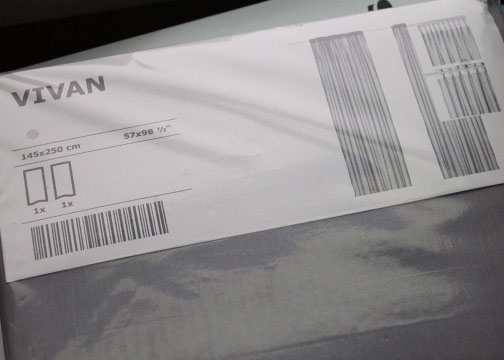
And speaking of curtains, as we continue switching rooms around ahead of our major kitchen renovation next summer, I’m replacing the really old, worn out curtains in our former dining room, now family room/playroom. I don’t think I’ll keep these permanently because I want to paint that room, but I bought some very cheap gray IKEA curtains in October and need to hem them. I’ve finished one pair but need to do three more.
I also have all the supplies to make some birch bark candle holders. I made a few for an AP craft project in June 2012, but I later saw these pretty faux birch candles in the Pottery Barn catalog, and wanted to try replicating the look by gluing tiny beads onto real birch bark. I have the bark, I have glass candle holders and candles, and I have the beads. This should take half an hour, tops, but I haven’t gotten around to doing it, and now another Christmas has gone by!

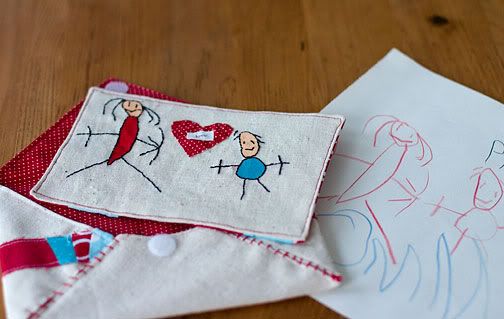
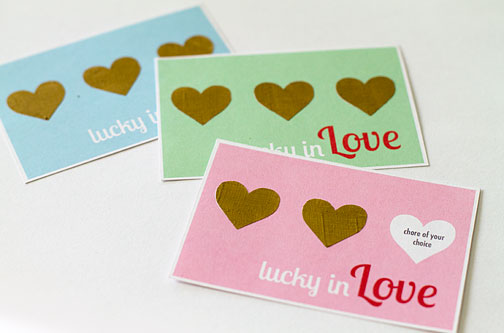
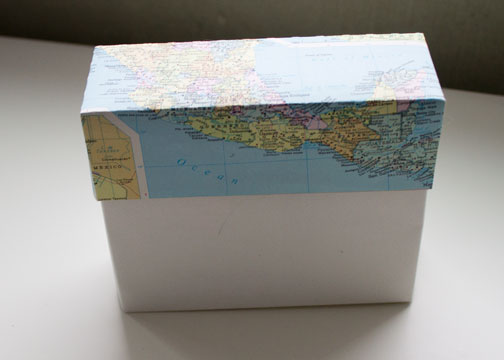
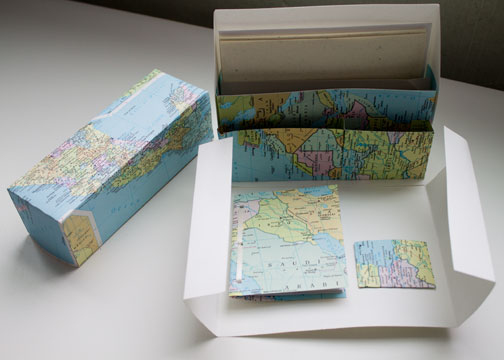
And here’s yet another project I intended to make as a Christmas gift, possibly for one of my cousin’s daughters and never finished. It was so long ago that it appears the site where I purchased cutting files for my Silhouette machine no longer exists, but I found a free version here. Those files are for the larger Cameo machines that cut 12X12 paper, so I had to split up one piece to cut it on smaller paper, I think, and then tape it back together. My idea was to make a bunch of little notecards and stickers, maybe some personalized stationery. Not sure I like how this particular box came out, but I still like the idea, and since I did purchase the files, I should make at least one at some point.
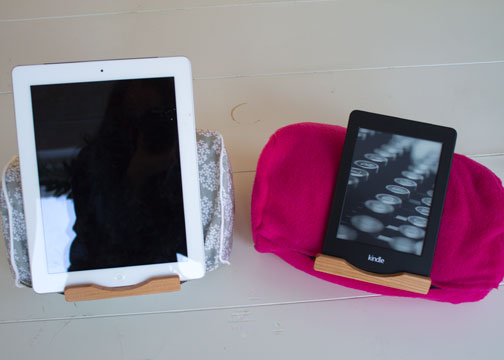
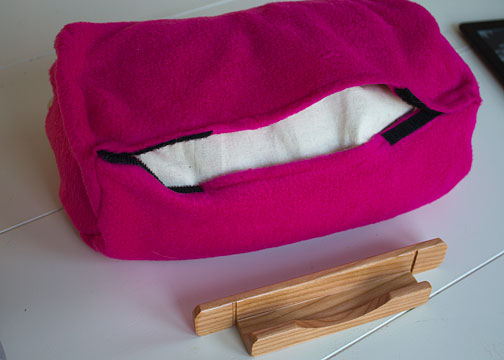
This next picture actually shows two finished projects, but I have the supplies to make two more. At least a year ago, I was looking for tutorials on making a lap pad/stand for an iPad or Kindle. I found this product, the Lap Log, and it looked so simple, basically a cylindrical pillow with a wooden insert to hold the device. What I liked about it is that you could remove the wooden insert and use the rest as a pillow, which could be very handy for traveling. I was sure I could make something similar for less money, and I got as far as buying a 5 lb. box of bucketwheat hulls for filling, but I couldn’t figure out what to use as the wooden piece. Then a few weeks ago I went back to the site and saw that they sell the wooden inserts for $8 each. So I bought four, and made two lap logs for Christmas gifts, and I have two left over. (Though probably only enough buckwheat to make one more pillow). I ended up making the pillow inserts out of plain cotton fabric, and then making covers with quilting cotton and fleece. They basically have a hemmed opening that stretches all the way across the pillow (anything smaller and it was too hard to get the pillow inside), with Velcro to close off a few inches on either side of the wooden inserts.