My niece and nephew just turned 8 and 9, and since I know they love Harry Potter (and I’ve finally broken down and started reading the books myself), I decided to make all their gifts related to the books.
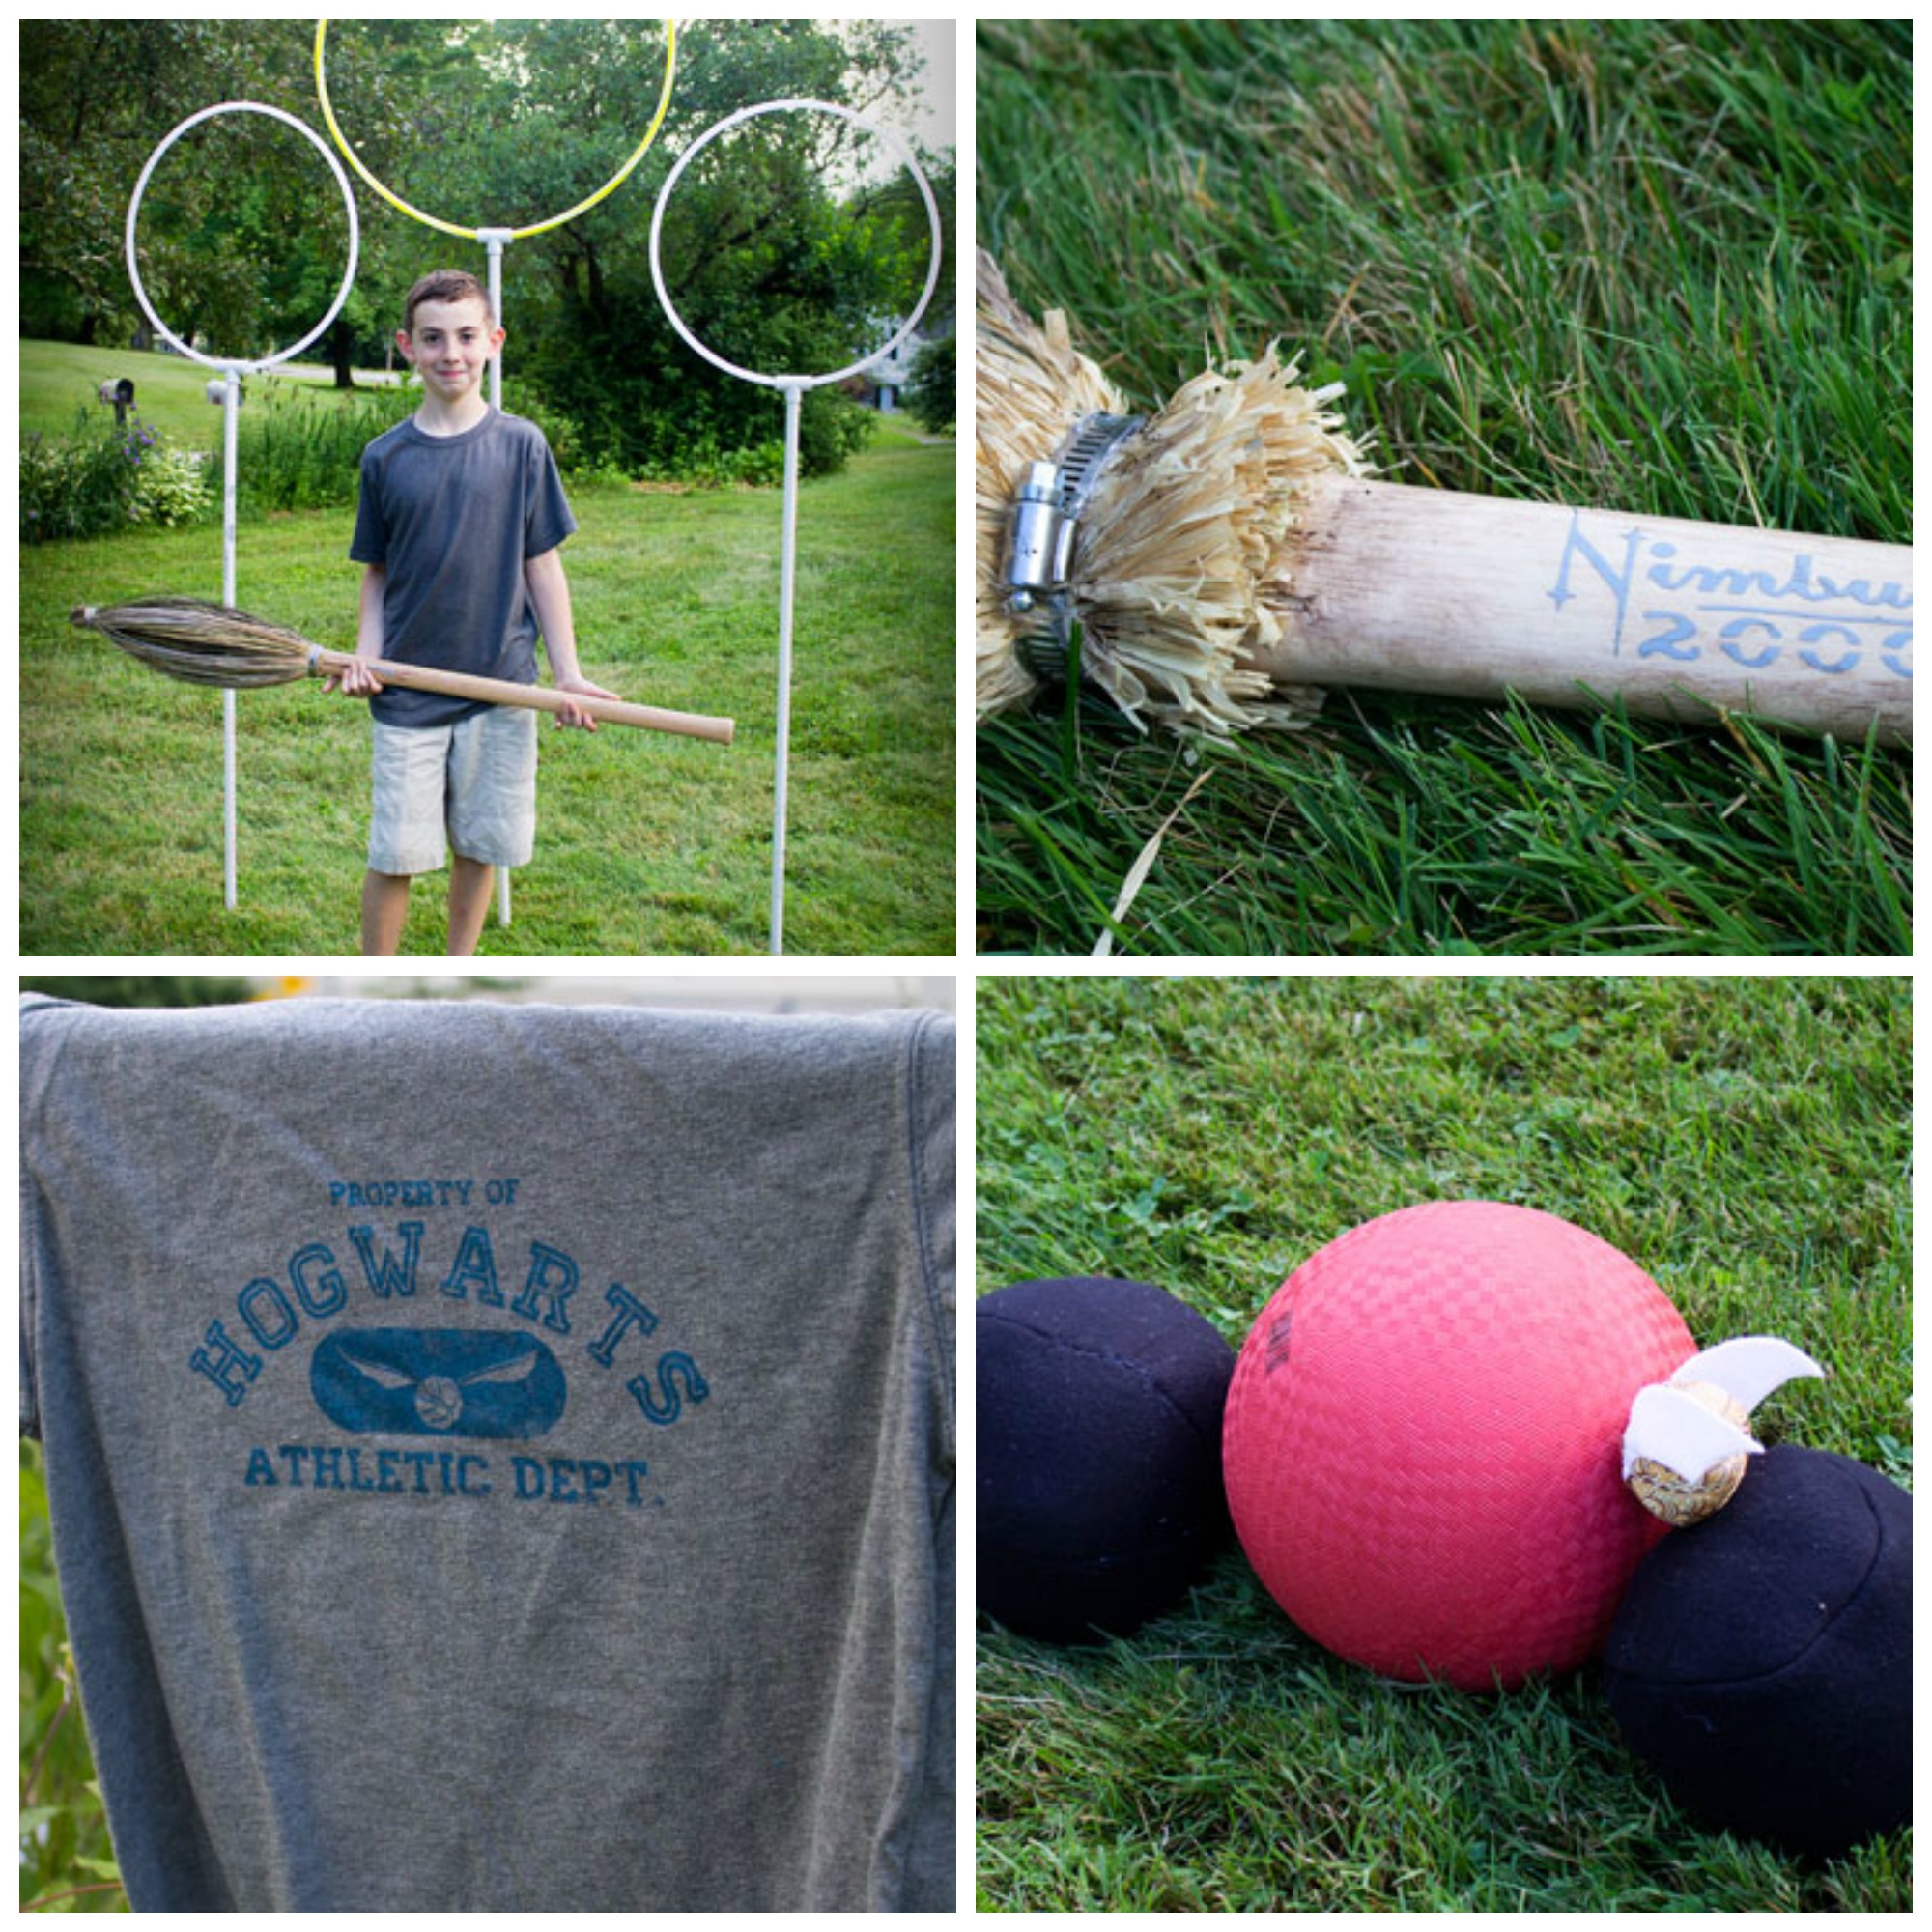
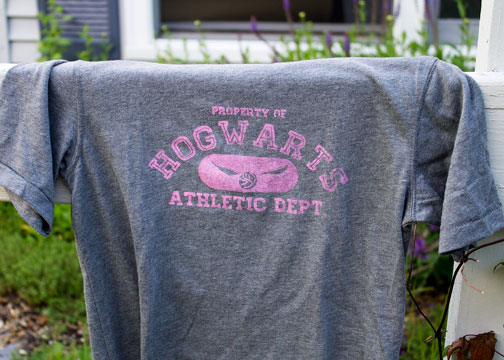
First, I created a Hogwarts-themed design using my Silhouette machine to make them t-shirts. The golden snitch is a shape purchased from the Silhouette online store. I used contact paper to make the stencils, and I’ll admit, it was a bit tricky to get the skinny little pieces in the “Hogwarts” lettering to cut cleanly and stick in place. I wanted the design to look distressed, so I brushed the paint on lightly, and left some bare spots.
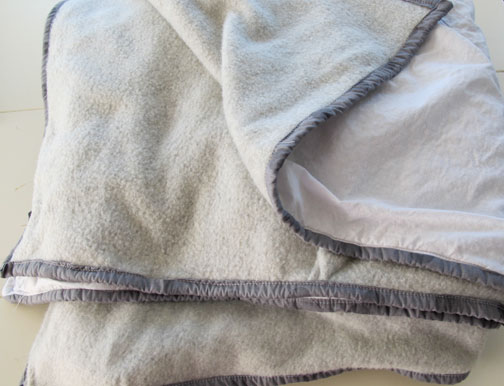
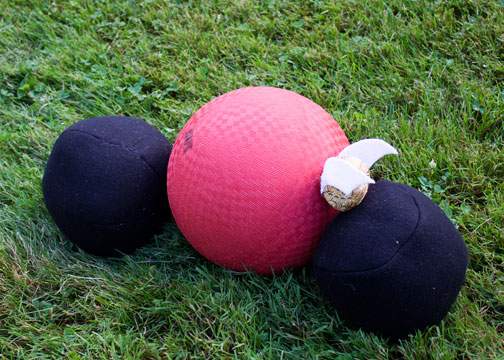
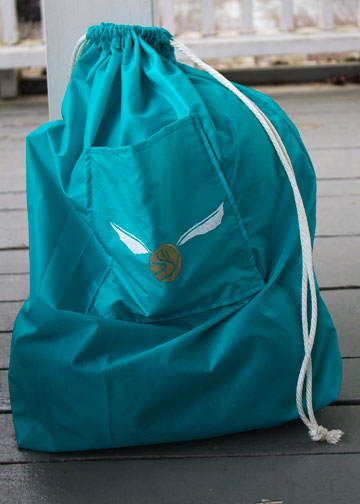
The rest of their gifts were all about Quidditch. I ended up purchasing a dodge ball for the Quaffle and making the bludgers and snitch, using a pattern in Abby Glassenberg’s new book, Stuffed Animals: from Concept to Construction. The bludgers are made out of black fleece, and filled partly with poly-pellets to give them a bit of heft.
And I made a sack to put them in:
The Quidditch hoops/goals were a bit tricky. I was inspired by the awesome Harry Potter party ideas at Razzle Dazzle Your Kids. I bought the hoops at the dollar store, and my husband picked up the PVC pipe. (I think he ended up with 10-foot lengths for just a few dollars each). The main problem was that the hoops were narrower than the opening in the PVC pipe joint, so they wobbled. He suggested going out to buy some heavy duty epoxy, but we didn’t have much time, so we ended up squirting hot glue in the joint. It seemed to work OK.
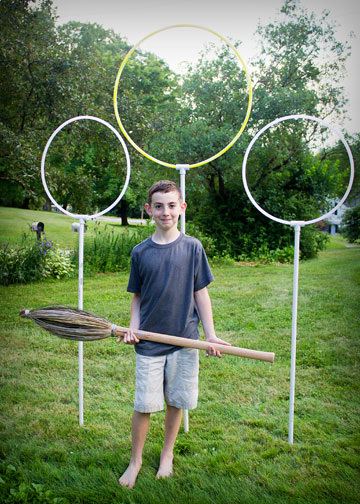
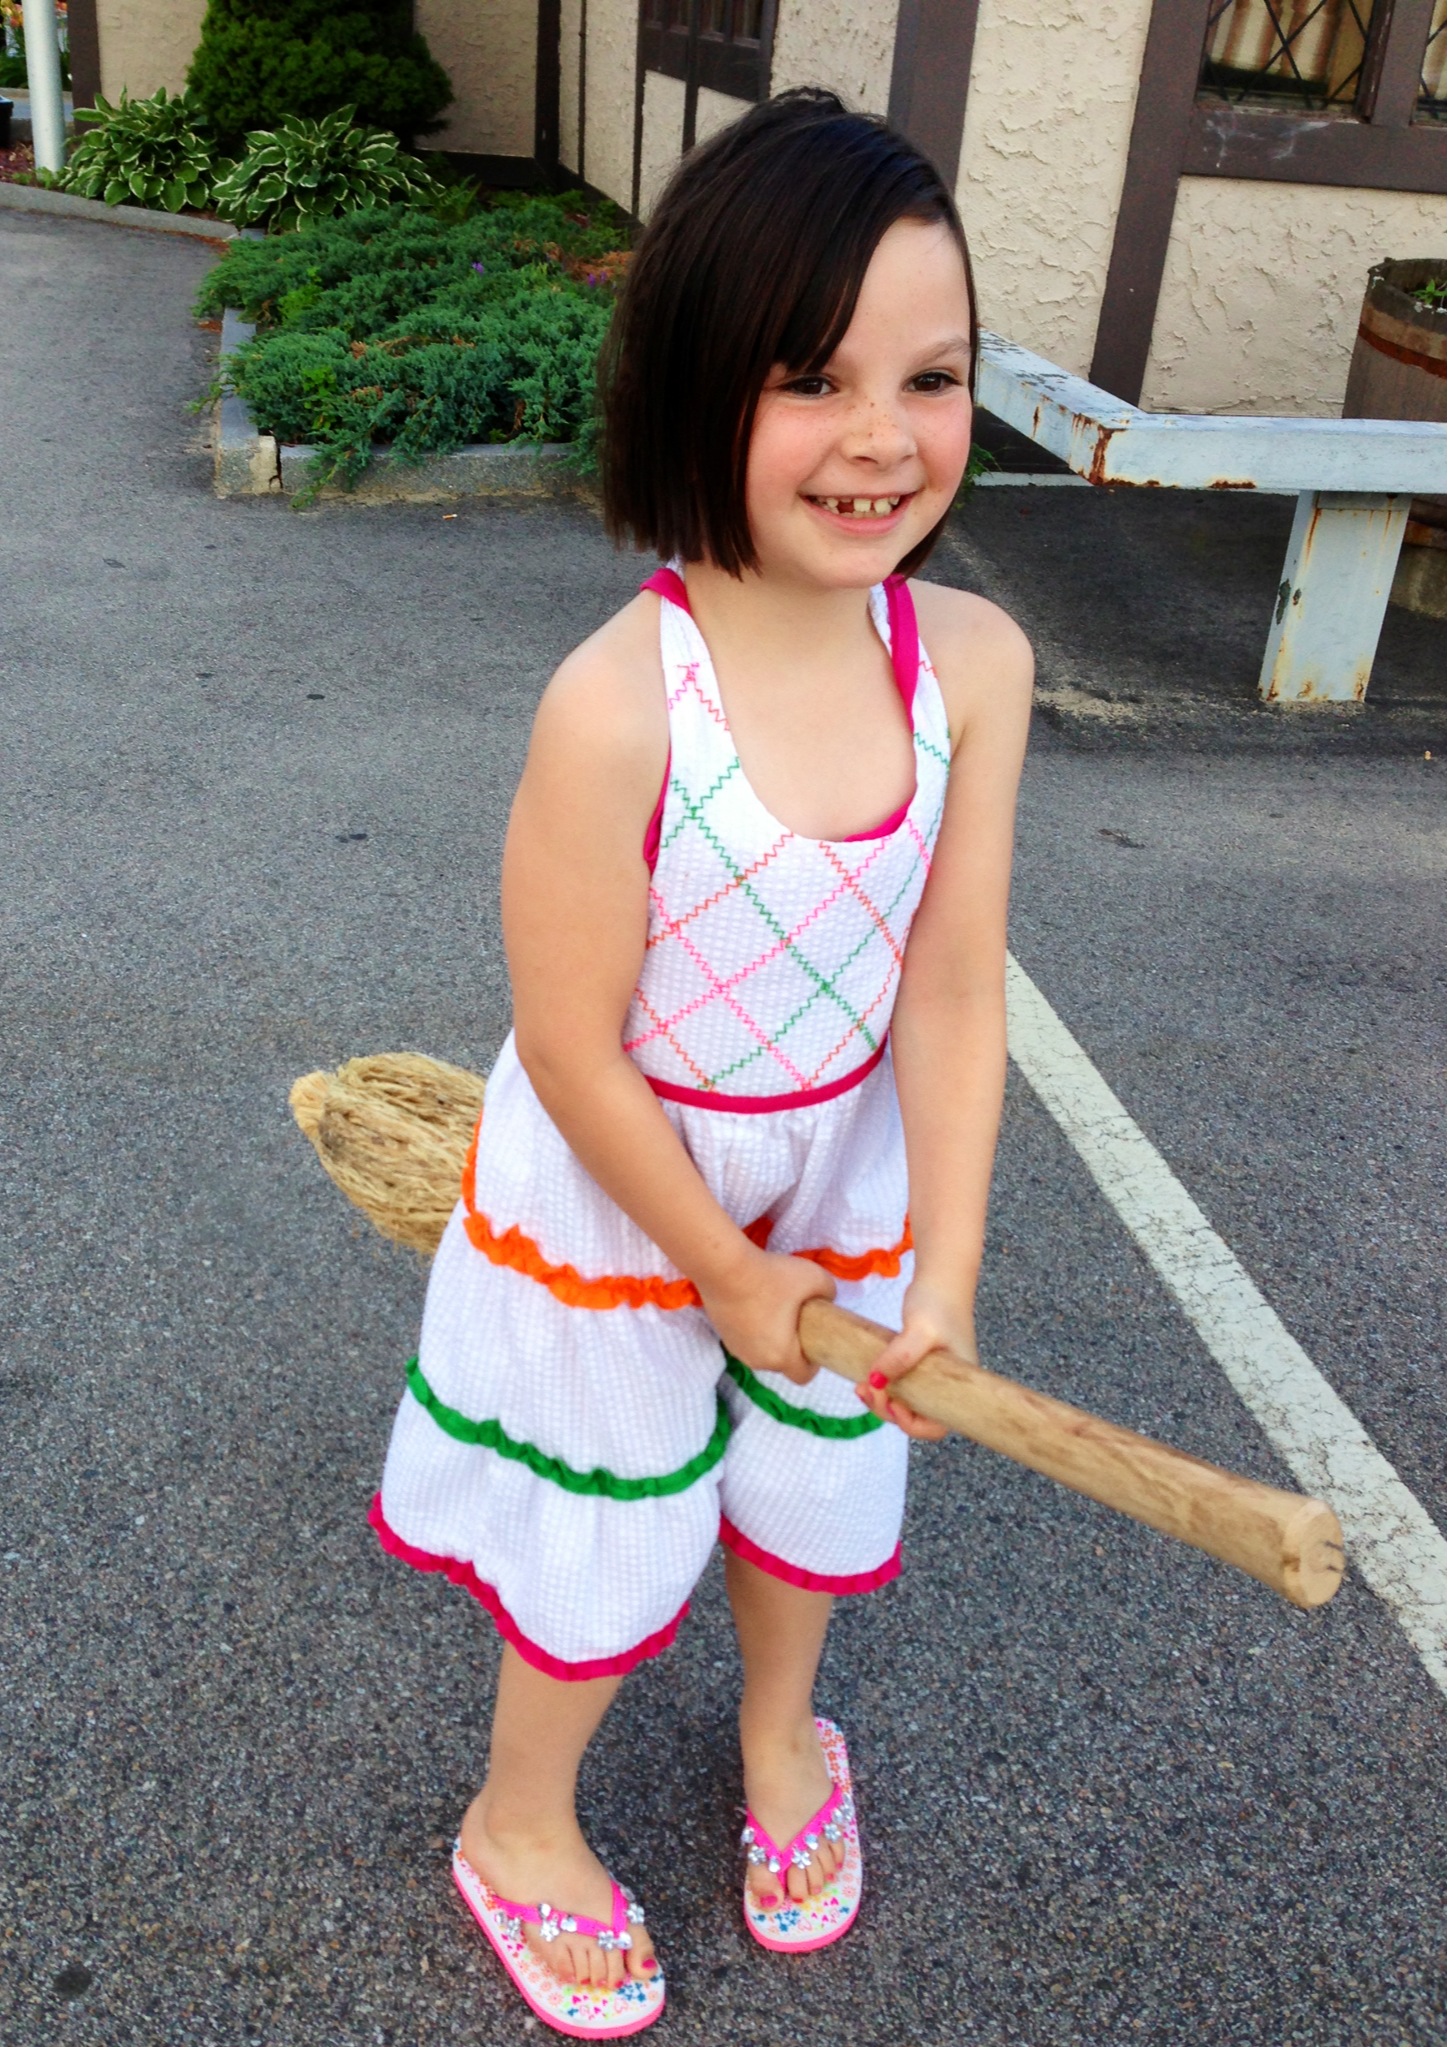
And finally, the brooms! The inspiration came from a message board/forum HERE. The broom handle is actually an inexpensive ($9) replacement handle for an axe. For the “thunderbolt” version, I used some kind of long grass I bought at Michael’s, but it was really tricky to work with. I basically created the shape I wanted out of a styrofoam ball and some cardboard and tape, glued that to the end of the handle and then tried to wrap the grass around it. But it took more grass than I thought, and the extra package I bought had shorter lengths that kept popping out of place. Frustrating.
For the “Nimbus 2000,” I used raffia instead. Which was both cheaper and easier to handle, though the finished product is not as sleek.

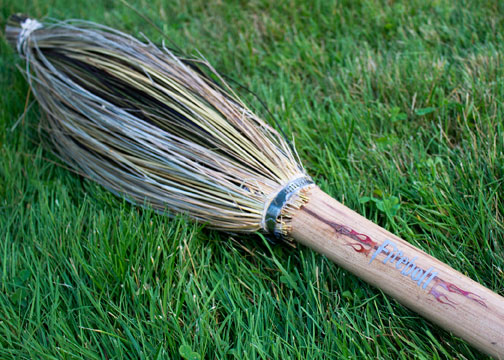
I used my Silhouette machine to cut the lettering out of vinyl (I only had silver, so it doesn’t show up that great. For the flames, I colored over the vinyl with a Sharpie).
Here’s my adorable niece!