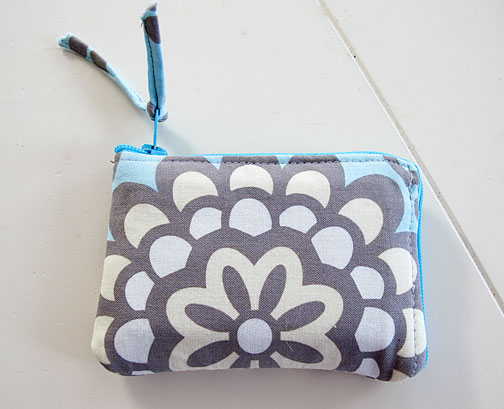
This little project reminds me of the saying “The cobbler’s children have no shoes,” though in this case, it would be “The cobbler herself has no shoes.” For YEARS, I have been using a small, leather wallet that does not work very well at all. It has slots for cards, but when I actually put cards in it, the fold-over flap doesn’t snap. Yet I have kept using it, despite the fact that I know how to sew and have seen probably dozens of free wallet tutorials online over the years.
I finally decided to do something about it on Sunday. My husband kindly took Parker to visit his mother for a few hours, so I figured, why not use that precious free time to make something for myself for a change?
I used the Zipper Card Pouch tutorial at Craft Passion. I have to say, I found the directions pretty confusing. At several points, I had to zoom in on the photos to get a better idea. The most tricky point was the first step involving sewing the lining to the zipper. Miraculously, I did not make any major mistakes, but the whole time I was making it I was thinking, “I will never make this again. Too fiddly.” Yet, now that I have a bit of distance from it, I’m starting to re-consider. (I think if I make another one, I would not use such heavy fabric/interfacing). I used quilting-weight cotton and heavy interfacing for the exterior, and leftover twill/canvas from my never-ending slipcover project for the lining.
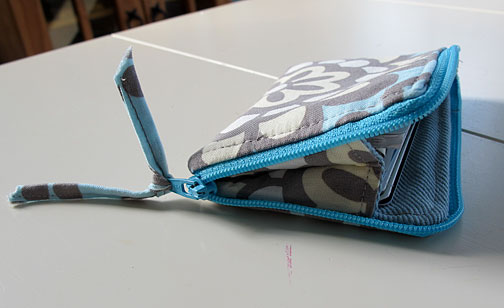
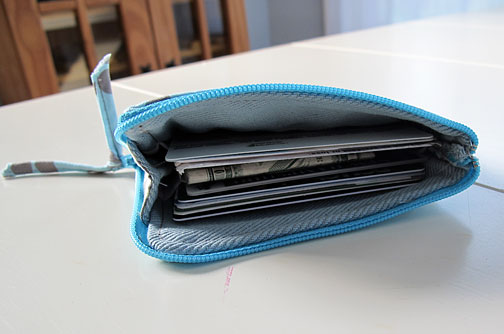
I didn’t have an metal zipper, which I think would look nicer, or any twill tape, but I stuck to my “use it or lose it” mantra and did not go out to buy new supplies. There is supposed to be a strip of twill tape on one side of the lining, to make a divider. I used strips of wide elastic on both sides instead, which I think would’ve worked great had I not inserted the lining pieces upside down (so the elastic is almost at the bottom of the pouch), and had I made the elastic just a bit tighter.
I also did not have twill tape to cover the raw edges inside. I tried using narrow seam binding, but it was a bit too narrow given the thickness of the fabric layers. So I just zigzagged the raw edges, and that worked fine.
All and all, now that I’ve used my wallet a bit, I do like it. It is smaller than my old wallet but more functional, with plenty of room for a stack of cards and a bit of cash.


Leave a Reply