Month: January 2013

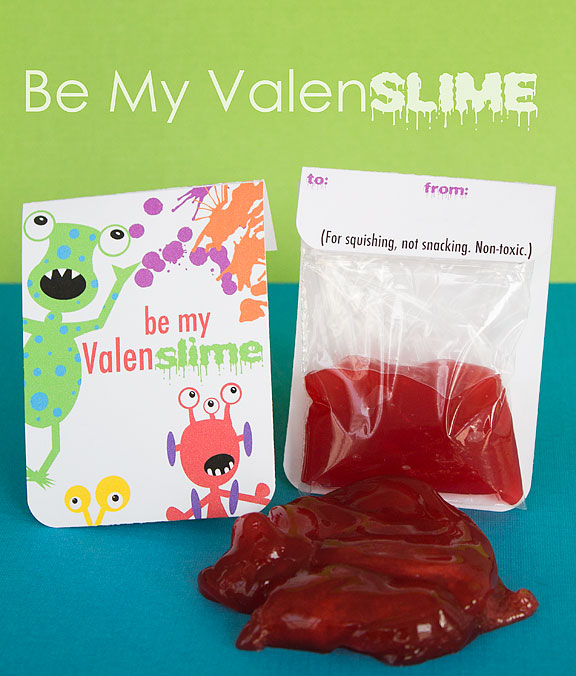
  • Be My Valen-slime

    slime


    My friend gave Parker a “make your own slime” kit for Christmas, and it has been a huge hit with my aspiring mad scientist. So using that as an inspiration, I came up with these Valentines and wrote about them for AP.

    You can read the article HERE (if the link goes dead, just Google “Holly Ramer” and “Valenslime”), but basically this a cooked mixture of Metamucil and water. Easy! And nontoxic (not that you’d want to eat this, but just in case….). I did notice that a batch I made and stored in a plastic bag was starting to get a little moldy after two weeks, but the batch I kept in the fridge was fine. I think it would be fine to keep them out of the fridge if you made them right before giving them out.

    And I’ve uploaded a PDF with the printable card I designed if you want to make some yourself. Just click HERE:

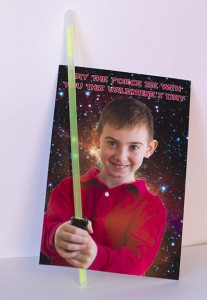
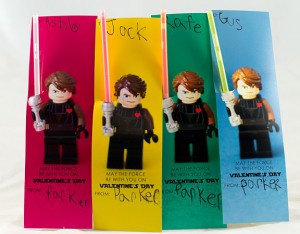
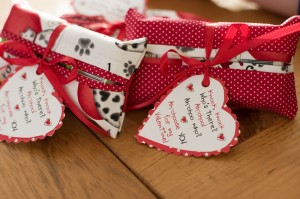
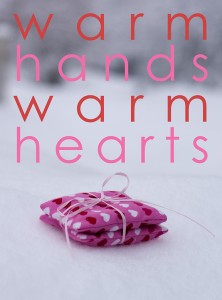
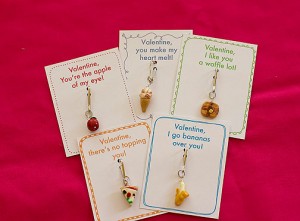
    Not feeling slimey? Here are my past Valentine’s Day projects. The light saber/glow stick Valentines BY FAR have been the most popular, though I’m partial to the little polymer clay charms.

    Click on the pictures to go to the post:

    Scratch Ticket Valentines
    Scratch Ticket Valentines


    Light Saber Valentines
    Light Saber Valentines
    Star Wars Lego/Light Saber Valentines


    Valentine Tissue Cozies
    Valentine Tissue Cozies


    Pocket Warmers
    Pocket Warmers


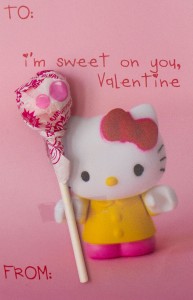
    Hello Kitty pop Valentines
    Hello Kitty pop Valentines
    AP Photo/Holly Ramer
    Charming Valentines


  • Dollhouse Food

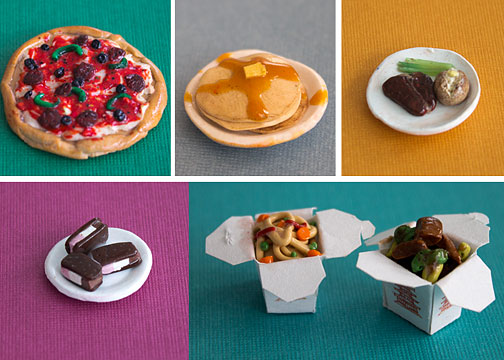
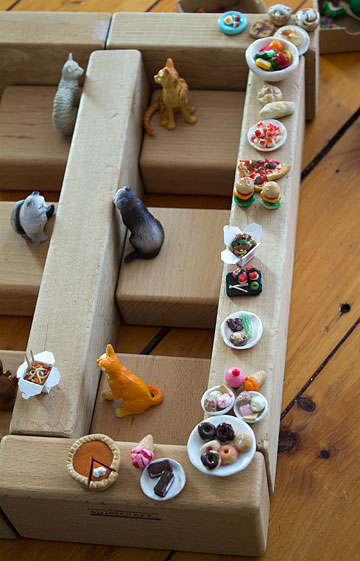
    Here are some cute miniature meals I made out of polymer clay for my friend’s daughter. I used a bunch of youtube tutorials by Toni Ellison, who makes some incredible miniatures. It was hard to decide which to make! I finally decided on a pizza, pancakes, a steak dinner, ice cream sandwiches and Chinese food. I should’ve included something in the pictures for scale. I think the plates are smaller than a quarter.

    clayfood


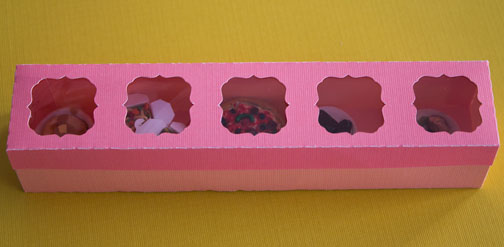
    I also used my Silhouette machine to make a little box to package up the food:

    clayfood2


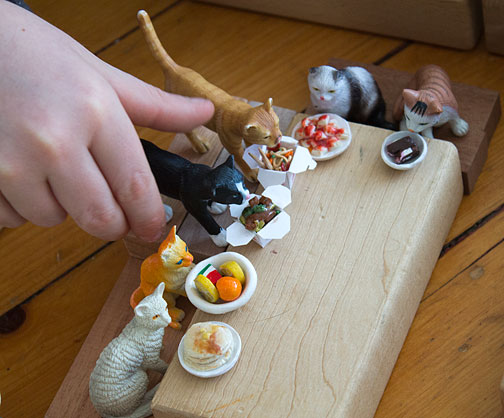
    I started making clay food three years ago when I wrote about The Polymer Clay Cookbook and made charms for Parker’s classmates for Valentine’s Day, and I’ve made more for birthday gifts and Christmas since then. As always, I make extras to add to Parker’s collection, because even though each little item can take a long time to make, once you have the clay out, it’s as easy to make two or three as it is to make one. He likes to set up elaborate scenes for his plastic cats, so here is his latest “restaurant.”

    clayfood3

    clayfood4

    (This peaceful scene was ruined shortly after by a plastic canine invasion.)

  • Vintage Postcard Calendars

    postcard4


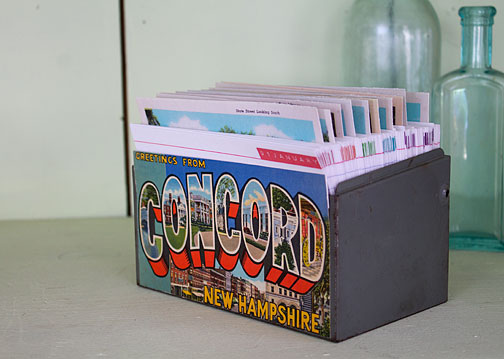
    Inspired by this project at Design Sponge, I made two vintage postcard calendar sets for friends for Christmas. The idea is that there is one card for each day of the year, and you can use it either as a multi-year calendar or journal.

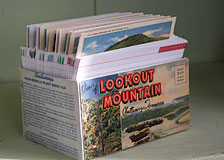
     For my local friend, I used postcards of Concord, N.H., where we live. My other friend lives on Signal Mountain, Tenn., but grew up on nearby Lookout Mountain, so I made this set for her:

    postcard1

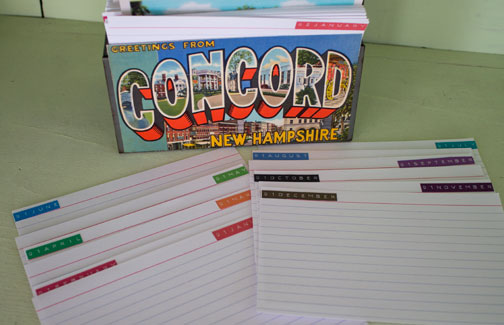
    Instead of cutting up the postcards and index cards, I used 4X6 index cards and larger boxes so I could use the full-size, horizontal postcards as the month dividers. For the Lookout Mountain version, I glued the cards to larger pieces of cardstock so they would stick out of the top of the box. For the Concord version, I scanned the cards and printed them, leaving extra space at the bottom so the cards would stick out.

    I purchased both sets of postcards on eBay. In both cases, they were not individual postcards, but rather a souvenir packet of cards all attached to each other. While this meant that the cards were printed on both sides, and were slightly flimsier than heavy postcards, they were very affordable _ $5 for each set. And since I scanned the cards so I could print and use the images from both sides,  I now have the images if I want to use them for future projects as well.

    I did try to print the dates using a cheap date stamp and ink pad, but I found it so difficult to get a clean printing that I was throwing out more cards than I was saving. So I ended up typing each date in Photoshop (using a font that looks like those old punch labels), printing them on sticker paper, cutting them with my Silhouette and then peeling and sticking them onto each card. That was not a quick process, but easy once I got going. I alternated by month in terms of which side I stuck the stickers on, so the cards would be even when stacked in the box.

    postcard2

    I found the metal index card/recipe box at a yard sale, but had to remove the cover because it wouldn’t close once all the cards were inside. If I had more time, I would’ve searched around for a bigger box so the cards weren’t so jammed in. For the other version, I just took a cardbox box and cut into one side to make it a bit smaller (and glued it back together), then covered the outside with the front of the sounvenir card pack and print outs of the descriptions that were printed inside the card pack.

    Both of these were delivered late, but given that they can be used for at least the next five years, maybe I’m actually EARLY?

    postcard4


  • Toothless plush

    toothless

    I thought this might be the year I would NOT make my son a stuffed animal for Christmas. Previous birthday and Christmas projects include HuckleHobbes,  the Cat from Outer Space,  a penguin, and some Angry Bird critters, but I thought maybe he was getting too old for that stuff.

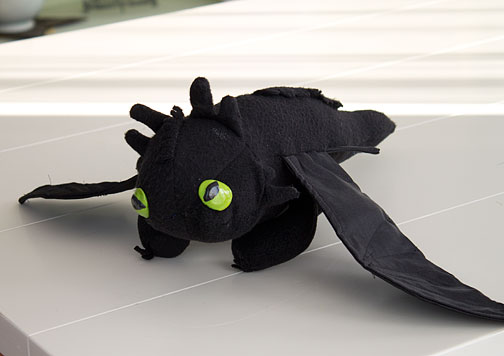
    But Parker is a huge fan of the “How to Train Your Dragon” series of books, as well as the movie, and when I saw this sewing pattern and tutorial by Katy A. at a site called Plushify, I changed my mind. Her version of Toothless the dragon was so cute, and I already had all the materials on hand.

    I was glad I had some experience making stuffed animals before doing this project, because the instructions are rather brief. But I am so thankful that someone took the time to come up with what is a fairly intricate pattern, including directions on how to make the eyes out of polymer clay. It didn’t take too long to make, but I waited til the last second, so on Christmas Eve, I was still hand-stitching and stuffing the legs.

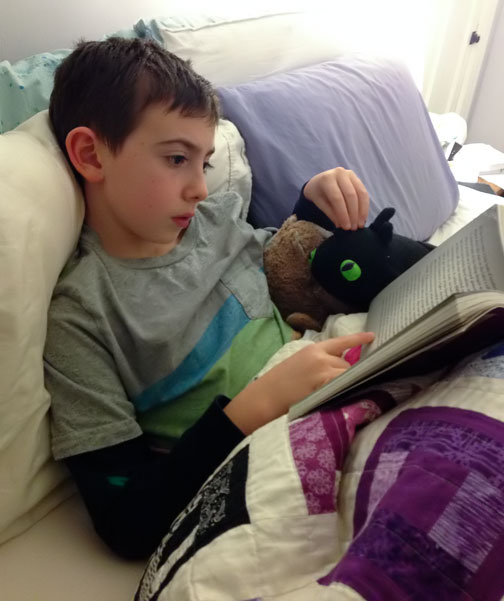
    I admit I wondered whether it was worth the effort when I saw how over-the-moon thrilled he was with the large Ninjago LEGO kit Santa brought. But he loves his Toothless, too, and several times throughout the day said to me out of the blue “I love my Toothless. Thank you for making him for me.” And as you can see from the above photo, just two weeks after Christmas and Toothless is already showing some wear and tear from being snuggled. (Should’ve used anti-pill fleece!)

    I’m glad he’s still my little boy.

    toothless2


  • Peace on Earth

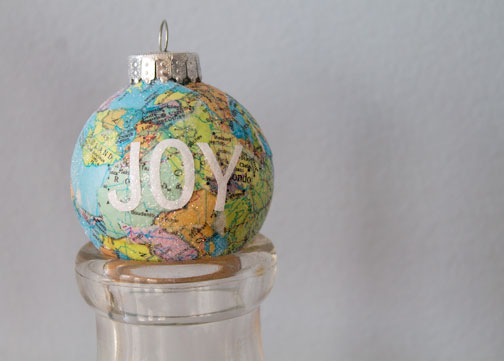
    joy

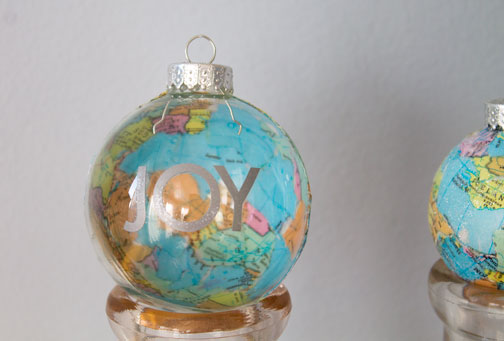
    joy2


    I must confess after coming up with the idea for these ornaments and then making them, I forgot to put them on my tree! I was thinking of them as prototypes and planned to make a bunch more … maybe next year?

    As I’ve mentioned before, I really love old maps and use them whenever I can in decorating projects, cards etc. I saw a roundup of holiday decorating ideas using maps on the Apartment Therapy site and loved the huge map with the words “Joy to the World” painted on it. That got me thinking of ways to use that title on a smaller scale. And when I saw these vintage looking ornaments using old book pages, I decided to use maps instead.

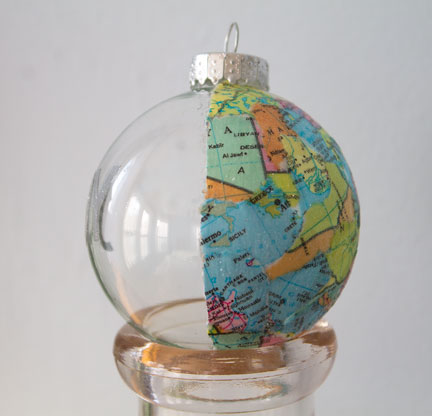
    I used glass ornaments because that’s what I had on hand, but this would work with styrofoam balls as well. For the second version, I tried just covering half the ornament with the maps, which made for an interesting effect because both sides of the paper show. It was a little tricky to keep a clean edge _ I masked off the line with tape, and then used a craft knife to carefully cut it away afterward. But I couldn’t find my blue painter’s tape, so I was using duct tape, which was not ideal.

    joy3

    I used vinyl letters cut with my Silhouette machine for the “JOY” lettering… I couldn’t decide whether to leave it like that or add “to the world” but 1) It is kind of hard to position tiny letters on a curved surface and 2) my husband said I should leave something to the imagination rather than spell it out. I think it might look better to use a paint pen to write the word on there instead. And while I purposely picked very colorful maps, I might try some with more muted colors as well.

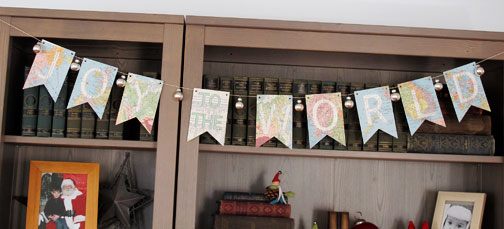
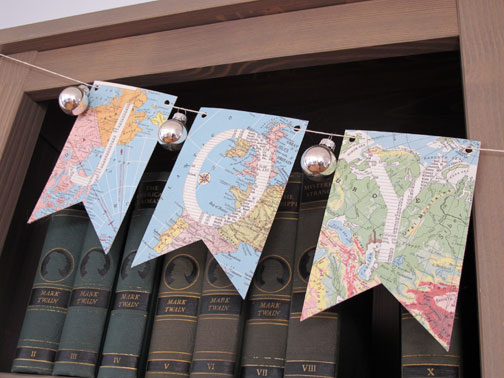
    I also made a banner to hang up in my living room, and this time, I actually hung it before Christmas!

    joybanner

    I used my Silhouette machine to cut out the shapes from old maps, and I used some of the index pages from my atlas for the lettering. It’s hard to see, but I added a bit of glitter around the edges of the letters. And I hung small silver ornaments in between.


    joybanner2

    I really love how it came out. It works well with the sort of vintage-y feel of the rest of the holiday decorations in that room.


  • Potions and Spells

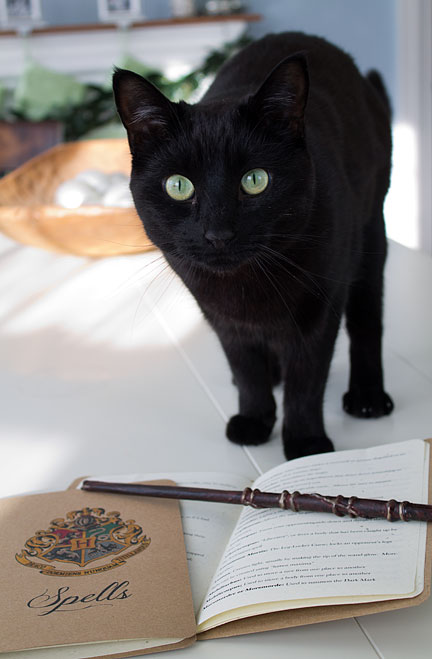
    Harry Potter wand

    I wish I had a magic spell to extend the holidays — I still have several gifts to make! Luckily, one is for a crafty friend who also was rushing to finish MY gift, so we decided to give each other a few more days! And I know that I will be happy to get a new gift a week after Christmas, so hopefully the other recipients of my late-arriving gifts will feel the same.

    Among the gifts I DID finish were some Harry Potter-themed goodies for my son, my nephew and my niece. I gave my niece and nephew the first few books in the series last Christmas and the rest this year. To go along with the books, I made them each a wand and a spell book, along with a Potions Kit so they can mix up their own experiments. The magic black cat is Herbie, he wasn’t part of the gifts, but he’s a good model 🙂
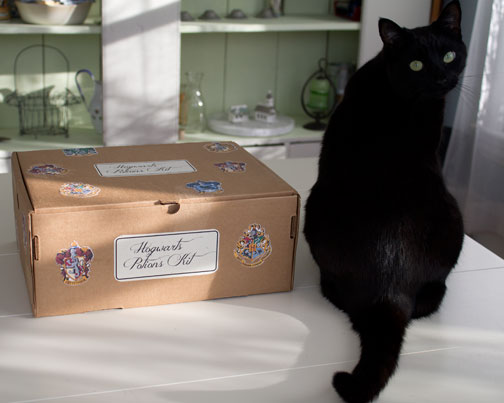
    Harry Potter potions kit

    The wands are pretty amazing given that they consist of just one sheet of regular copy paper, some hot glue and some paint! I followed the awesome Instructables tutorial by dadcando.com, and it was so easy, I made five at once. I then used black poster board to make boxes, and lined them with bits of satin and velvet wrapped around some quilt batting for padding. The stickers are print-and-cut designs from the Silhouette online store that I printed on white label paper and cut with my Silhouette machine.
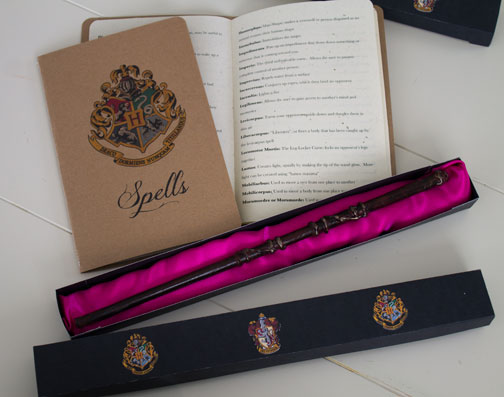
    Harry Potter wands & spell book

    I also made spell books inspired by the free download at A Lemon Squeezy Home. Her cute version is formatted for a 4X6 photo album, but I didn’t have any albums so I followed the link in her post to the list of spells, copied and pasted them into Photoshop and formatted them to make booklets that could use 8.5 X 11 paper folded in half. I used the Hogwarts crest image from the Silhouette store again on the cover, but just printed right on the cardstock instead of onto a sticker.

    The kids had a blast on Christmas Eve running around performing their “spells” !
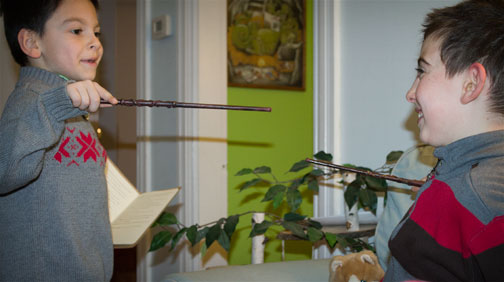
    wands

    I am so thankful for the potions kit ideas I found at Mrs. Nespy’s World. She threw a fabulous Harry Potter party and came up with all sorts of neat potions.  I used almost all her ideas to put together these kits, which were admittedly time-consuming, but pretty inexpensive in the end.

    I spent about a month or two saving empty jars and other containers to use for the potion ingredients, and then bought enough of the ingredients (stuff like baking soda, vinegar, food coloring) to make two kits. The most time-consuming part probably was making the labels, but that could be done more quickly had I not made different shapes, etc.  The blog mentioned above even had a free download for all the potions, but I re-typed them because I wasn’t sure if my little  niece would be able to read the decorative font she used, and I combined some of the student handbook potions with the “master” potions.

    I happened to have two sturdy boxes from Lands End (snow boots!) that worked perfectly to hold all the ingredients. I used more stickers to cover up the Lands End labels and to decorate the box, and tucked some bubble wrap among the glass bottles to protect them a bit.
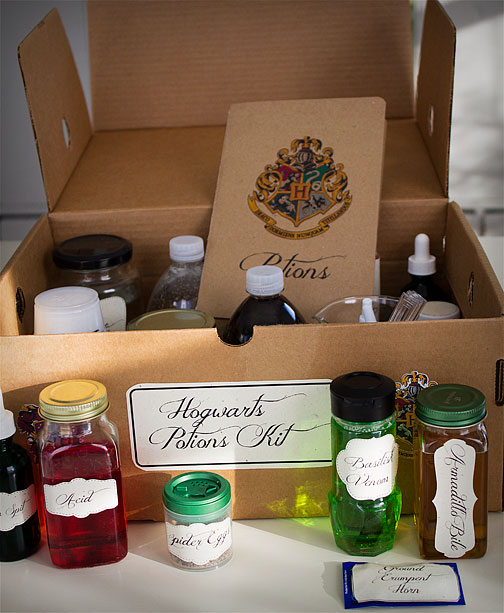
    Harry Potter potions kit

    I was waiting to give Parker his kit on Christmas day, but I knew he’d love it because when he saw his cousins’ he kept saying “We should do this!” We’ve done a few of the potions so far, and I think he enjoyed them 🙂
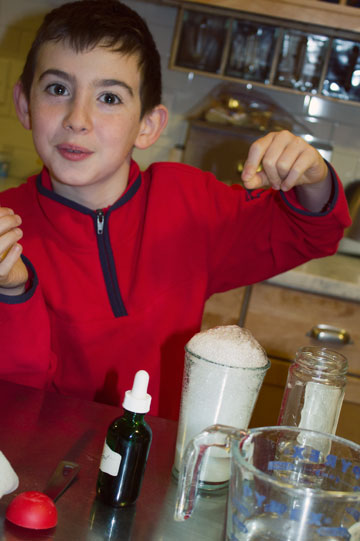
    potions4