We had a wonderful Christmas. It was especially nice to have the day before and day after off from work in addition to Christmas day because the next two weeks are going to be extremely busy for me with the NH primary Jan. 10. I’m eager to share pictures of all my hand-made gifts, but I’ll probably divide them up in a few posts over the next week or so.
First up, some of the gifts for girls, young and old. Some of these were posted on my hidden holiday blog earlier.
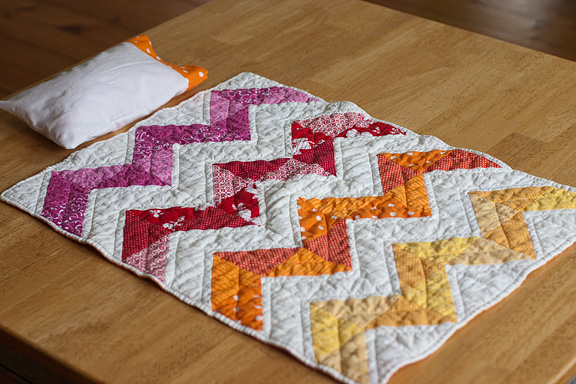
Here’s a little doll quilt and pillow I made for my best friend’s 4-year-old daughter, loosely based on a zig-zag quilt pattern I saw at The Purl Bee. I love how half-square triangles can be arranged in so many different patterns.
Instead of making a traditional “quilt sandwich” and binding this quilt, I just cut the batting and backing to the same size as the top, and layered them with the batting on top, then the quilt top right side down, then the backing right side up. I sewed all the way around the edges, leaving an opening for turning, and then turned it right side out. Because I added a narrow white border to the top, that ended up sort of looking like binding when I topstitched in-the-ditch along that seam. Good enough for a doll!
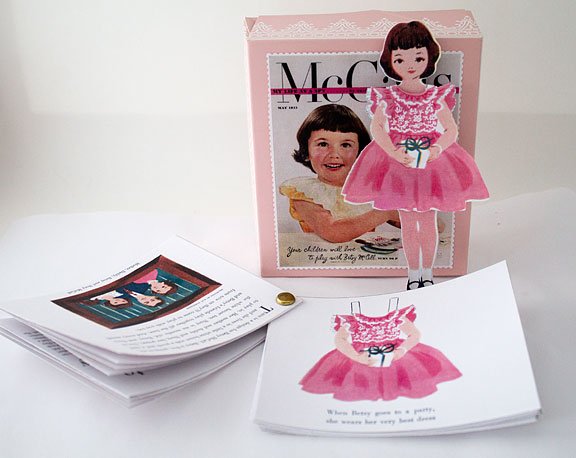
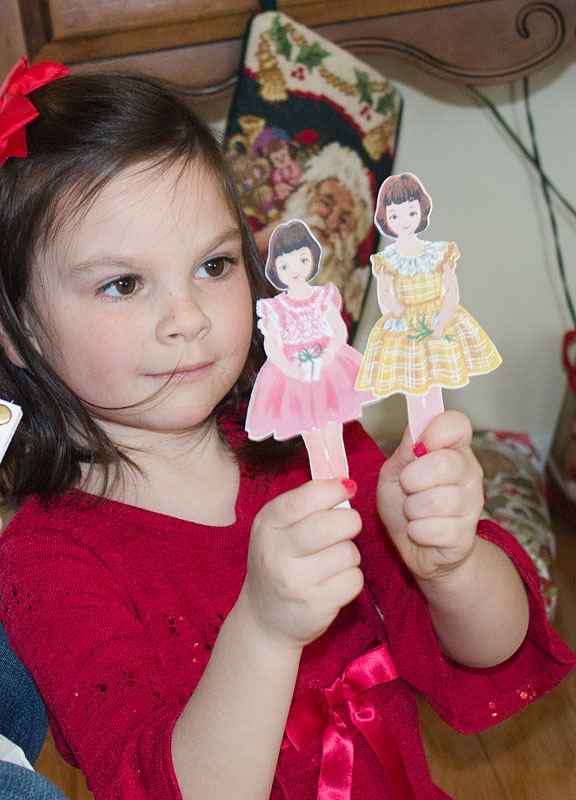
Speaking of dolls, I made these adorable paper dolls for my 6-year-old niece. I downloaded the Betsy McCall paper dolls from this website and used my Silhouette machine and its print-and-cut feature to cut them out. It took a little bit of work to do this, but once I figured it out it worked well, and now I’ll have the files all ready to go if I want to make more for someone else. (I used Photoshop to make solid black silhouettes of each shape so I could then trace them in the Silhouette software to get my cutting shapes.) I also printed small versions of each magazine page and made a little book, because I thought my niece might like the little stories that went with each outfit. I’m hoping to make more for her over the next few months and send them to her as a little surprise.
For the dolls themselves, I printed the doll on cardstock and then used the Silhouette machine to cut four blank dolls, and then glued the whole stack together. The dresses are cut out of plain white copy paper.
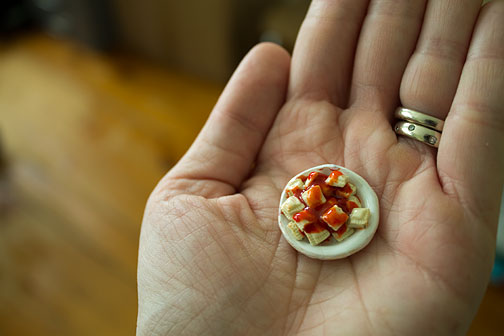
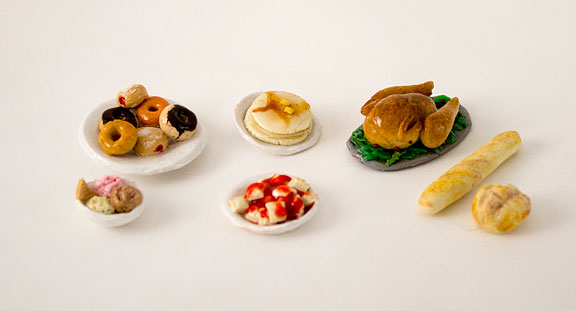
I also gave her a set of jewelry like the sets I posted about earlier this month, and some polymer clay food for her dollhouse. I didn’t end up making as much as I had planned (it takes a lot longer than you’d think to make such tiny food!), but she loved what I did make. (as did my son… he got the same set for his beloved toy cat figures).
And for the big girls on my list ….
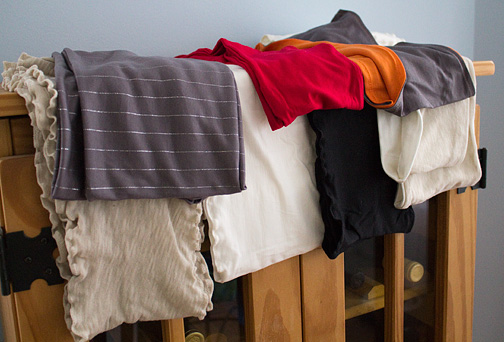
These are very similar to the ruffled scarf I made for my sister in October. I bought a bunch of different jersey knits from Fabric.com, some were as cheap as $2.99/yard, and I still have some leftover after making all these scarves. All of them are two-layers of fabric basically sewn into long tubes. Instead of the fussy way I was trying to fold over the edges and sew a satin stitch to get the edges to ruffle, I came up with an easier technique.
1) Cut a strip of fabric the width of your fabric (58″ in most cases for these fabrics) and twice the width of the finished scarf. (I cut 14 or 15 inches). (This is for a single-color scarf. If you want to use two fabrics, just cut two pieces, the width of the fabric and however wide you want the finished scarf to be)
2) Fold the fabric in half lengthwise, right sides together, match up the edges and pin along the long end. Sew along the long edge, making a tube of fabric. (If using two fabrics, pin them together right-sides together, and sew along both long edges)
3) Turn the tube right-side out so your seam is on the inside, and then press it so the seam runs up the middle, instead of along one edge. (if using two fabrics, skip this step, just press the tube flat)
4) Sew a narrow zig-zag along the folds of both long edges, stretching the fabric in front of and behind the needle as you go to create ruffles.
5) Close up the tube and make your finished infinity scarf using the technique described here.
Some of the fabric didn’t ruffle as much as others, but I ended up liking them all anyway. The tan/beige fabric is a very thin “tissue jersey.” The cream and black is a super-soft organic bamboo knit. The gray was probably the cheapest fabric, but I really like how it looks, both with the orange backing and on its own. For some of the scarves, I skipped the top stitching for the ruffles and just made un-ruffled scarves.

Leave a Reply