In addition to his main blog and his Food Network blog posts, my husband also has a blog featuring a photo what he packs our son for lunch every day. Granted, he does not have much time for food styling and photography, but I’ve long felt the photos could be better, so I decided to make him a light box/tent. I used this tutorial, but instead of using fabric to cover the sides, I used the same translucent drafting paper I used to make the light sabers for my son’s recent party. Unfortunately, the box turned out to be too small to hold the lunch box and accessories, so I’ll have to make him another one.
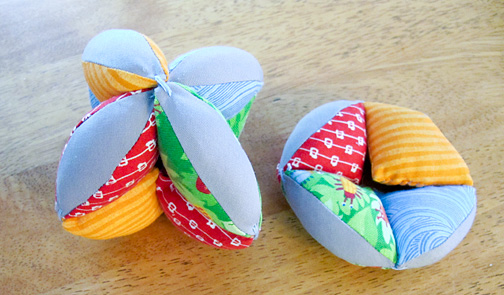
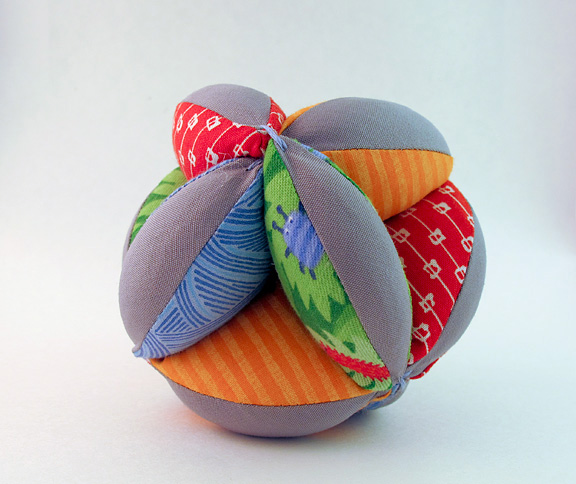
In the meantime, I tried out the smaller version on this Puzzle Ball I made from Last Minute Patchwork and Quilted Gifts. This will be a gift for a friend’s soon-to-be-born baby boy. This picture was taken at night, with no flash, and with two lights (cheap clip-on lights from IKEA) pointed at either side of the box. I adjusted the white balance in Photoshop, but otherwise, it looked pretty good!
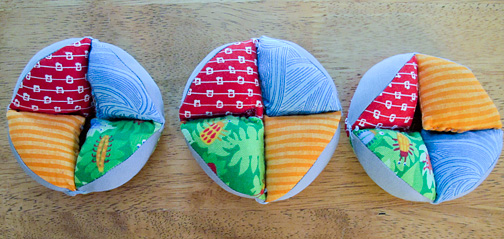
The directions call for using two fabrics, but I decided to use one solid and four prints. This made it a bit of a challenge to figure out how to put the ball together without the same fabrics touching each other (I think had I used just 3 prints, it would’ve been much easier). I ended up using this tutorial to put the ball together because it seemed easier, and it allows the ball to actually be taken apart in three sections like a puzzle.
(these photos were taken before I had my fancy new light tent!)

Unfortunately, in the last few days something has gone wrong with my camera. I have an old (2003?) Canon Digital Rebel that I bought from my mom years ago, and it might finally be done. I just ordered a new battery in case there is some slim chance that the problem is old batteries, but I’m not hopeful. Urgh.


Leave a Reply