I recently wrote an article for AP about Liesl Gibson and her book, “Oliver + S: Little Things to Sew,” featuring the bucket hat I’ve made a few times this summer. Liesl was extremely nice and very interesting to talk to. Here’s a link to my story, which includes a link to download the hat pattern and instructions:
AP article: Oliver + S Bucket Hats
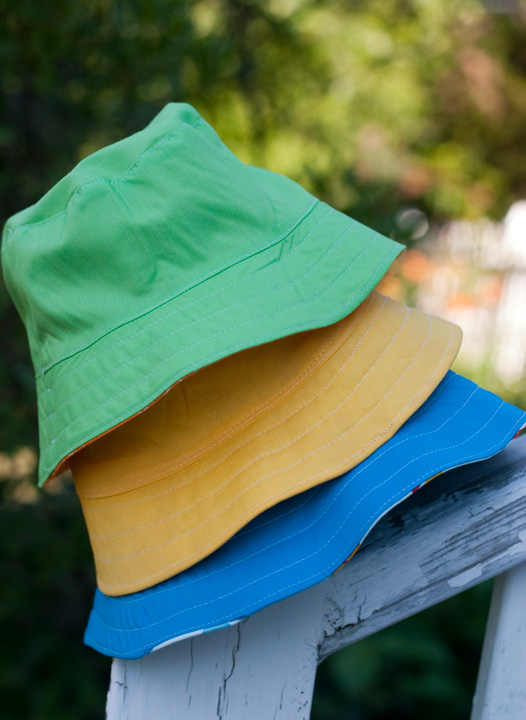
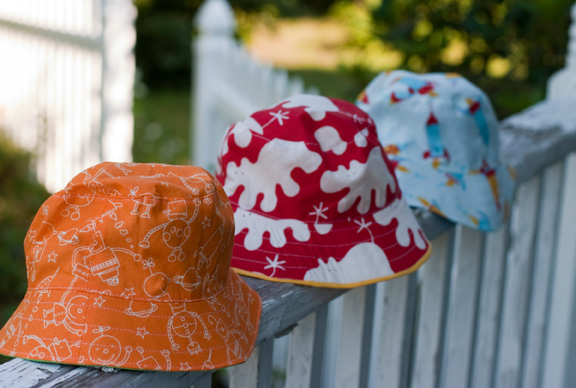
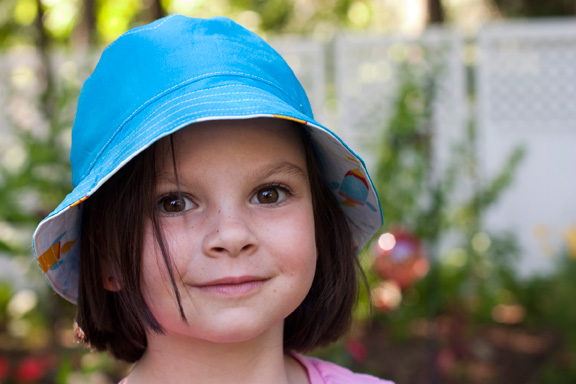
And here are some photos of the hats I made to go with the story. That’s my adorable niece modeling for me. The blue hat reverses to the blue spaceship print, the green reverses to the orange robot print and the yellow reverses to the red and white hippo print. For the yellow/red version, I pressed a bit of the yellow lining to the outside edge of the brim and it sort of looks like piping. Of course, that means the yellow lining is a bit skewed, but that might be something worth trying again, maybe making the lining brim piece a bit bigger so it could wrap around to the front.
Month: August 2011
-
Bucket (List) Hats
-
Wee Wonderfuls Kitty
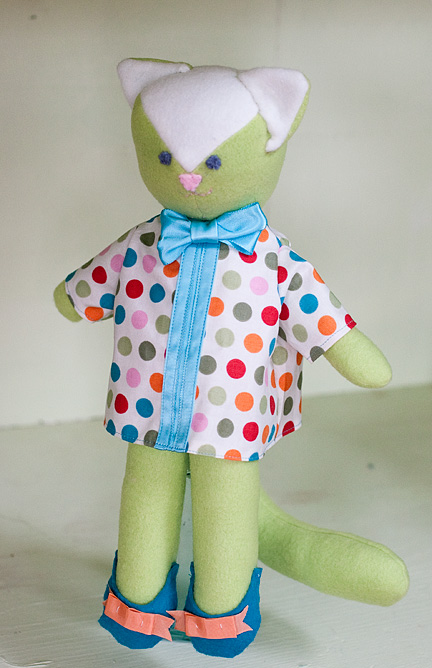
I made this kitty from the Wee Wonderfuls: 24 Toys to Sew and Love book, with some modifications, for my cousin’s baby, due to arrive in September. That white (actually pale, pale green) piece on the face is supposed to be the top of the head, and the eyes and nose are supposed to be placed much lower. But when I did that, it just looked weird. Like an alien, actually. (It doesn’t help that the pattern calls for much larger, almond shaped eyes). Maybe I stretched the head out when stuffing it, or sewed it on at a weird angle. My original eyes were gray and blue. My husband suggested that it needed some white. When I pointed out that cats’ eyes don’t have white, he reasonably enough pointed out that real cats don’t wear dresses either. Such a stickler!
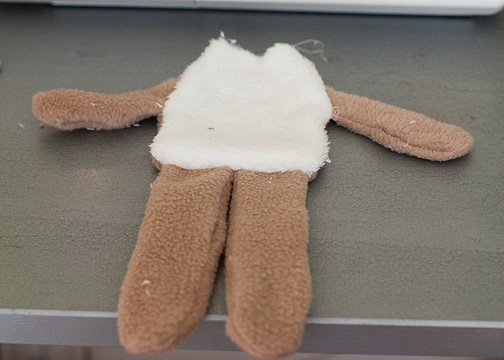
So, I ripped everything off, sewed the head on at a slightly different angle and made the point of the white fabric the center of the face. I think she’s quite cute!While I had the pattern out, I cut out pieces to make a second kitty, though I’m not sure I like it enough to finish. But, I did try a different way of attaching and stuffing the limbs. The book calls for making all the limbs, stuffing them, and then hand-sewing them to the body. I find that very cumbersome, and I worry that they won’t hold up to a kid yanking on them. I have a Simplicity baby doll pattern that I’ve used a bunch of times to make stuffed animals, (including the famous Huckle) and it calls for this technique:
Make the limbs, leaving the tops open, and a 1-2 inch section open along one side for stuffing later. Turn them right-side-out. Baste the arms to right side of the belly/front piece.
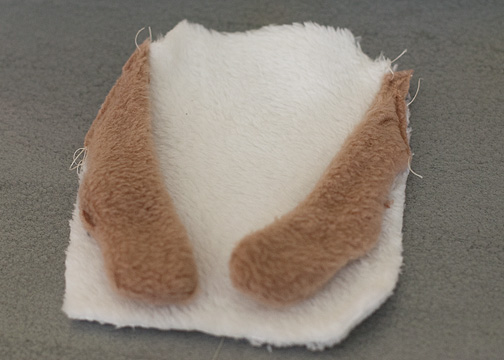
Pin the back piece, right side down, onto the front piece (if the body is big enough, you can do the legs at the same time in the previous step, but since this pattern had a small body and large limbs, I did it in two stages). Sew along each side of the body, leaving the top (neck) and bottom (where the legs will go) open.
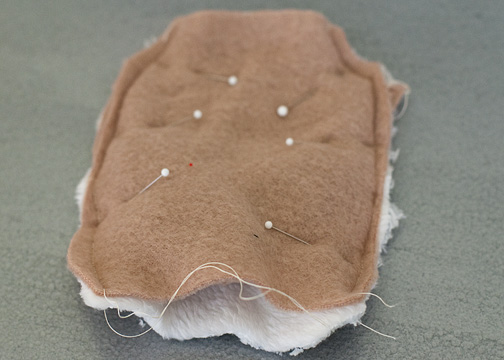
Pull the ends of the arms through the neck to give yourself a bit more room in between the body pieces. Pin tops of the legs to the bottom of the belly piece, with the legs pointing into the body, in between the belly and back pieces. Sew across the bottom.
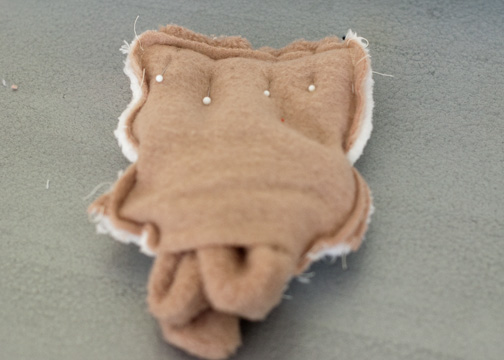
Pull everything through the neck, and Voila! the limbs are securely sewed onto the body. You can then stuff them and the only hand-sewing needed is to close up the small openings in the side seams.
(You still have to sew the head on by hand). -
My 7 Links
Beth at Remarkably Domestic recently tagged me for this post. If you aren’t familiar with her blog, please check it out! I started reading it last year for her her hilarious posts about working her way through the Martha Stewart Encyclopedia of Crafts and have been hooked ever since.
OK, here are my quickly compiled highlights:
Most Beautiful Post: Last Minute Valentine
I’m taking my cue from Beth a bit and highlighting a sentimental post. Since I don’t really write much about my personal life, or showcase photos of anything other than craft projects, this is the best I could come up with _ a craft project that highlights a sweet drawing my son made for me.
Most Popular Post: A Busytown Birthday
This post by far drives more traffic to my blog than any other. Sadly, we just sold the Busytown building set at a yardsale last weekend, it’s all LEGOs all the time here now. But at least the stuffed Huckle is still around.
Most Controversial Post: More Silhouette Shirts
I don’t think any of my posts have generated any real controversy, but this one includes a picture I took of Sarah Palin, who is nothing if not controversial.Most Helpful Post: Valentine Pocket Warmers
I have no idea if anyone has actually made any of these, but I think it could be very helpful for someone looking to make a bunch of small gifts quickly and cheaply (17 cents worth of flannel per hand warmer!)
A Post Whose Success Surprised Me: Travel Game Folios
This project got featured on a few other websites, which was surprising given that it was a last-minute, thrown together idea. To be honest, battleship ended up being a bit too complicated for my 6-year-old, and he ended up drawing on the OUTSIDE of the folder as well as the wipe-off surface, but it did keep him occupied through several long meals while we were on vacation.
A Post That Didn’t Get the Attention it Deserved: Have a HOLLY jolly Christmas
I really enjoyed coming up with a bunch of different ways to turn children’s artwork into Christmas gifts, beyond the usual “make wrapping paper” idea.
The Post I’m Most Proud of: Find your way to better vacation souvenirs
This was my very first post! It still amazes me that somehow since then, people in every state and 140 other countries have found their way here. Appropriately enough, that first post is about using maps to decorate.
