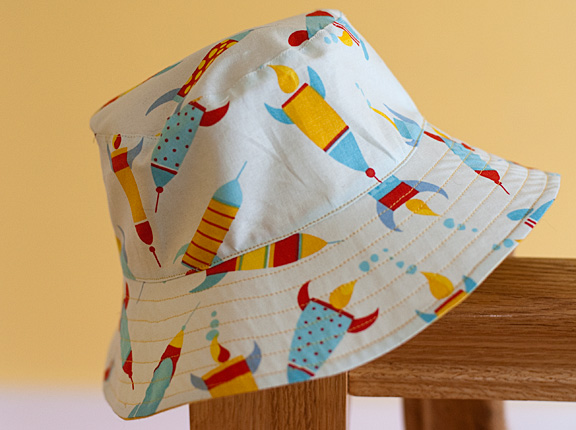
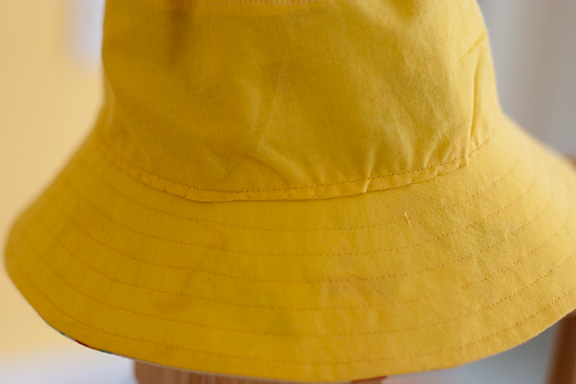
Another project from “Oliver + S: Little Things to Sew”. This bucket hat is for my son’s friend, Ally, who is having a space-themed birthday party at our local planetarium tomorrow. (Don’t tell my son I bought this fabric a while ago to make him something… and then never did anything with it!) This was a fast, easy project until the very last step. The way the hat is put together, you sew the cap of the lining on by hand, and then turn the hat to the right side and top stitch near where the side meets the brim. When I did that, this it what happened in the inside, it’s all wonky and uneven.
So I don’t think this truly works as a reversible hat but hopeful the birthday girl will like the rockets enough to prefer that side.
I’m thinking that if I make this again, I’d make basically two separate hats and then sew them together around the outside edge of the brim, leaving a few inches open to turn it right side out. I’m not sure how well that work, or if I could then topstitch and have it look better…. we’ll see.


Leave a Reply