Month: April 2011

  • A whale of a giveaway!

    “Summer with Matthew Mead,” a magazine I was thrilled to contribute to, will be heading to mailboxes in the next few days. (It is available only via this website) I can’t wait to see it!

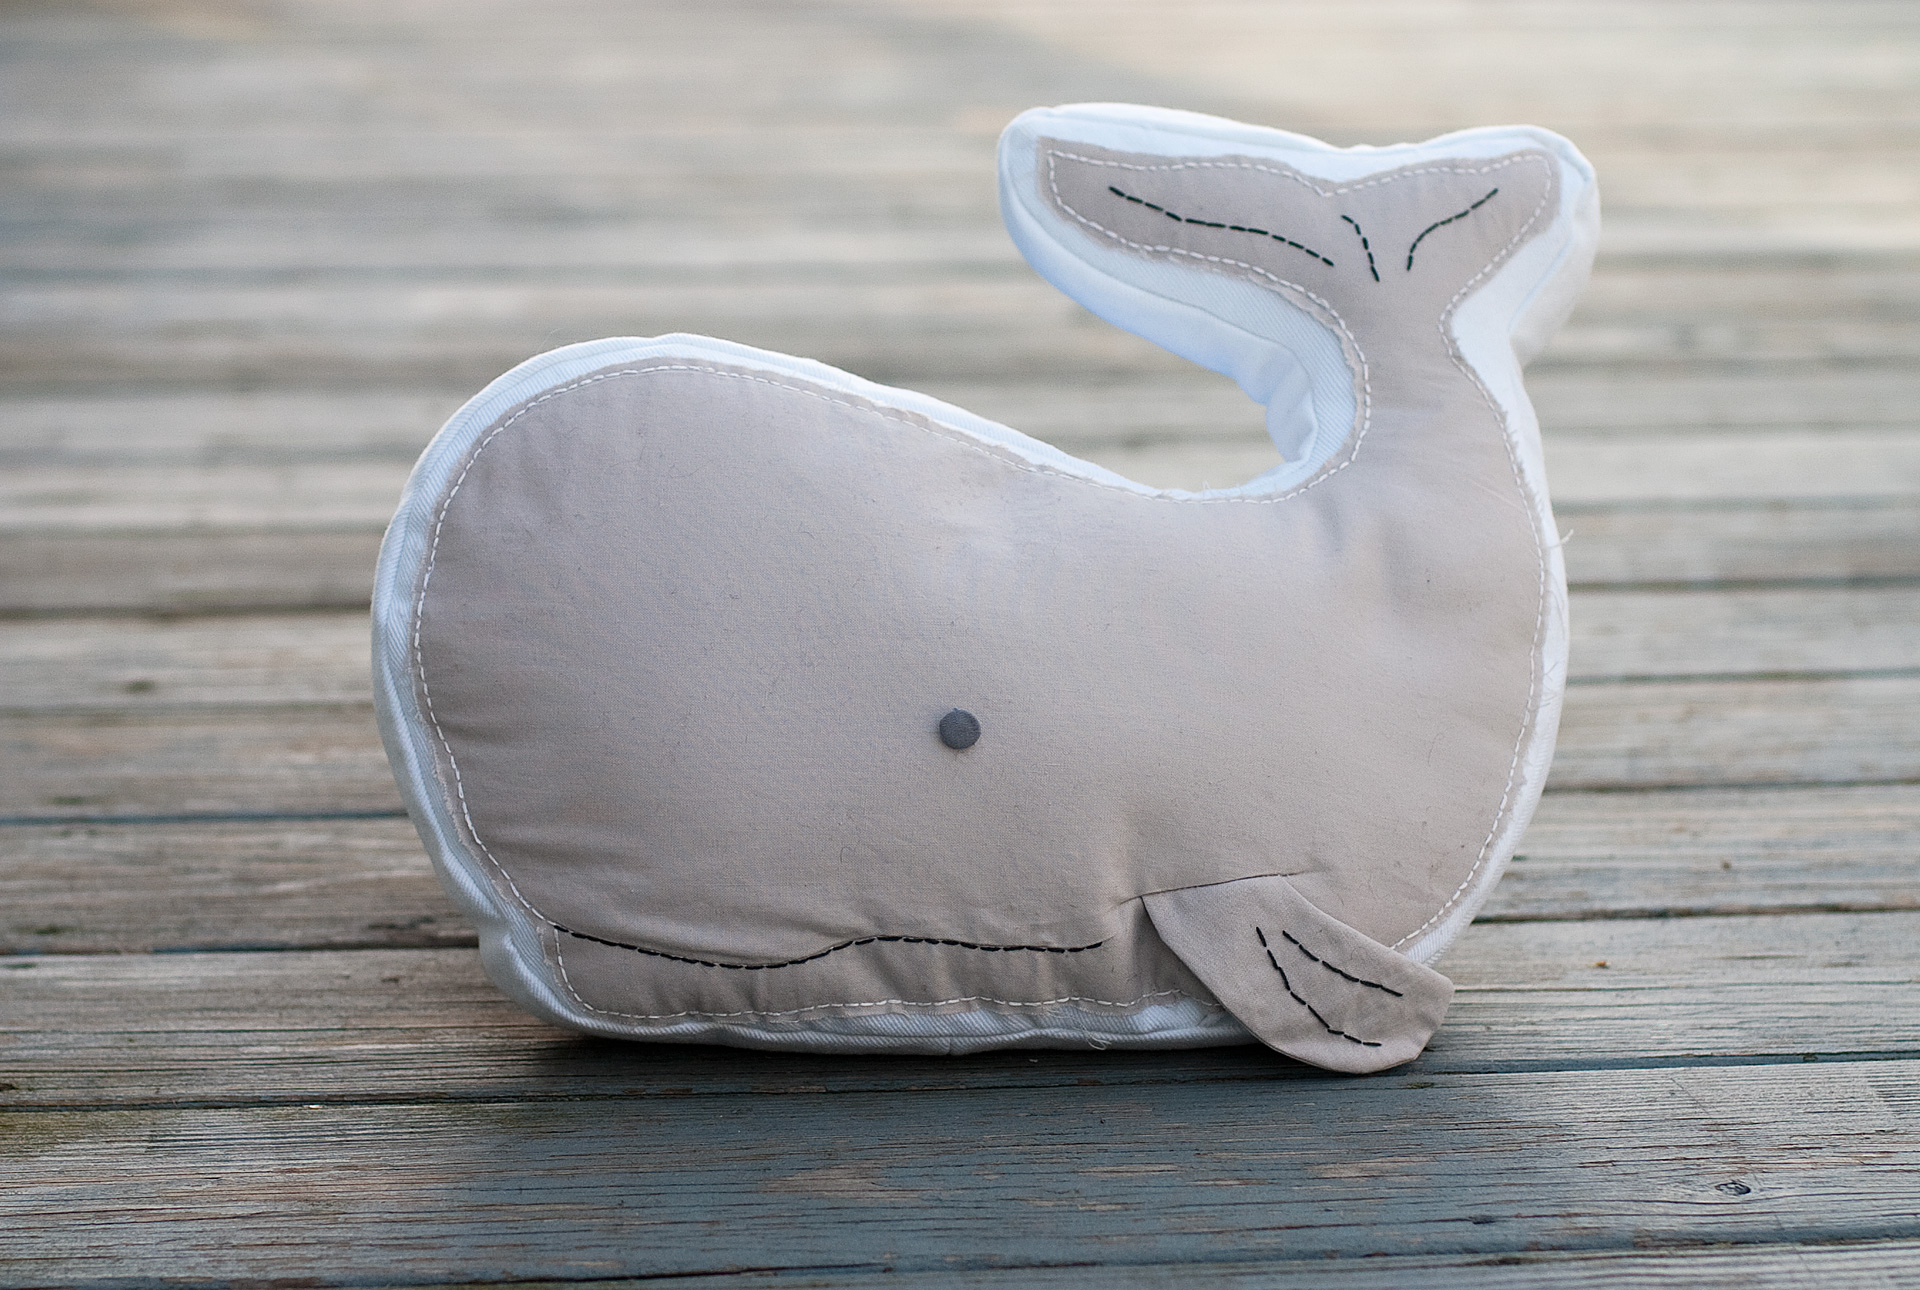
    In the meantime, here’s a sneak peek at my project: a pillow shaped like a whale. I’m sure the photographs in the magazine will be better, this is just a snapshot on my deck, but it gives you the idea…

    If you’d like to make one, I’ve put together a PDF with the pattern and some directions: stitchcraftcreations_whalepillow

    And… if you’d like a copy of the magazine, I’ll have an extra one to give away. Just leave me a comment below. To earn an extra chance, let me know that you subscribe to my blog or follow it. I’ll pick a winner on Monday.

    ***THIS GIVEAWAY IS NOW CLOSED. THANKS! ****


  • Scrambled Eggs

    I’m not sure why I feel so drawn to Easter crafts given that my family really does not do much to celebrate Easter… I guess it is the pretty spring colors. Here’s my latest attempt, and much like the Silhouette eggs, this project was not quite successful.

    My main inspiration for this egg was a tutorial on the Rachel Berry Blog. She made egg shapes out of aluminum foil and then covered them with clay, but then I read about how it is possible to cover REAL eggs with clay.

    I really wanted to try these amazing polymer clay-covered eggs by Liz Smith, as seen on the Martha Stewart show, but figured I would start with what I hoped would be the simpler process of covering a a blown-out egg with a solid sheet of clay. Problem number 1: curious cats. After I blew out five eggs, I left them to dry on our kitchen cutting board. I walked by later and all five were gone… scattered around the house by our cats. I eventually found them all (one had made it all the way downstairs and was under our woodstove) but all but one had been broken. Ugh.

    Problem number 2: My experience with polymer clay has been limited to making teeny-tiny charms. So I really had no idea how difficult it is to condition/soften a huge hunk of clay. I am a weakling. After many minutes of trying to blend some blue and white clay, I decided to go for a swirly, marbled look. But since I do not have a pasta machine for clay, rolling it out evenly and large enough also was much more difficult than I had anticipated. By this time, I was pretty sick of this project so I slapped the clay on rather sloppily. There were a few bumps that I tried to smooth out, but it was hard.

    Problem number 3: My son sometimes uses my alphabet stamps and doesn’t always clean them well. So when I went to stamp the letters, some ink got on the clay. I decided then that I would paint the egg afterward.

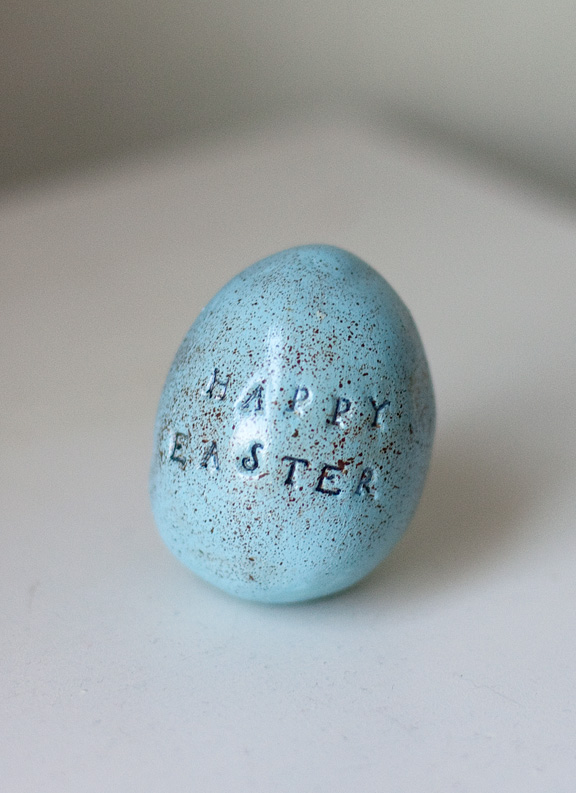
    In the end, I painted the egg this light blue, used a Sharpie to color in the letters and then used brown paint and a toothbrush to add the speckles. Finished it off with a coat of spray-on on gloss.

    I don’t hate it but it was a lot of trouble. Maybe next year I’ll just paint some wooden eggs.

    I do still love the felted wool eggs I made a few years ago: (Click HERE for my audio slideshow/tutorial)
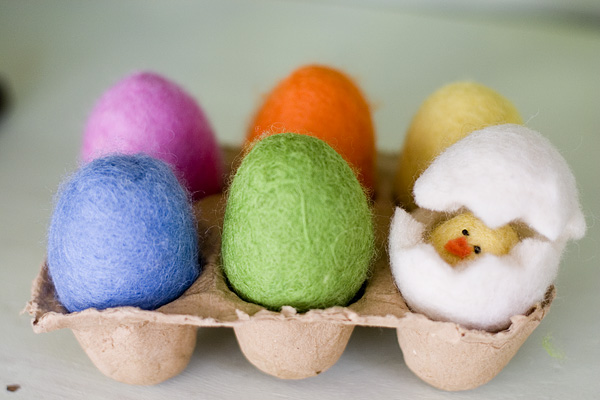
    Felted Eggs

    My Silhouette eggs also were featured with lots of pretty ideas at Pure Joy Events.

  • Birthday bucket hat

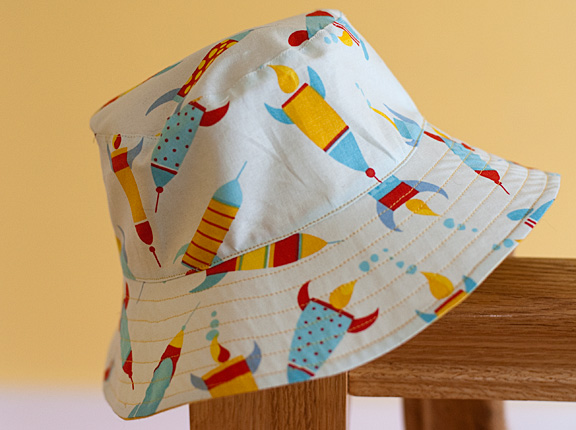
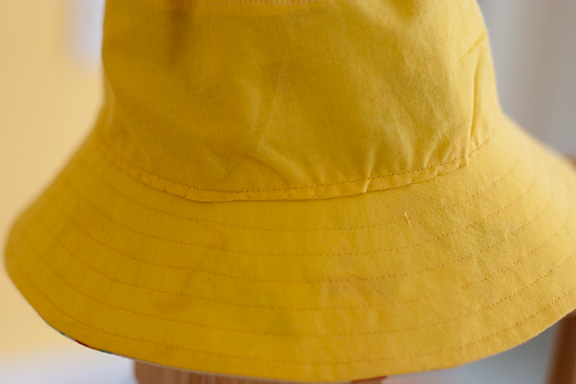
    Another project from “Oliver + S: Little Things to Sew”. This bucket hat is for my son’s friend, Ally, who is having a space-themed birthday party at our local planetarium tomorrow. (Don’t tell my son I bought this fabric a while ago to make him something… and then never did anything with it!) This was a fast, easy project until the very last step. The way the hat is put together, you sew the cap of the lining on by hand, and then turn the hat to the right side and top stitch near where the side meets the brim. When I did that, this it what happened in the inside, it’s all wonky and uneven.

    So I don’t think this truly works as a reversible hat but hopeful the birthday girl will like the rockets enough to prefer that side.

    I’m thinking that if I make this again, I’d make basically two separate hats and then sew them together around the outside edge of the brim, leaving a few inches open to turn it right side out. I’m not sure how well that work, or if I could then topstitch and have it look better…. we’ll see.

  • Summer, Someday

    It is hard to imagine spring, let alone summer, will ever arrive given that there are still a few stubborn clumps of snow in my yard. Though when it got up to about 70 degrees this weekend, my son was ready to haul out the sprinkler. I was a mean Mom and nixed that idea, though I did let him fill up a few water balloons and lob them at my car. But, here’s one thing that is making me think of summer: The Summer issue of Matthew Mead’s “bookazine.”

    You might remember that I featured the December/Holiday version. That issue featured one of my husband’s recipes, but this time, it’s my turn. I just might have a little project in there! So exciting!

    Click on the button above to see a sneak peak or order your copy.