While I still believe that I’m the only person with a Silhouette machine who does not absolutely adore it, I can’t blame the poor results for this project on the machine. Instead, I’ll blame my six-year-old. OK, to be fair, I’m not sure these eggs would have turned out THAT much better had I been working alone, but that’s what I’m going to tell myself.
Once I decided to try using the Silhouette to cut some vinyl letters and shapes to use on my eggs, I also decided to blow out the eggs, because if I was going to create gorgeous, fancy eggs, I wanted to be able to keep them. The blowing out part was fine. I followed Martha Stewart’s directions, except I used a large needle to make the holes instead of an X-acto knife. (Though this method does leave you with noticeable holes in the eggs… not sure what you’re supposed to do about that? Cover them with bits of paper?)
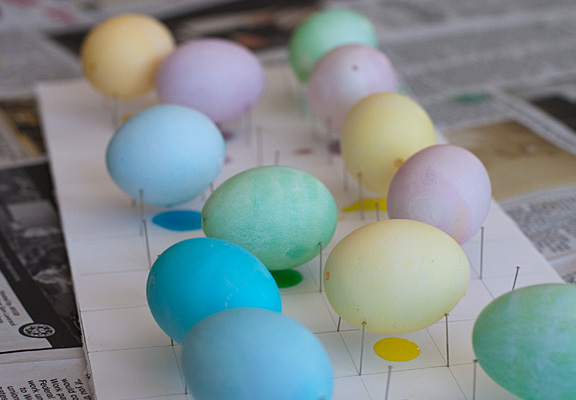
Parker and I then dyed the eggs in various pale shades, which was a bit tricky because the hollow eggs want to bob on the surface of the dye. This was also the first time I tried Martha’s idea for a drying rack, which would have worked great had I put my pins just a bit closer together. After a while I noticed that the eggs were REALLY drippy. That’s when I realized that because of the holes in the eggs, a lot of the dye had gotten into them, so I had to blow out some of the water and dye again.
I then used the Silhouette to cut out various letters and shapes out of vinyl. For once, I was impressed with the Silhouette. It cut the vinyl beautifully, and because you don’t have to use the carrier sheet — you just feed the vinyl into the machine — I didn’t feel like I had to hover over the machine worrying that the cut pieces would be sliding around and getting mangled while it was cutting.
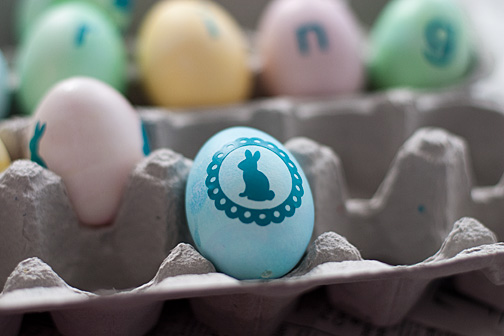
I did realize that some shapes weren’t ideal. As thin as the vinyl is, you still can’t wrap larger shapes around the curved surface of the egg without it getting wrinkled. For the scalloped border, I had to cut off two little scallops and make it more of an oval shape instead of the circle I started with. I could have re-cut the vinyl into a better shape but I was already sensing at that point that these were not going to be the family heirlooms I envisioned.
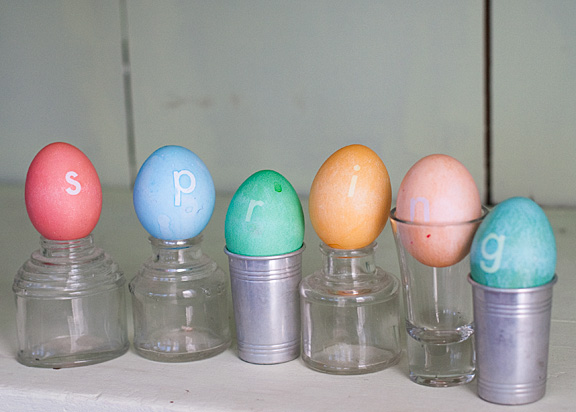
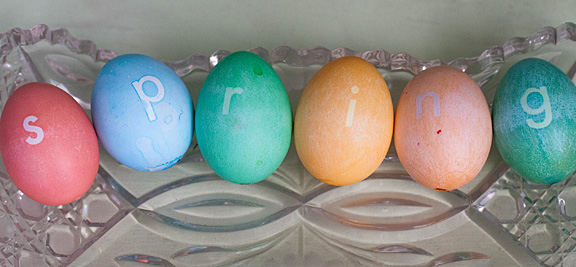
Once the vinyl was stuck to the eggs, we dyed them again. I think our big problem here was not letting them sit long enough in the dye. Some came out great _ the “S” in spring is nice and crisp _ but others were too light so there wasn’t enough contrast. And on some, the vinyl must not have been stuck as tight because the dye seeped under it.
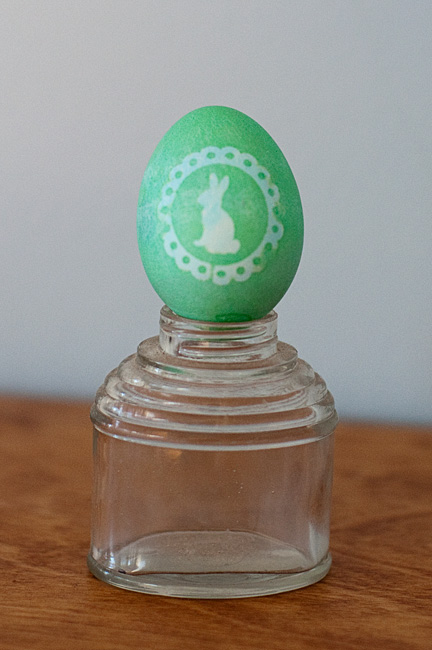 So, while these aren’t horrible, they’re also not something that you’d stop and exclaim over how amazing they look either. IF I did it again, I think maybe I would use the vinyl as a stencil to paint the eggs instead of dyeing them. Or maybe use white vinyl and just use them as stickers. Or maybe we’ll just go back to dyeing hard-boiled eggs and leave it at that.



I’m doing a month long series on Easter/Spring party tutorials and would love to feature this tutorial on http://www.purejoyeventsblog.com/.
Wow, I really appreciate your honesty. Although I have been tempted – since I now understand that the machine now cuts fabric, I have not purchased a Silhouette. I appreciate hearing about your mixed results.
That said, I love your eggs!
Gosh.. I just LOVE my Silhouette. Have you downloaded the new software? I’m thinking there was an issue with typing the e. Go here: http://www.silhouetteamerica.com/support.aspx
and get the newest software version. I think that fixed the problem! If not, Silhouette customer support is great!
Love your eggs!!
These are beautiful. I love the colors… and I love the way you put them in the holders. Awesome!
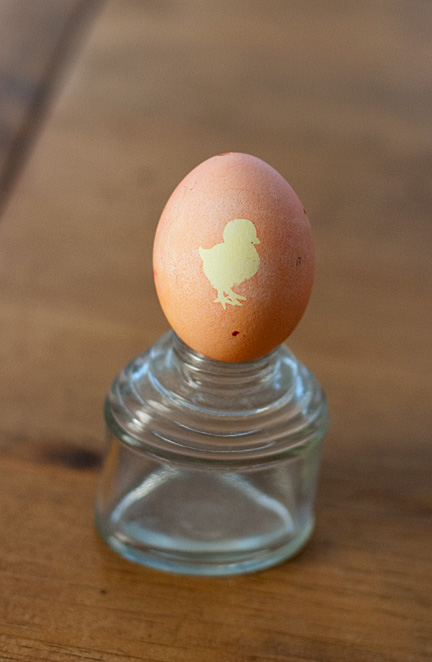
Holly, I squealed with delight when I saw these eggs! I think they are adorable, and I especially love terra cotta colored egg with the little chick. Is that one where the dye got under the vinyl? If so, I think it makes it look like an antique, and I kind of want it.:)