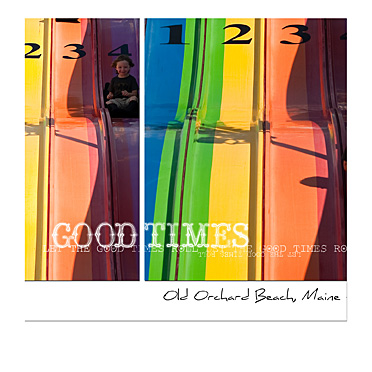
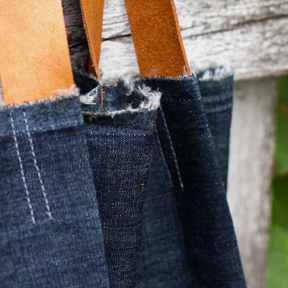
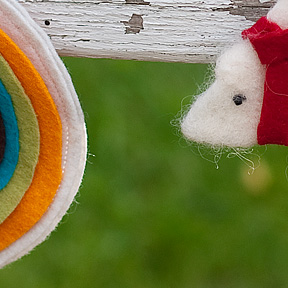
Here’s a glimpse of my entry for this week’s “A Gift a Week ‘Til Christmas” challenge at Works in Progress. As usual, I’m posting it on my “hidden” blog so the recipient won’t see. Leave me a comment or send me an e-mail if you don’t have the address.
Month: September 2010
-
Summer Dresses
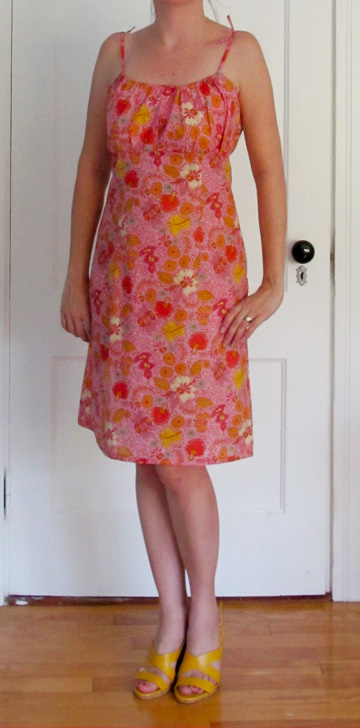
Now that it’s fall, I’m finally getting around to posting the two dresses I made this summer, both for the same wedding. The first was Burda 8071, the one I posted earlier asking advice on whether to add the flounce around the bottom. I did not end up going with the flounce, in large part because I wanted to be DONE with it, but overall I really like this dress. I ended up wearing it to two different weddings. I LOVE the feeling of the cotton voile, though it is quite sheer, so having to wear a full slip (basically a stretchy tube from bust to knees!) sort of canceled that out.
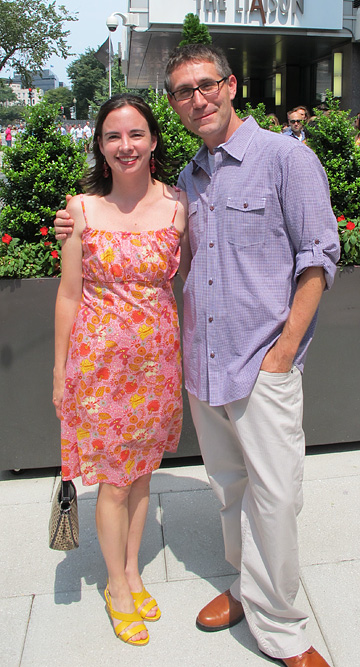
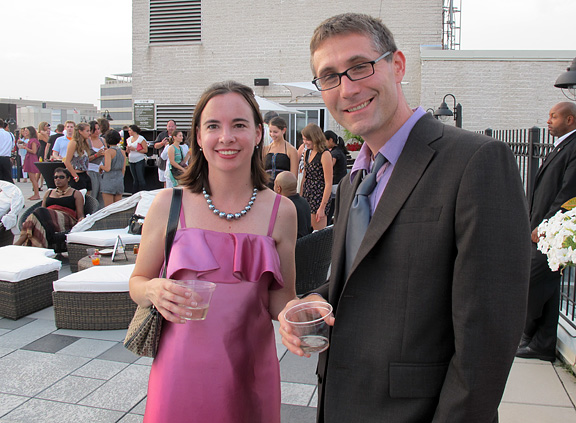
Here it is at the wedding we went to in Washington, D.C. There was the wedding and lunch, and then a hotel rooftop pool party later that night. I expected the evening event to be fancier but it turned out most people got more dressed up for the ceremony/lunch.
The second dress is from a pattern I bought at Burdastyle.com, #125 from the June issue of the magazine. This was a frustrating experience, not the sewing of the dress, but just getting the pattern. I wasn’t able to download it after I paid for it for four days, which I think is totally unacceptable. For once, I had some long stretches of time to work on it that weekend, but had to wait several days to actually get the pattern. My e-mails to customer support and comments left in the forums there were ignored for several days. That said, I was mostly pleased with the pattern once I got it. I made it from some polyester charmeuse that I bought for $2.50 a yard. I love the ombre effect, but the downside was that the fabric was an unattractive pale purple on the reverse side, meaning I couldn’t do a single thickness of fabric for the ruffle as the pattern calls for. I ended up cutting out the LONG spiraling ruffle piece twice and making the ruffle double-layered. That made it bulkier than I would have liked. On the other hand, I didn’t have to do a tiny narrow hem. After figuring out that I could pull the dress over my head, I also left out the back zipper, which saved quite a bit of time (I have never sewn a lining to a zipper, and maybe I never will!)
These are NOT the shoes I wore to the wedding. I have some pretty greyish/silver sandals that my sister later borrowed and hasn’t returned!
Here’s a shot from the wedding:
-
Earthquake Quilt Block
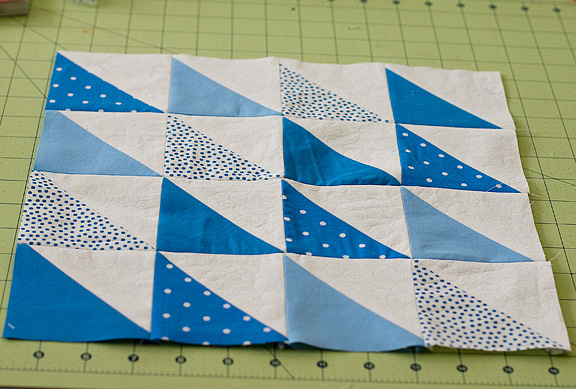
Deb from Works in Progress is collecting blue and red quilt blocks to make a quilt for victims of the recent earthquake in New Zealand, where she lives. I’ve been participating in her “Gift a Week ’til Christmas” challenge and have been lucky enough to win the weekly fabric prize several times, so it was the least I could do to contribute a quilt block.
I made the mistake of grabbing a priority mail envelope at the post office and had no idea just how EXPENSIVE it is to send a quilt block to New Zealand, but I figure it was for a good cause.
And here’s a sneak peak of my Christmas gift progress this week. If you’d like to see the rest, please leave a comment or e-mail me for the link to the “hidden” blog where I’ve been posting these projects.
-
The Birthday From Outer Space
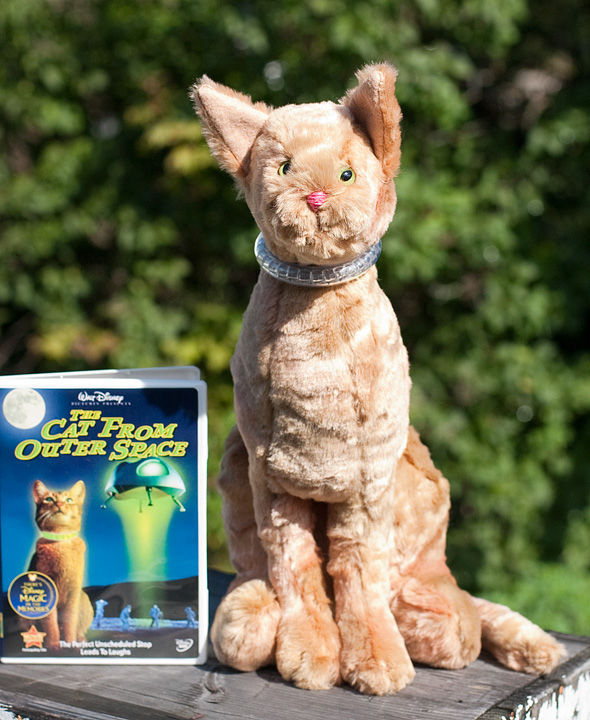
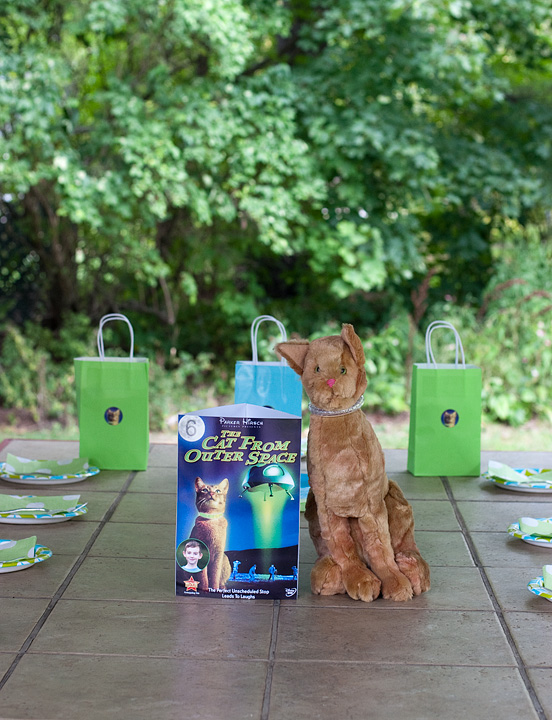
Parker turned six last week, and we celebrated with a small party with just his grandparents, aunt and uncle and cousins on Saturday. I think I was so relieved to not have to make 10 party favors like last year’s mass-produced Lowly Worms that I went a little overboard for the three children in attendance (the birthday boy and two cousins). The theme was “The Cat from Outer Space,” a 1978 Disney movie my husband enjoyed as a child and Parker has adored since we let him watch it earlier this summer.
Of course I had to make him “Jake,” the cat/star of the movie. I found a free pattern for a sitting kitten here by Runo Dollmaker, but that seemed too small and squat, so I enlarged the pattern in Photoshop so it was 150 percent taller. I think I could’ve gone with a bit less height since the end result is sort of oddly stretched out, but I was just glad all the pieces still fit together fairly well after I tinkered with the pattern. This was my first experience using plastic stuffed animal eyes (hence the crooked placement) and my first jointed stuffed animal (the head swivels).
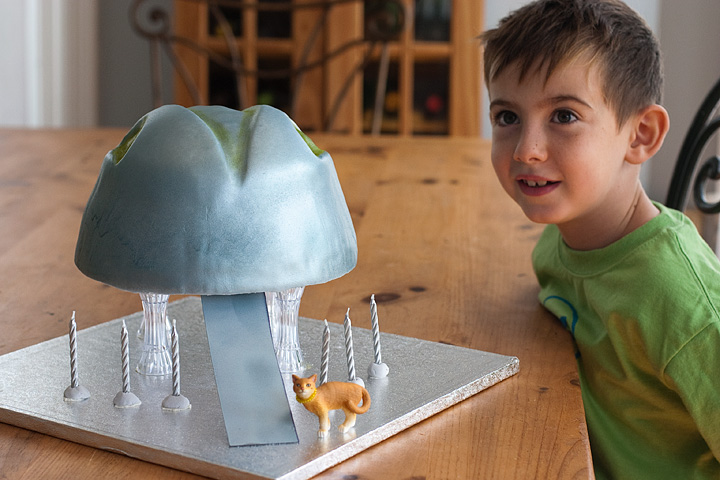
My husband, the food editor, was in charge of the cake. Though he generally does not like to bake, he goes all out for Parker’s birthday. (Last year’s Huckle cake used 4 dozen eggs!) This year’s cake was smaller, but just as impressive to the birthday boy.
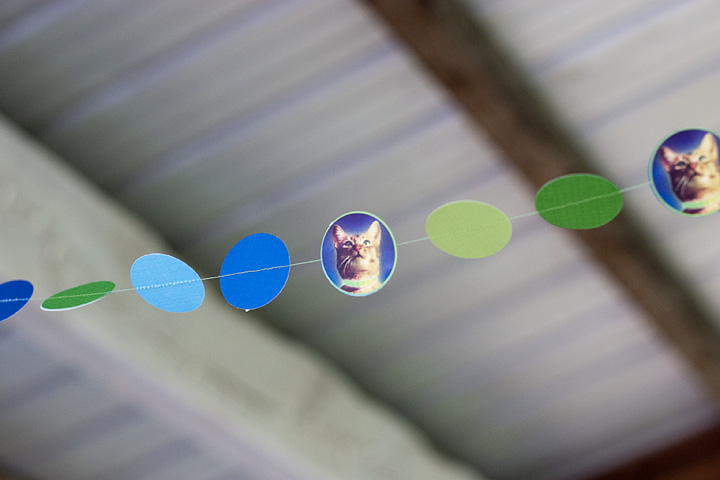
To continue the theme, I scanned the DVD cover and used the image to make invitations, stickers, a garland and a table decoration. I have a large Fiskars Squeeze Punch, I think it is 1.5″ in diameter, that I LOVE. It was so easy to punch out a bunch of circles to make the garland, then I just sewed them together using the sewing machine. To make the cat stickers, I formatted the picture of the kitty in Photoshop to make it the size of the punch, printed a bunch on one page and then punched them out and ran them through the Xyron 1.5″ “create-a-sticker.”
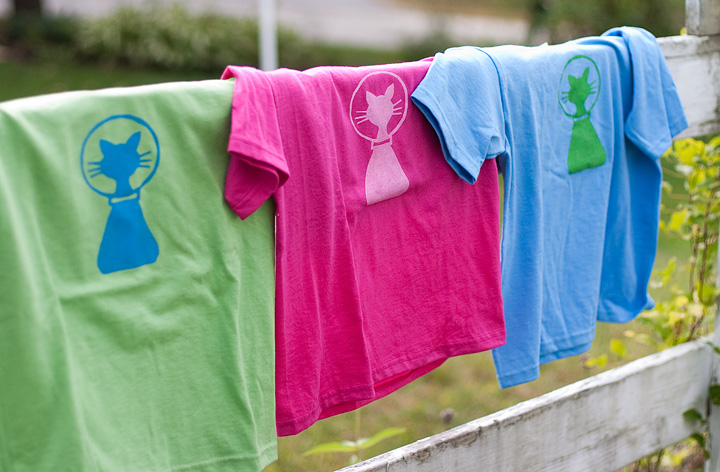
I also made freezer-paper stenciled t-shirts for the kids. I spotted a “Cat from Outer Space” movie poster online that had this cute cat graphic as part of the title, so I copied it and enlarged it to make the stencils for the shirt. I know a lot of freezer paper stencil tutorials say to print your design and then trace it onto to the freezer paper, but I just cut pieces of freezer paper to 8.5″ X 11″, taped it to a piece of copy paper and printed right on the freezer paper. Cutting carefully, I was also able to use the cut-away part of the stencil to make another shirt for Parker using the negative space. (Something to keep in mind if I ever am making 10 of these next year… cut carefully and get two stencils out of one image!)
For activities, I made the treasure stones I mentioned in an earlier post, but we called them “alien rocks.” Parker helped me pick out little trinkets to hide in them and helped me make the rocks. (the recipe doesn’t specify how many rocks you can make with one batch. We made three good sized stones). No pictures, because they were destroyed pretty quickly, but I think they liked them!
We also made sparkly necklaces and bracelets out of the extra vinyl tubing I had from making Jake’s collar. There are many tutorials out there, I followed this one at Family Fun, using tubing with a 1/4″ outside diameter for the bracelet and tubing with a 1/4″ inner diameter for the closure. For the necklaces, we used tubing with a 1/2″ outside diameter. These were really fun to make, though the bracelets were a bit trickier because we didn’t have a funnel that was small enough to fit in the opening. We improvised by using drinking straws to fill the tubes with water… holding a finger over the top of the straw while it’s in water and then releasing it into the tube.
I wasn’t sure if the boys would enjoy this but both Parker and my nephew liked it. Surprisingly the bracelets and necklaces haven’t leaked, but you could always add a bit of glue to be on the safe side. This is such a cheap craft, the tubing sells for about 22 cents a foot. I’m thinking of getting all the supplies and making a kit for my cousin’s four daughters for Christmas.
-
Our newest guest…
The cardboard hotel I posted about last week has a new guest on the ground floor:
-
Critter Hotel
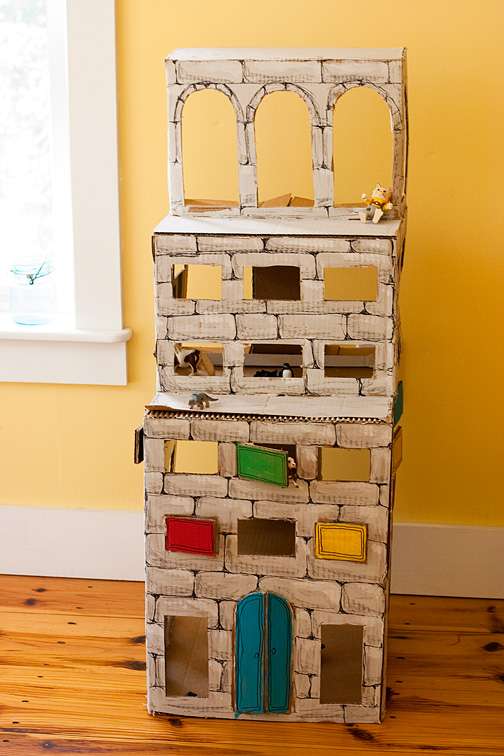
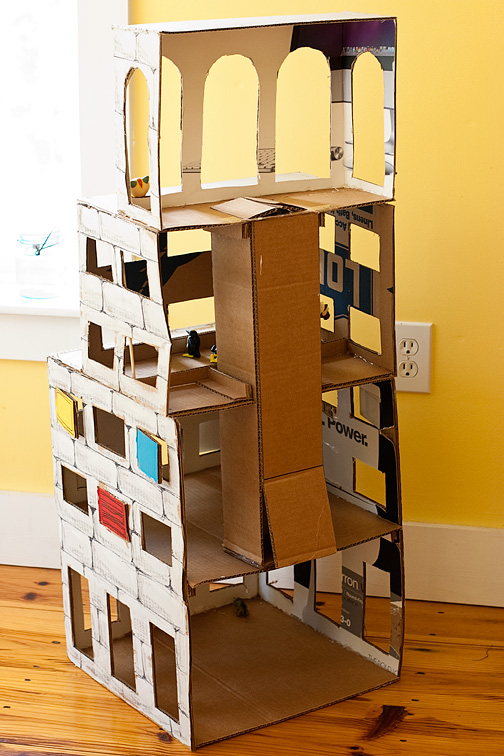
My few longtime readers might remember the cardboard skyscraper I made for my son last year based on a project in a book I found at a yardsale: “Woman’s Day Book of Best-Loved Toys & Dolls” published in 1982. Over the last few weeks, we tackled another project from the book, the cardboard apartment building. This time, rather than spend hours and hours measuring and drawing, I scanned the diagrams from the book, enlarged them using Photoshop, printed them on multiple sheets, taped them together, cut out the windows and then traced everything onto cardboard. OK, so that still took hours, but it did not require tedious measuring. The downside was my cutting was probably a bit less precise, so this building is more wobbly than the skyscraper, which has held up beautifully over the last year.
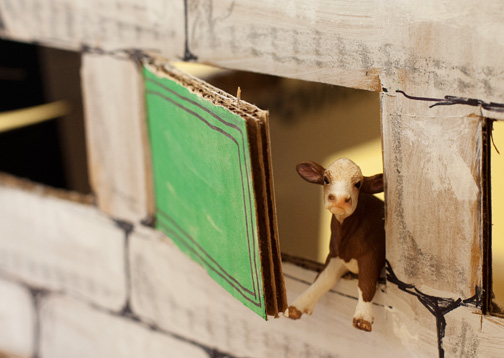
Once again, I skipped most of the trim and extra embellishments, and I cut some of the windows so they could open and close. Parker painted the whole outside a light gray, then I used a Sharpie to draw the stones. He helped with the shading: a dash of darker gray crayon along the left side and bottom of each brick and a swipe of white paint along the top and right side. Instead of an elevator like the other building, this one has a trap door and chute. Parker has decided it is a hotel, and our guests so far have included dinosaurs, cats, penguins, horses, and one slightly disgruntled cow.
-
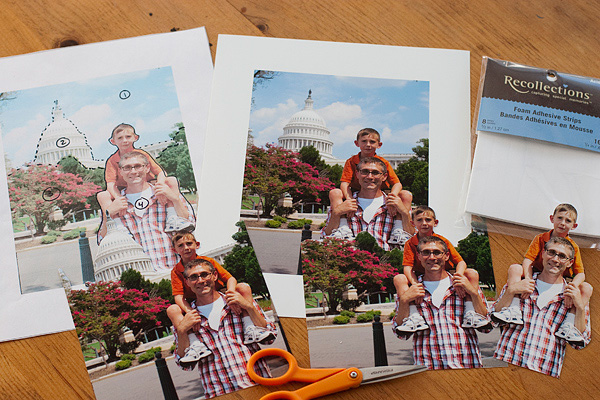
Pop-out Photos Tutorial
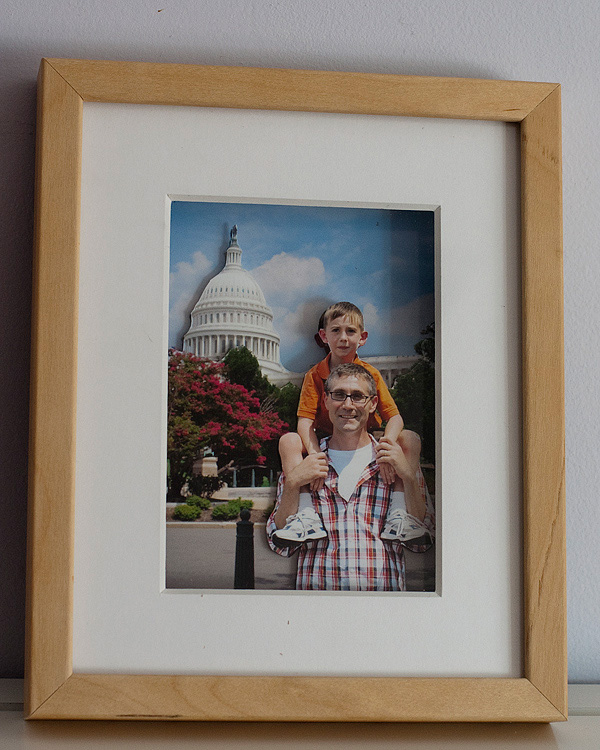
AP Photo/Holly Ramer I’ve written a tutorial for the pop-out/3-D pictures I’ve been making as gifts. You can read my AP story here.
(I always find it funny to see where the craft stories I write for AP end up. It gets sent out as part of our “lifestyles” package. Some websites put it under “health.” Others put it under “entertainment.” I guess not too many news sites have craft sections)
AP Photo/Holly Ramer -
Cookbook Winner
Thanks for all the great suggestions for things I could make to give along with the book, and for your kind words. And my husband is very thankful to have picked up a few new blog readers.
The winner is: MaryAnne at Mama Smiles! Please send me a note at hollyrh at gmail dot com with your address.
-
Cookbook Giveaway
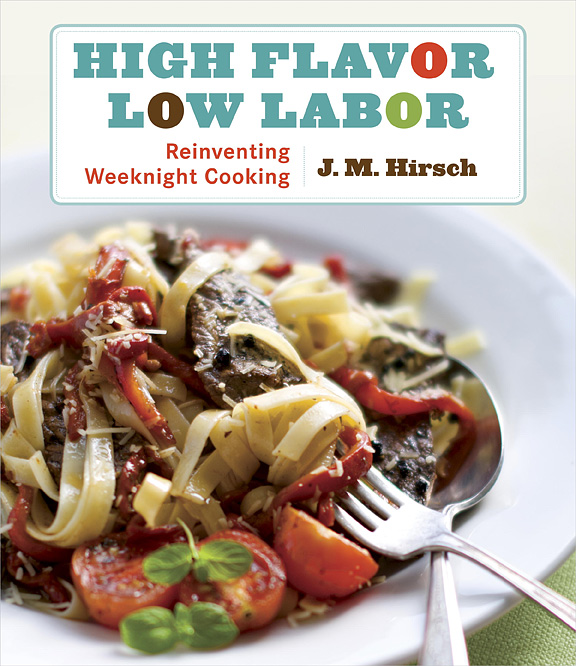
I’m interrupting this craft blog with a little non-crafty giveaway: my husband’s new cookbook! It is available at bookstores now, and he will be promoting it tomorrow morning (Monday) on Good Morning America! So please tune in between 8:30 and 9, and leave a comment below if you’d like to win the book. Of course I’m biased, but it is a great book. My husband is the national food editor for The Associated Press, and the basic idea of the book is using high-flavor ingredients to do the heavy lifting, instead of complicated techniques. I’ll pick a winner Wednesday morning.
For extra chances to win, do any or all of the following:
_ let me know that you are a subscriber to my blog
_ let me know that you are a subscriber to my husband’s blog
_ give me an idea for a cooking/eating/kitchen-related craft or sewing project. We’re probably going to be giving away some copies of the book as Christmas gifts, and I’d like to make a little something to go with themUPDATE: There’s still plenty of time to enter the giveaway. Here’s his appearance on GMA:
-
A present a week, Week 8
Something new for this week’s entry into the “present a week ’til Christmas” challenge at Works in Progress. I won again last week, bringing my total to three out of the six weeks I’ve entered! At this rate, I will have to make even more gifts to keep up with the new fabric I’m winning!
Instead of sewing or felting, this week I finished a photo gift using the digital scrapbooking skills I’ve been neglecting for a while. It used to be my biggest (only?) hobby, but gradually I turned to more hands-on sewing and crafting. Here’s a sneak peak, and once again, if you don’t have the address to the “secret” blog where I’m posting all my gifts, just leave a comment below.
