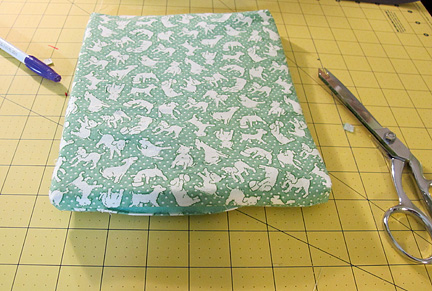
I was asked to make another “Princess and the Pea” play set like the two I made as Christmas gifts, but this time, I wanted the mattresses to look more like, well, mattresses, rather than quilts. So I used a sheet of foam instead of batting and made the corners of each mattress cover boxy. If you’ve ever made a purse or tote bag with a squared-off bottom, you already know how to do this technique. But here’s a little tutorial in case you want to try it:
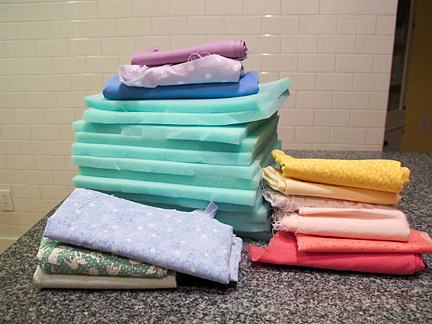
1) You need 1 yard of 1/2″ thick foam. It’s a bit pricey, but I used a coupon at Jo-ann Fabric and I think it cost about $6 for the sheet.
From the sheet of foam, cut 12 rectangles, each 7 X 9 inches. (You’ll have a strip of foam left over). You also need 12 different fabrics. I originally planned to mix solids and prints, but ended up switching to all prints.
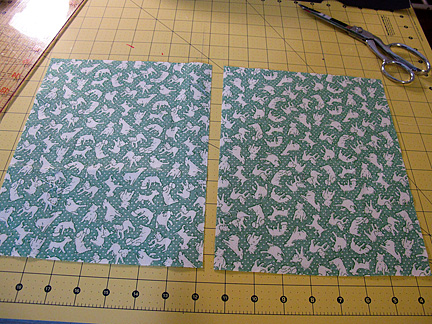
2) Cut 2 rectangles from each fabric, 8 X 10 inches each.
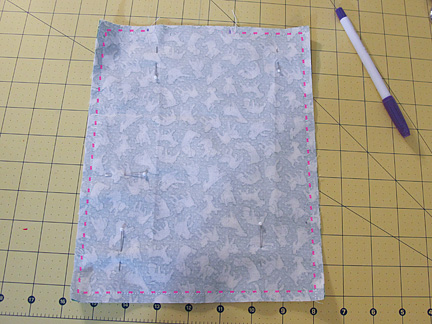
3) Using a 1/4″ seam allowance, sew around the rectangles, leaving a 3″ opening at one short end.
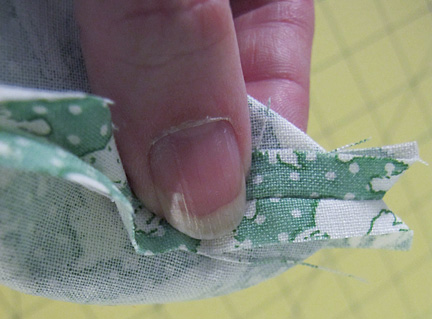
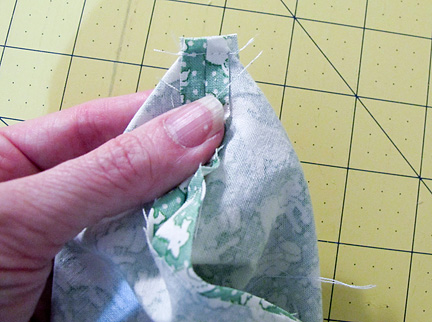
4) This is the tricky part to explain. Pinch the corner of the rectangle so the two seams are on top of each other. I find it easiest to finger-press the seams open.
Sew across this triangle, perpendicular to the seam, 1/4″down from the point of the “V” shape made by the seam allowances.
5) Repeat for each corner, trimming off the extra fabric
6) Turn the mattress cover right-side out and insert the foam. I rolled the foam lengthwise into a tube shape then pushed it into the cover.
It takes a bit of fiddling, but it was easier than I expected.
7) Sew the opening closed using a ladder stitch or whip stitch.
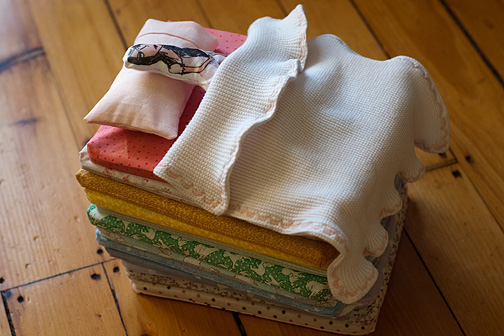
As I did with the original version, I scanned the cover of the “Princess and the Pea” book by Lauren Child, edited it in Photoshop to remove the background and printed it on iron-on transfer paper. I transferred the image to white fabric, and made a simple flat doll. The pea was a wet-felted ball, and a sewed a little pocket onto the bottom of one of the mattress covers so it wouldn’t get lost. I used my pillowcase tutorial HERE to make the little pillowcase, and the blanket was cut from one of my son’s old baby blankets, hemmed with one of the fancy stitches on my sewing machine.

Leave a Reply